Preface
Goal: Write the pivot dataframe into a sheet.
In this segment, our focus shifts to populating cells with content from a pivot dataframe using a straightforward class. Subsequently, we’ll delve into the process of refining the class while simultaneously enhancing the aesthetics of the sheet.
Preview
The envisioned worksheet encapsulates several key aspects:
- A straightforward pivot table sourced from a dataframe.
- Stylishly decorated for a visually appealing appearance.
- Inclusion of total rows and columns for comprehensive data representation.
Not a very fancy output and decoration, but good enough for repetitive works.
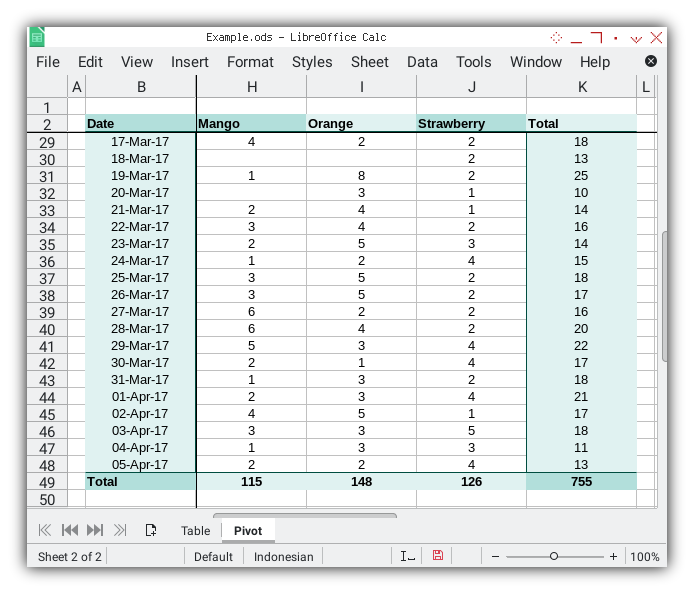
The simpler the better. But not too plain.
Pivot Sheet: Main Macro
We are going to craft one worksheet named Pivot:
- Source: Table Sheet
- Target: Pivot Sheet
This discussion is about the pivot sheet only, writing each cell and also decorating at once.
In this phase, our objective is to create a worksheet named Pivot with a clear focus on the pivot sheet alone. We aim to efficiently write and decorate each cell in this process.
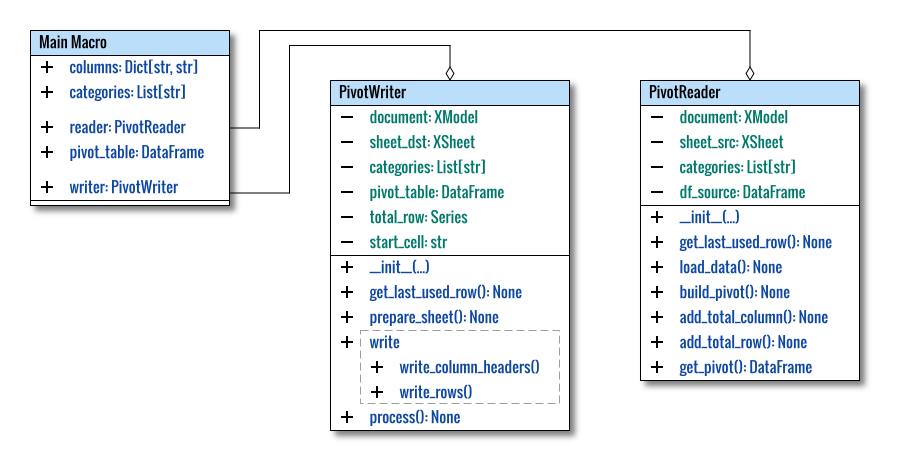
Class Diagram
Understanding becomes more accessible when supported by visual aids. For clarity, we opt for a non-standard UML diagram.
Libraries
The essential libraries for this task are outlined below.
import pandas as pd

from datetime import datetime, timedelta
from typing import Dict, List
from pandas import DataFrame

# Debugging purpose, just in case
from pprint import pprint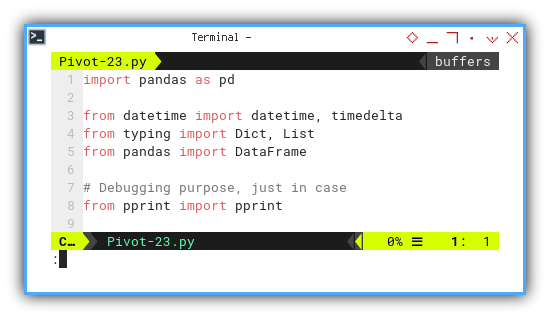
In Calc Macro, consolidating all classes into one file is more practical. Therefore, there are no local libraries in use.
Macro Structure
The structural framework of the macro is presented as follows:
class PivotReader:
  ...

class PivotWriter:
  ...

def main() -> None:
  ...
I’ve made slight adjustments, including renaming
the PivotSample class to PivotReader.
As most of the PivotReader has already been crafted,
our primary focus now shifts to the completion of the PivotWriter.
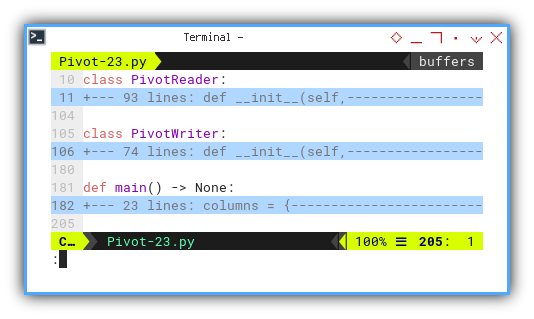
Table Reader Getter
As part of the adjustments,
renaming PivotSample class to PivotReader.
The process method in the PivotSample class
has also been transformed into a getter.
  def get_pivot(self) -> DataFrame:
    self.load_data()
    self.build_pivot()
    self.add_total_column()
    self.add_total_row()

    return self.pivot_table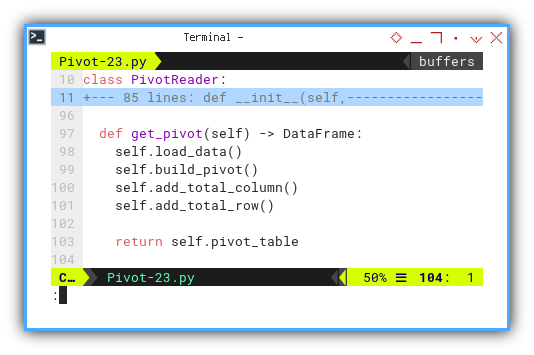
Main Method
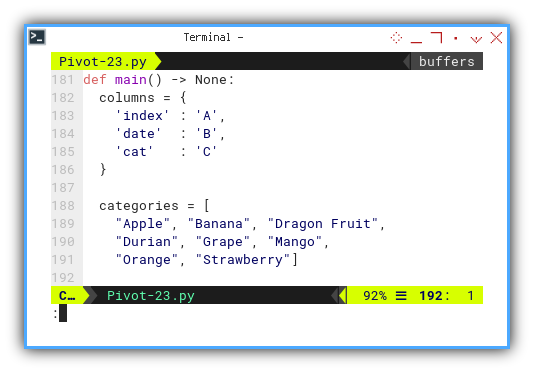
The initial section involves defining custom variables, and categories to be utilized as a feed for class initialization.
def main() -> None:
  columns = {
    'index' : 'A',
    'date'  : 'B',
    'cat'   : 'C'
  }

  categories = [
    "Apple", "Banana", "Dragon Fruit",
    "Durian", "Grape", "Mango",
    "Orange", "Strawberry"]
The subsequent steps revolve
around preparing the pivot_table dataframe,
a feed for the pivot sheets.
def main() -> None:
  ...

  pd.set_option('display.max_rows', 10)

  reader = PivotReader(
    'Table', columns, categories)
  pivot_table = reader.get_pivot()

  # Print the newly created pivot table
  # on terminal console for debugging
  print(pivot_table)
  print()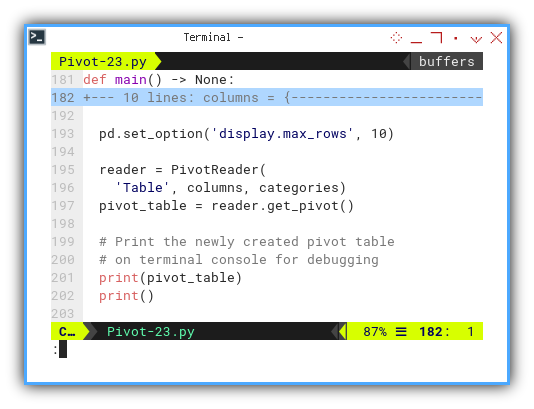
The final stage entails using the pivot_table,
to generate the Pivot sheet.
  writer = PivotWriter(
    'Pivot', pivot_table, categories, 'B2')
  writer.process()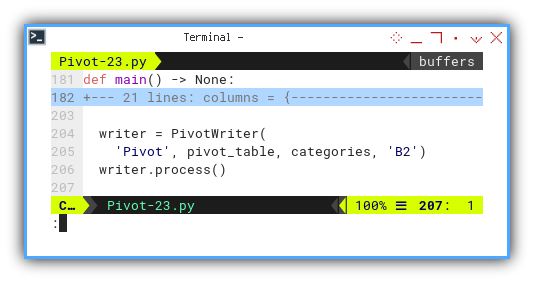
I guess the code sequence provides a transparent representation of the entire process.
Our concentration can now shift
o the intricacies of PivotWriter.
Writer: Main Macro
Let’s introduce a new writer class for our pivot sheet.
Class Skeleton
To begin, we’ll create a concise class structure.
class PivotWriter:
  def __init__(self,
      sheetDestName: str,
      pivot_table: pd.DataFrame,
      categories: List[str],
      start_cell: str) -> None:

    ...

  def prepare_sheet(self):
    ...

  def write(self) -> None:
    ...

  def process(self) -> None:
    self.prepare_sheet()
    self.write()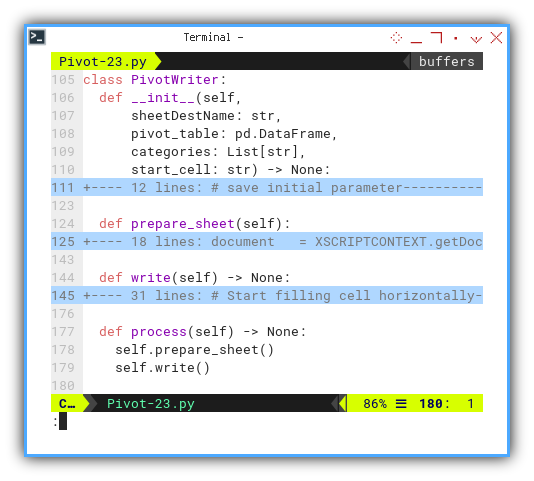
This time, we’re introducing the concept of init_start_cell,
for flexible placement of the pivot table.
Initialization
Initialization takes into account the starting cell, allowing us the flexibility to relocate the pivot table.
class PivotWriter:
  def __init__(self,
      sheetDestName: str,
      pivot_table: pd.DataFrame,
      categories: List[str],
      start_cell: str) -> None:

    # save initial parameter
    self.sheetDestName = sheetDestName
    self.pivot_table = pivot_table
    self.categories = categories
    self.start_cell = start_cell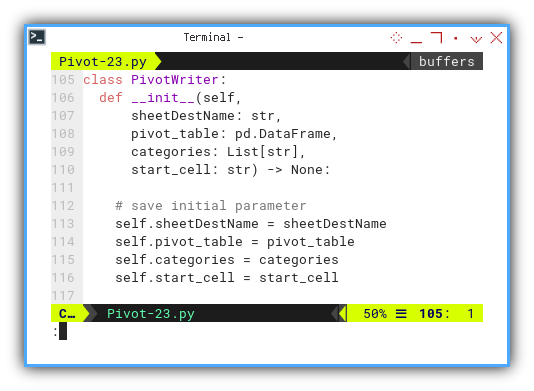
As usual, we separate the Total row,
for clarity and ease of management.
    # Get the 'Total' row as a separate variable
    self.total_row = self.pivot_table.loc['Total']

    # Exclude the 'Total' row from the DataFrame
    self.pivot_table = self.pivot_table.drop('Total')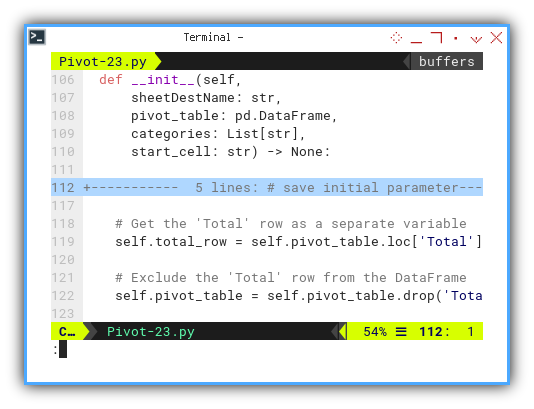
Prepare Sheet
Upon obtaining the XSCRIPTCONTEXT,
we check if the target Pivot sheet already exists.
If not, we create a new sheet named Pivot.
  def prepare_sheet(self):
    document = XSCRIPTCONTEXT.getDocument()
    sheets   = document.Sheets

    sheetName = self.sheetDestName
    if not sheets.hasByName(sheetName):
      sheets.insertNewByName(sheetName, 1)
    self.sheet_dst = sheets[sheetName]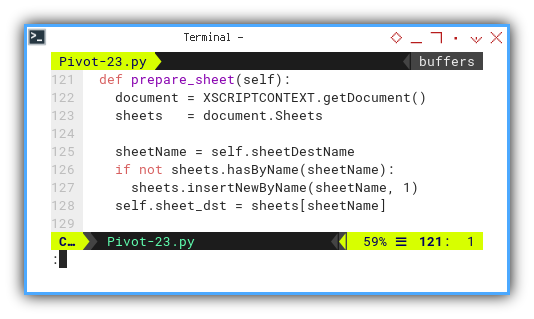
Next, we set the target sheet as the active sheet.
    desktop    = XSCRIPTCONTEXT.getDesktop()
    model      = desktop.getCurrentComponent()
    controller = model.getCurrentController()
    controller.setActiveSheet(self.sheet_dst)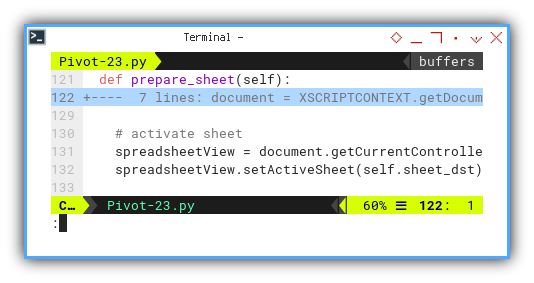
Given that the SpreadsheetDocument is essentially an XModel,
and the actual Controller is SpreadsheetView,
the code reflects this relationship.
    spreadsheetView = document.getCurrentController()
    spreadsheetView.setActiveSheet(self.sheet_dst)
All format-related settings are managed in this section.
    self.numberfmt = document.NumberFormats
    self.locale    = document.CharLocale

    self.dateFormat = self.numberfmt. \
      getStandardFormat(2, self.locale)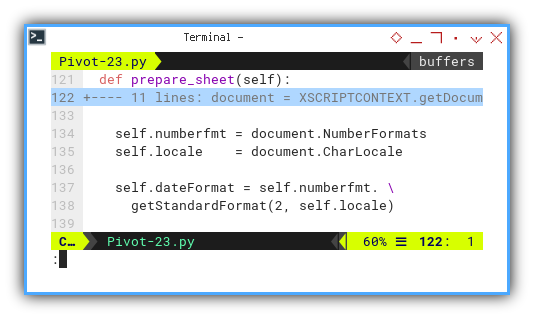
Internal Diagram
For a deeper understanding of the internal workings within the LibreOffice API, let’s visualize the service and interface.

Filling Content
The core of cell writing takes place here. Although slightly complex in this example, we plan to refactor it later.
Throughout each step, we use col_pos and row_pos,
considering the starting cell position
to determine the cell address location.
Starting with the header,
which displays categories without the Date header.
  def write(self) -> None:
    # Start filling cell horizontally
    addr = self.sheet_dst[self.start_cell].CellAddress

    # Fill the cells horizontally
    for col, cat in enumerate(self.categories, start=1):
      col_pos = addr.Column + col

      cell = self.sheet_dst. \
        getCellByPosition(col_pos, addr.Row)
      cell.String = cat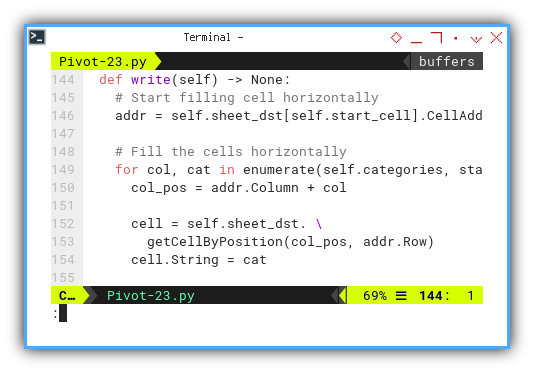
We then iterate through each row, writing the date value as the row header, along with the date format for each date header.
    # Iterate over both index and row data
    row_index = 0
    for date, row in self.pivot_table.iterrows():
      row_index += 1
      row_pos = addr.Row + row_index

      cell = self.sheet_dst. \
        getCellByPosition(addr.Column, row_pos)

      cell.Value = date
      cell.NumberFormat = self.dateFormat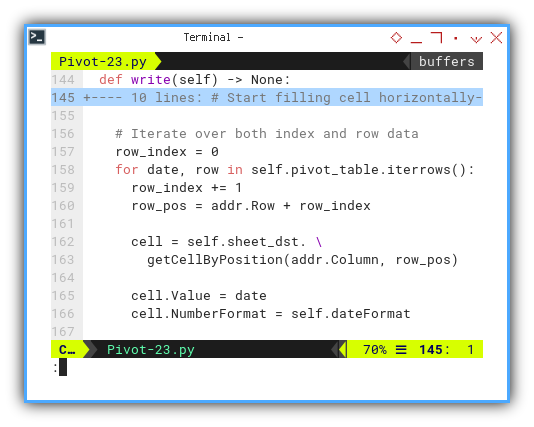
Within each row iteration, we further loop over each content.
      for col, cat in enumerate(
          self.categories, start=1):

        col_pos = addr.Column + col

        cell = self.sheet_dst. \
          getCellByPosition(col_pos, row_pos)
        cell.Value = int(row[('Number', cat)])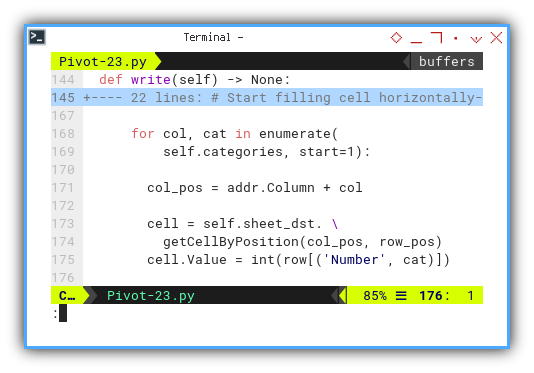
The location of the dataframe is determined
using row[('Number', cat).
Process Flow
The simplified flow can be illustrated here.
  def process(self) -> None:
    self.prepare_sheet()
    self.write()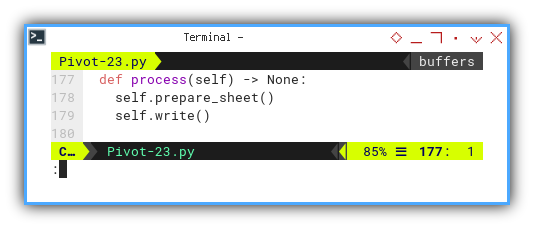
We aim to refine and clarify this flow later.
Result Preview
The result of the plain pivot table is depicted in the screenshot below:
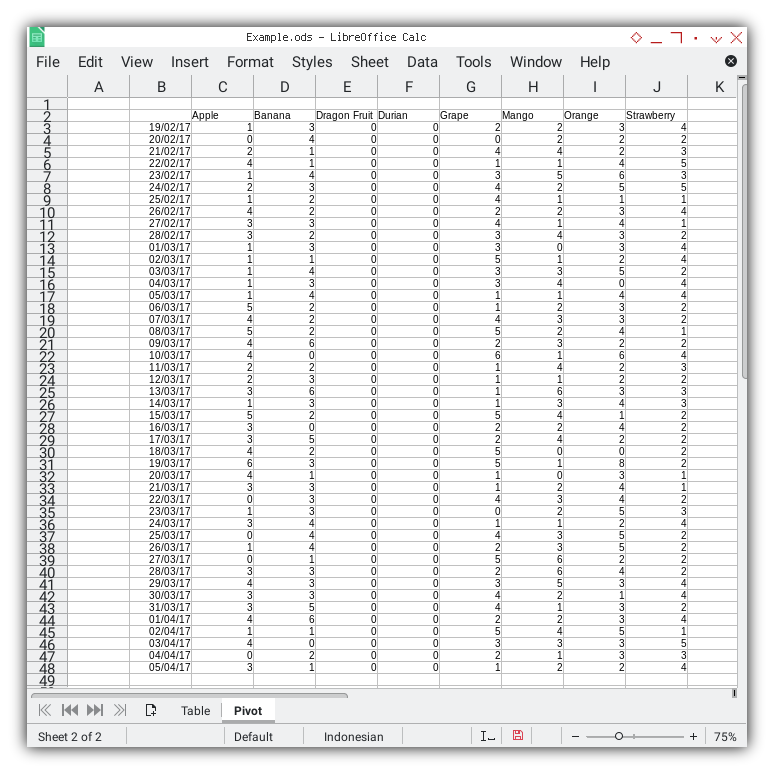
Decoration will be incorporated later.
What Awaits Next 🤔?
With a touch of creativity, we can transform this simple pivot table, into an aesthetically pleasing sheet.
Consider diving into the next step by exploring [ Pivot - Calc Macro - Decoration ].