Preface
Goal: Housekeeping previous code
This is a multiparts article.
For simplicity reason I use javascript without framework.
11: Tabbed Page Content
Automation
Goal
Our goal is monitor display, thus we should minimize user interference.
-
We can’t scroll down, so the size should be fitted in display. This can be shown in tabbed user interface.
-
We are going to show all tab periodically. Automatically switched to other tab after a few moment.
The Javascript contain two parts. The first is tabbed user interface. And the second, is interval management.
Reference
Details in different article.
Luckily, I have made this tabbed page years ago. All I need to do is just copy paste.
I encourage you to read this article, so you have better understanding, about the web interface.
However, we need to examine, our example, before we go down into main course.
HTML Tab Interface
We have a few additional assets.
<head>
  <title>Your mission. Good Luck!</title>
  <link rel="stylesheet" href="bulma.min.css">
  <link rel="stylesheet" href="hover.css">
  <link rel="stylesheet" href="animate.css">
  <script src="22-tabs.js"></script>
</head>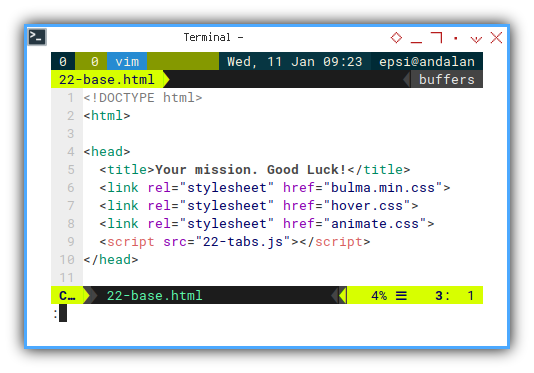
The tab user interface element relies on Bulma’s tab as shown below:
    <div class="column is-full">
      <div class="tabs is-centered">
        <ul class="tab-headers">
          <li data-target="progress" id="tab-progress"
              class="hvr-pulse-grow is-active">
            <a><span>Progress</span></a>
          </li>
          <li data-target="review" id="tab-review"
              class="hvr-pulse-grow">
            <a><span>Review</span></a>
          </li>
          <li data-target="report" id="tab-report"
              class="hvr-pulse-grow">
            <a><span>Report</span></a>
          </li>
        </ul>
      </div>
    </div>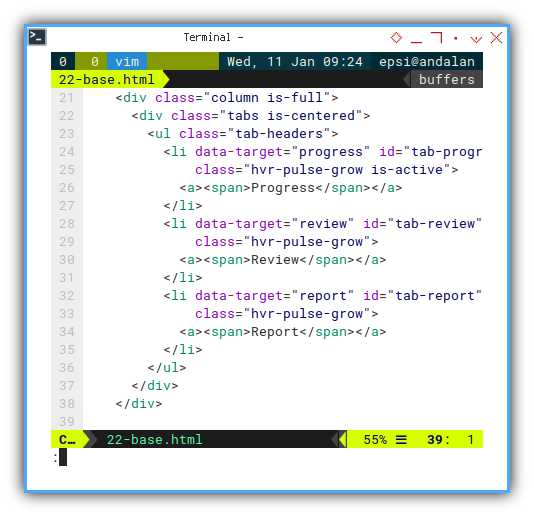
And below the tab source, we have content source.
    <div class="column is-full">
      <div class="tab-contents has-text-centered">
        <div id="progress"
             class="animate__animated animate__bounceInLeft">
          <h3 class="title is-4">Progress</h3>
          <p><b>Lorem ipsum dolor sit amet,</b>
             consectetur adipiscing elit.
             Quisque in faucibus magna.</p>
        </div>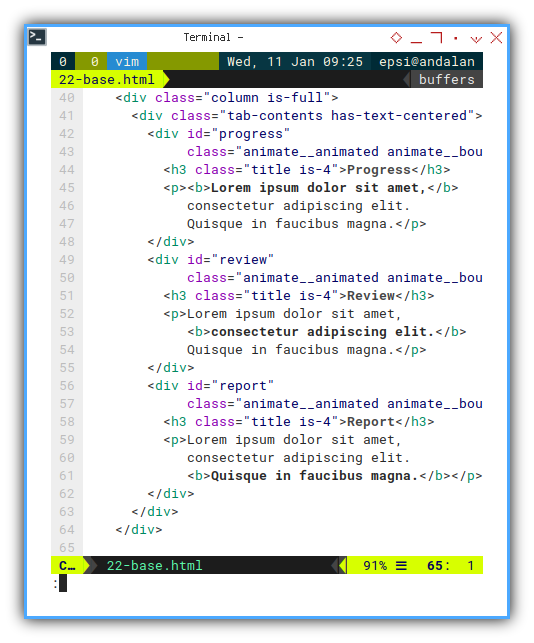
Javacript Tabs
The tabbed user interface is managed by javacript.
The Javascript is not very short.
document.addEventListener('DOMContentLoaded', function(event) {
  const tabHeaders  = document.getElementsByClassName('tab-headers')[0];
  const tabContents = document.getElementsByClassName('tab-contents')[0];

  Array.from(tabHeaders.children).forEach((targetHeader) => {
    // Tab Headers: All Click Events
    targetHeader.addEventListener('click', () => {
      const targetName = targetHeader.dataset.target;
      const colorClass = targetHeader.dataset.color;
      const targetContent = document.getElementById(targetName);

      // Set all to default setting
      Array.from(tabHeaders.children).forEach((tabHeader) => {
        tabHeader.classList.remove('is-active');
        tabHeader.classList.remove(tabHeader.dataset.color);
      });
      // Except the chosen one
      targetHeader.classList.add('is-active');
      targetHeader.classList.add(colorClass);

      // Showing the content
      Array.from(tabContents.children).forEach((tabContent) => {
        tabContent.style.display = 'none';
      });
      targetContent.style.display = 'block';
      targetContent.classList.add(colorClass);
    });
  });

  // Tab Headers: Default
  tabHeaders.getElementsByClassName('is-active')[0].click();
});
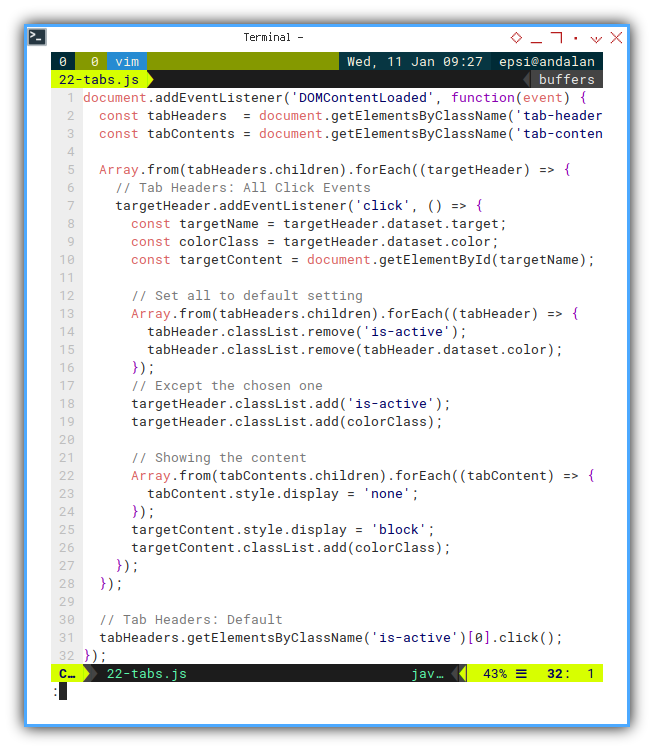
You can read the detail in my other blog, from link provided above.
Switch between tab.
We can trigger tab switching by using clicking event.
document.getElementById(targetTab).click()
We will apply this method to switch between tabs, periodically.
Javacript Interval
The interval can be managed as below.
document.addEventListener('DOMContentLoaded', function(event) {
  const tabHeaders  = document.getElementsByClassName('tab-headers')[0];

  const tabNames = ["progress", "review", "report"]
  tabName = "daily"

  function nextTabName(name) {
    let index = tabNames.indexOf(name) + 1
    return tabNames[index==tabNames.length ? 0 : index]
  }

  setInterval(function(){
    const activeTab     = tabHeaders.
      getElementsByClassName('is-active')[0]
    const activeTabName = activeTab.dataset.target
    const targetTab     = "tab-"+nextTabName(activeTabName)
    console.log(targetTab)
    document.getElementById(targetTab).click()
  }, 10000)

});
However, you cannot set different interval for each tab.
Recursive Tail Timeout
Flexible Interval
If you want to set interval dynamically, you can utilize recursive tail timeout.
document.addEventListener('DOMContentLoaded', function(event) {
  const tabHeaders  = document.getElementsByClassName('tab-headers')[0];

  const tabdelays = [
    { name: "progress", delay: 9000 },
    { name: "review",   delay: 7000 },
    { name: "report",   delay: 5000 }
  ]

  const tabNames = tabdelays.flatMap(item => item.name)
  tabName = "progress"

  function nextTabName(name) {
    let index = tabNames.indexOf(name) + 1
    return tabNames[index==tabNames.length ? 0 : index]
  }

  // Flexible Interval
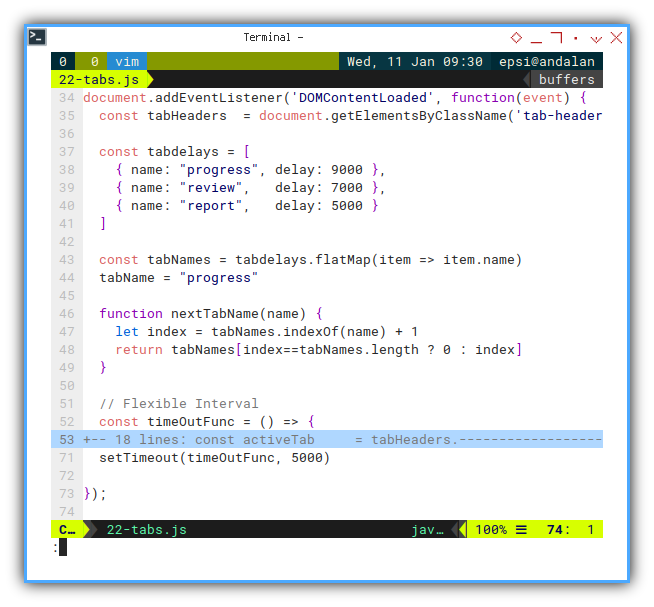
  const timeOutFunc = () => {...}

  setTimeout(timeOutFunc, 5000)

});
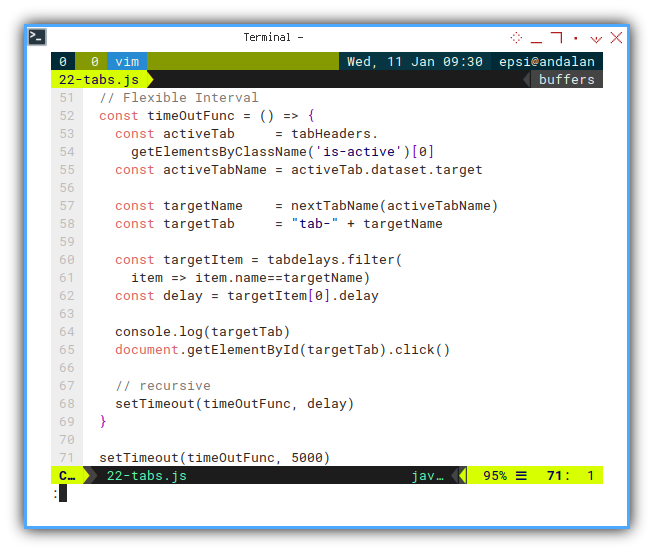
Since I want flexible interval,
I cannot use built in setInterval function.
But rather utilizing setTimeout as tail recursive.
  // Flexible Interval
  const timeOutFunc = () => {
    const activeTab     = tabHeaders.
      getElementsByClassName('is-active')[0]
    const activeTabName = activeTab.dataset.target

    const targetName    = nextTabName(activeTabName)
    const targetTab     = "tab-" + targetName

    const targetItem = tabdelays.filter(
      item => item.name==targetName)
    const delay = targetItem[0].delay

    console.log(targetTab)
    document.getElementById(targetTab).click()

    // recursive
    setTimeout(timeOutFunc, delay)
  }

  setTimeout(timeOutFunc, 5000)
Preview in Web Browser
Conider examine the page in the Web Browser
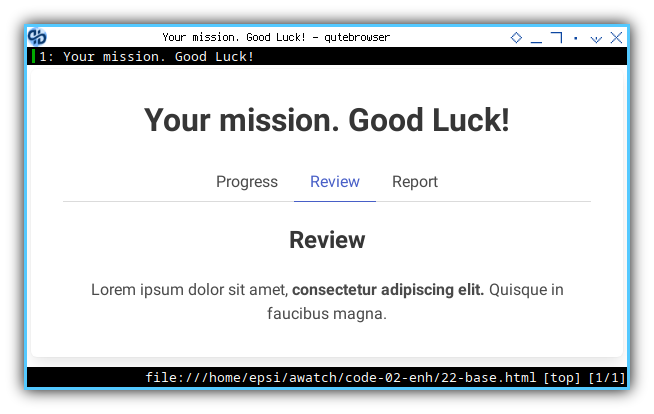
The result is similar as video below:
What is Next 🤔?
It works on my computer
After tabbed user interface. We can go back tyo modernize our javascript using inheritance.
Consider continue reading [ Excel - Monitor - Javascript Inheritance ].