Preface
Goal: Dynamically showing live data in terminal user interface using Python Rich Library from textualize.
This Rich library along with AsyncIO is something that, makes me want to learn python earlier. In short you can make something as cool as below video.
However, we should start with simple things. So where do we start.
- Simple Panel.
- Data Class Example.
- Live Asynchronous.
If you ever manage tiling window manager in linux, you should feel at home.
Windows Compatibility
This library runs on windows. So do not hesitate to start with.
Official Documentation
Preparation
PIP
I guess, just these two.
❯ pip install asyncio rich1: Two Panels Layout: Top Bottom
Consider begin with example from official documentation.
Python Source Code
As usual, source code are available in every step.
Required Package
Here what we need to import in top most script.
from rich.console import Console
from rich.layout import Layout
from rich.panel import Panel
Class: Introduction
Get organized from the very beginning
Complexity could get ugly from time to time. We’d better use this good OOP method. Here is just a simple class, so simple that we do not need to initialize.
class LayoutExample:
  def make_layout(self):
  def update_layout(self):
  def main(self):

# Program Entry Point
example = LayoutExample()
example.main()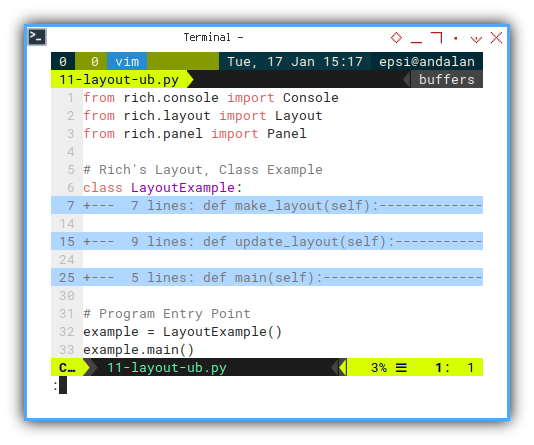
Rich: Console
We require Console to dump our layout.
  def main(self):
    self.make_layout()
    self.update_layout()
    console = Console()
    console.print(self.layout)
Rich: Layout
The simple layout can be defined as below:
  def make_layout(self):
    self.layout = Layout(name="root")

    self.layout.split(
      Layout(name="header", size=3),
      Layout(name="body", ratio=1))
Rich: Renderable
Update
A rendereable object, can be text in string,
Panel, Padding, or Table.
We set the layout by calling update method,
to renderable object such example below:
from rich.console import Console
from rich.layout import Layout
from rich.panel import Panel

# Rich's Layout, Class Example
  def update_layout(self):
    self.layout["header"].update(Panel(
      "Hello, [blue]World!",
      title="Welcome",
      subtitle="[yellow]Thank you"))
    self.layout["body"].update(Panel(
      "Hello, [red]World!",
      title="Welcome",
      subtitle="Thank you"))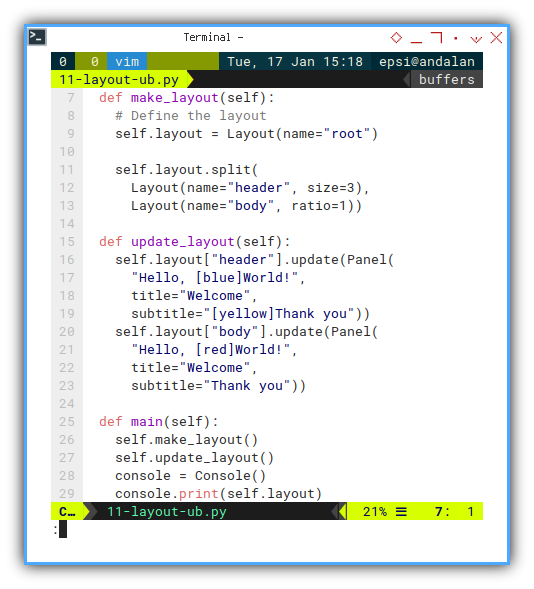
And that is all.
Output in CLI
Examine The Result
The result similar as below:
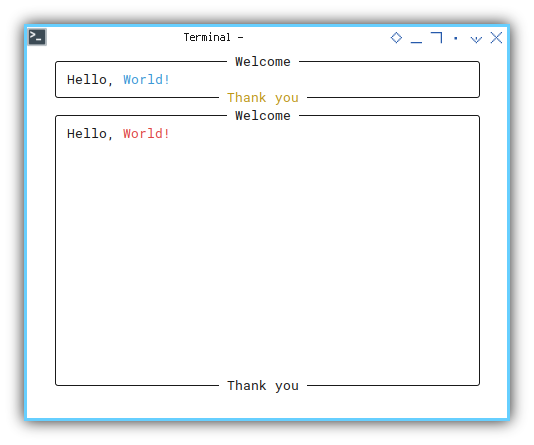
So simple right!
2: Two Panels Layout: Top Bottom
From simple we are going to.. mmmh.. still simple layout example.
Python Source Code
As usual, source code are available in every step.
Class: Skeleton
Instead of text, we are going to, use panel as renderable object.
class LayoutExample:
  def make_layout(self):
  def get_left_panel(self) -> Panel:
  def get_right_panel(self) -> Panel:
  def update_layout(self):
  def main(self):

# Program Entry Point
example = LayoutExample()
example.main()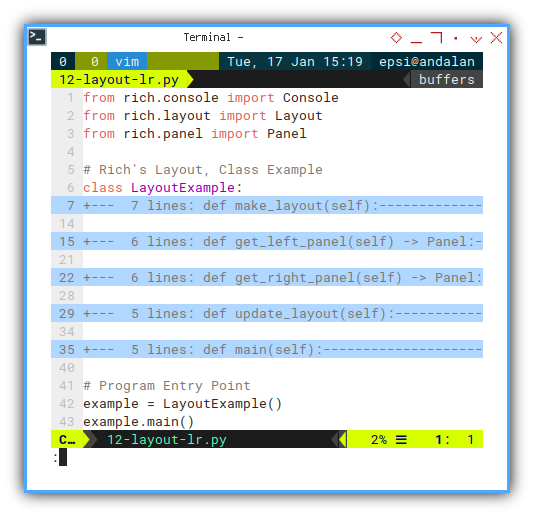
Renderable: Panel
The renderable panel can be written as below:
class LayoutExample:
  def make_layout(self):
    # Define the layout
    self.layout = Layout(name="root")

    self.layout.split_row(
      Layout(name="left"),
      Layout(name="right"))

  def get_left_panel(self) -> Panel:
    panel = Panel(
      "Hello, [blue]World!",
      title="Welcome",
      subtitle="[yellow]Thank you")
    return panel

  def get_right_panel(self) -> Panel:
    panel = Panel(
      "Hello, [red]World!",
      title="Welcome",
      subtitle="Thank you")
    return panel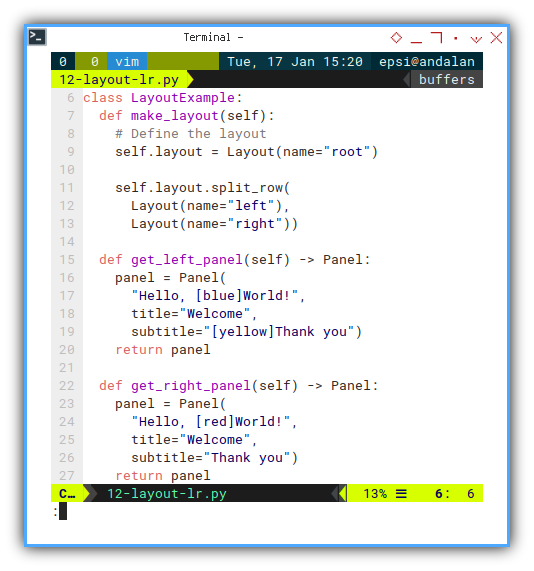
Layout: Update
Then we can update the layout wth code below:
  def update_layout(self):
    self.layout["left"] \
      .update(self.get_left_panel())
    self.layout["right"] \
      .update(self.get_right_panel())

  def main(self):
    self.make_layout()
    self.update_layout()
    console = Console()
    console.print(self.layout)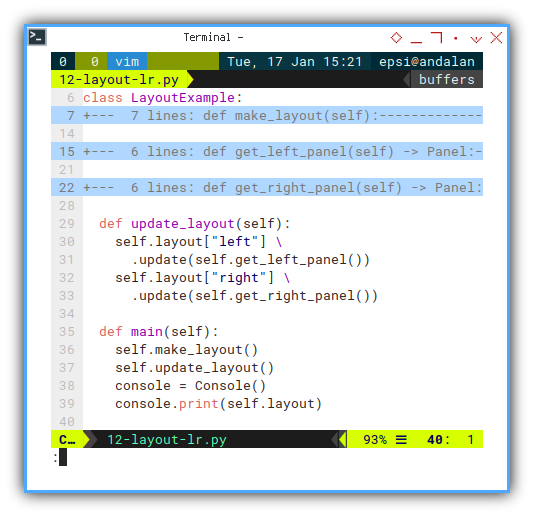
Output in CLI
Examine The Result
The result similar as tiling box below:
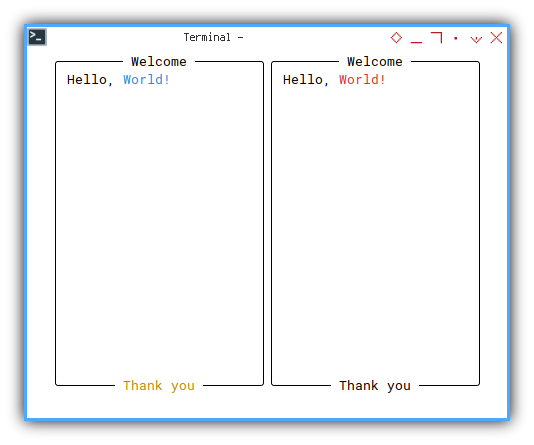
It is so simple that we do not need any class constructor.
What is Next 🤔?
Enough with introduction
The rich library, is not as easy as just above layout. This is why I write an article for this library.
To reduce complexity, I separate the data model into its own class.
Consider continue reading [ Python - Rich - Data Class Example ].