Overview
This article series is about daily office task automation using openpyxl, from merging CSV files to formatting complex, multi-tab spreadsheets.
Waking up in the middle of the night at the office, I suddenly realized that using a script could solve my giant macro issue. Without hesitation, I pushed myself awake, took a shower, fired up my notebook, made a midnight cup of coffee, and willingly began migrating my macro to a Python script.
The problem with macros is that they block the LibreOffice process. Memory and CPU are fine, but massive I/O operations are the real bottleneck. Even though my notebook can multitask across different applications, running this macro is constantly freezing my presentations, minutes of meeting, and other productive tasks during my precious office hours.
Eventually, I discovered that openpyxl could handle massive workbooks, tasks that would make Calc macros wave a white flag in surrender. After a few days, I was churning out more reports, becoming more productive, and most importantly enjoying more time away from my keyboard.
And let’s face it. Not everyone uses LibreOffice. I have to be kind to my colleagues, especially those on Windows. So why not use an alternative like the mature and robust openpyxl?
Background
This article is part of a series. If you’re craving the bigger picture, you might want to start with the overview:
Preview
What’s it going to look like? A generic example is shown below:
Of course, in real life, you can tweak it to suit your wildest formatting dreams.
Preparation
This article series involves a fair share of colors and borders. You might want to brush up on manual spreadsheet formatting, before diving into Python.
I’ve got the entire series in my native language:
Preface
This Article
Goal: Merging multiple CSVs into a workbook using a Python script with the openpyxl library.
Let’s kick things off by merging CSVs. Because a pile of scattered files is no fun.
Once we’ve wrangled them into a workbook, we’ll dive into the fancy formatting.
CSV Source Options
How do we choose the CSV source?
There are two approaches to consider:
-
Using a Directory: The simpler option is to use a directory as the source.
-
Using a Config: In real-world scenarios, more control is often needed, such as using a TOML configuration.
And because no one likes bland spreadsheets, I also integrated a sheet tab colorize, directly within the importing process. Who said automation can’t be stylish?
Ready to Use Data
Rows in CSView
I’ve prepared an example dataset for you, so there’s no need to generate a new one.
With CSView the data will looks like this below:
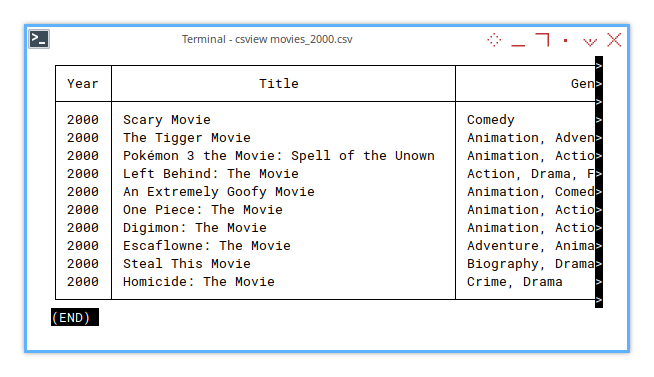
This dataset contains movies from the year 1900 to 2020.
Just for fun, I’ve filtered the output,
to show only titles that contain the word movie,
because why not embrace the meta?
Now, we’re ready to use the data!
1: CSV Importer: By Directory
The simpler case would be to use a directory as the source.
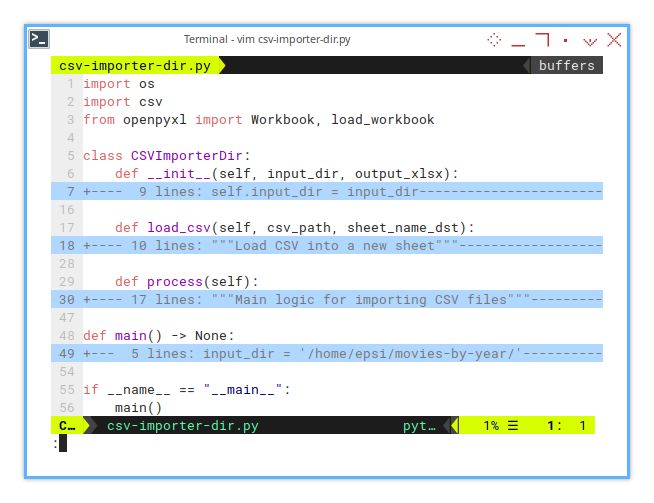
Script Skeleton
You can find the fullscript here:
The macro consists of only a few methods.
import os, csv
from openpyxl import Workbook, load_workbook

class CSVImporterDir:
    def __init__(self, input_dir, output_xlsx):
        ...

    def load_csv(self, csv_path, sheet_name_dst):
        ...

    def process(self):
        ...

def main() -> None:
    ...

    csv_importer = CSVImporterDir(input_dir, output_xlsx)
    csv_importer.process()
The core part of the script is the filter options.
This is handled in the load_csv() method where the CSV is processed.
Initialization
The initialization part is simple and nearly identical in all macros.
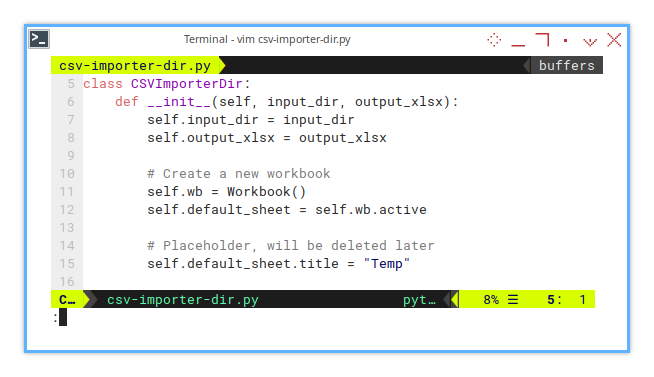
    def __init__(self, input_dir, output_xlsx):
        self.input_dir = input_dir
        self.output_xlsx = output_xlsx

        # Create a new workbook
        self.wb = Workbook()
        self.default_sheet = self.wb.active
Like a chef setting up their kitchen, we prepare the essentials input, output, and a placeholder sheet. No chaos here, just pure organization.
Then we must ensure that we retain one non-empty sheet, and delete it once the process is complete.
        # Placeholder, will be deleted later
        self.default_sheet.title = "Temp"
Think of the temporary sheet as that one guest who shows up early to the party. Useful at first, but we will want to gently show them the door when the real fun starts.
Loading CSV
No fancy trick this time.
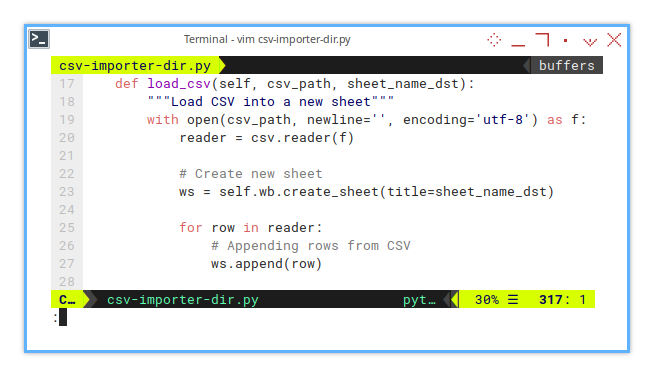
    def load_csv(self, csv_path, sheet_name_dst):
        """Load CSV into a new sheet"""
        with open(csv_path, newline='', encoding='utf-8') as f:
            reader = csv.reader(f)

            # Create new sheet
            ws = self.wb.create_sheet(title=sheet_name_dst)

            for row in reader:
                # Appending rows from CSV
                ws.append(row)
This part reads the CSV and loads it into a new sheet, simple and straightforward. But there’s a catch: everything gets imported as a string. Imagine trying to add ‘5’ + ‘5’ and getting ‘55’, not exactly what we want.
We will untangle that mess later.
Process
Multiple CSV
Instead of just loading a single sheet, we can extend this method to handle mass CSV imports.
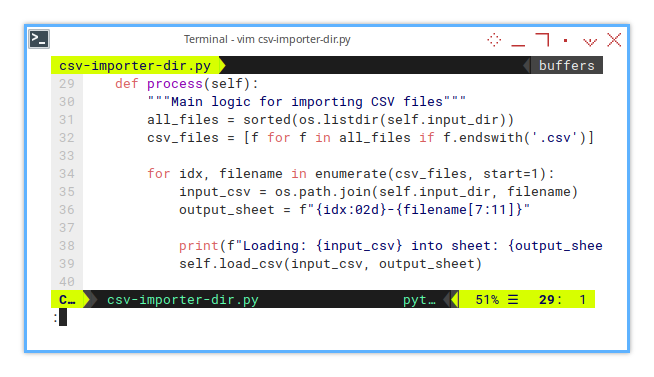
First, manage the content of the directory as input to the loop.
def process(self):
"""Main logic for importing CSV files"""
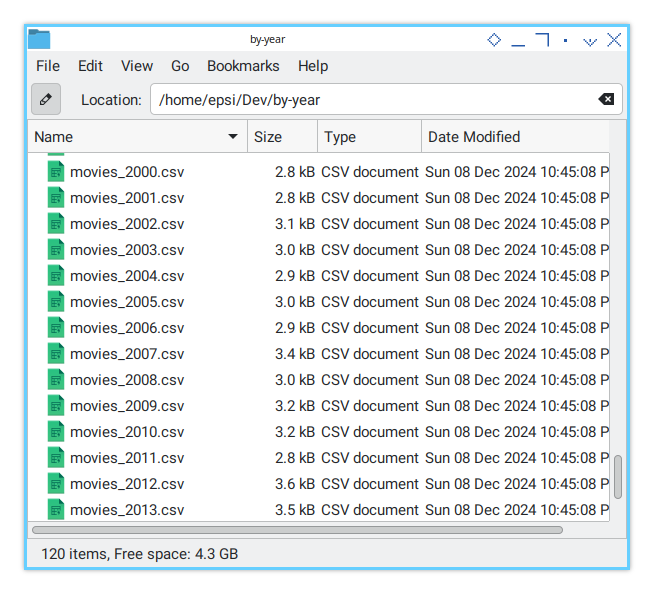
all_files = sorted(os.listdir(self.input_dir))
csv_files = [f for f in all_files if f.endswith('.csv')]
for idx, filename in enumerate(csv_files, start=1):
...Imagine being the organizer of a CSV concert, each file is a performer waiting to take the stage (or in this case, a worksheet). This loop ensures everyone gets their moment to shine.
Allright now, this is the actual CSV loading process.
for idx, filename in enumerate(csv_files, start=1):
    input_csv = os.path.join(self.input_dir, filename)
    output_sheet = f"{idx:02d}-{filename[7:11]}"

    print(f"Loading: {input_csv} into sheet: {output_sheet}")
    self.load_csv(input_csv, output_sheet)
Each CSV gets its moment in the spotlight with a shiny new sheet. No CSV left behind!
Saving The Sheet
Once the CSVs are loaded, we clean up the temporary sheet, because who needs a placeholder hanging around, when the real work is done?
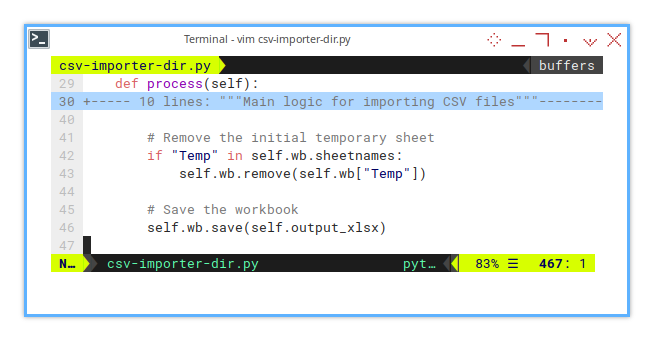
        # Remove the initial temporary sheet
        if "Temp" in self.wb.sheetnames:
            self.wb.remove(self.wb["Temp"])
It’s like cleaning up after a party, except our workbook won’t complain about the mess.
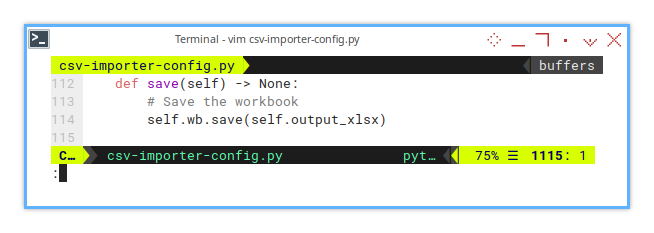
And finally saved to Excel file.
        # Save the workbook
        self.wb.save(self.output_xlsx)
This step seals the deal, turning our CSV chaos into a sleek, organized workbook. Automation at its finest.
Class Instance
Path
The macro function simply creates a class instance with path arguments. Be mindful that paths differ between Linux and Windows systems.

def main() -> None:
    input_dir = '/home/epsi/movies-by-year/'
    output_xlsx = 'movies_by_year.xlsx'

    csv_importer = CSVImporterDir(input_dir, output_xlsx)
    csv_importer.process()
Whether you’re rocking Linux, Windows, or a system from the distant future. Please, be sure your paths match the environment.
Consistency matters when wrangling files.
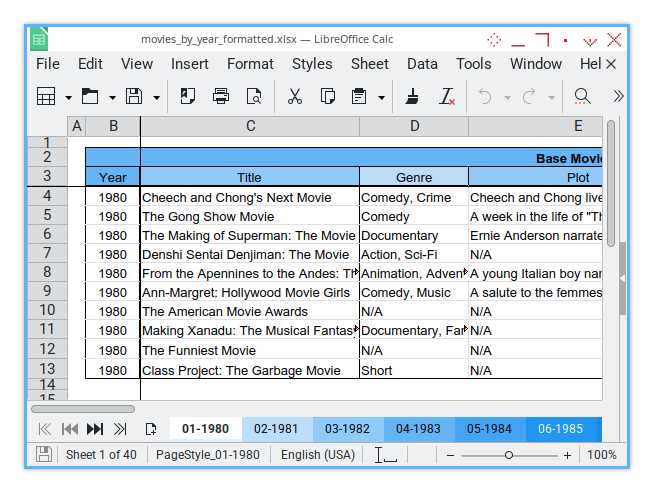
Sheet Result
The result of the saved sheet is displayed in the screenshot below:
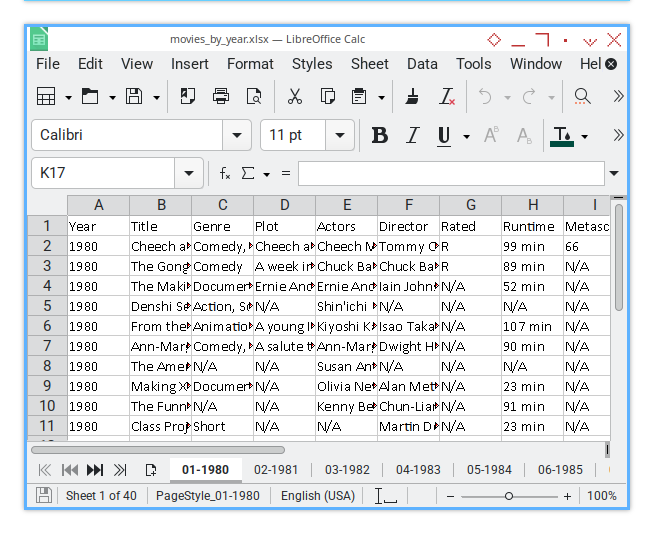
You can download the example XLSX result here:
And just like that, we have merged a mountain of CSVs into a sleek Excel workbook.
2: CSV Importer: By Config
Real-life use cases often require more flexibility, like choosing specific CSV files to import, so we introduce a TOML configuration to handle these needs.
TOML Configuration
The TOML configuration provides a clean, human-readable format to specify the input directory and the exact CSV files to process.
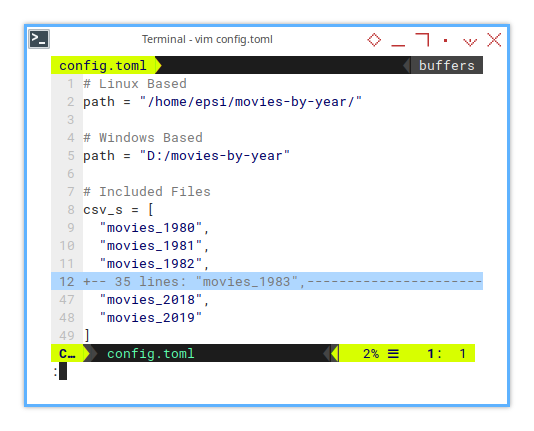
Instead of processing every CSV file in a directory, this approach allows us to cherry-pick specific files. It’s perfect when we only need a subset of data, without drowning in CSV chaos.
# Linux Based
path = "/home/epsi/movies-by-year"

# Windows Based
path = "D:/movies-by-year"

# Included Files
csv_s = [
  "movies_1980",
  "movies_1981",
  "movies_1982",
  ...
  ...
  "movies_2018",
  "movies_2019"
]
Just remember, paths vary between Linux and Windows, and confusing them can quickly turn our script into a cross-platform headache.
Import Library
To work with TOML files, we use the tomli package.
It’s lightweight, reliable, and gets the job done without fuss.
import tomli, csv
from datetime import datetime
from openpyxl import Workbook, load_workbook
Libraries like tomli simplify configuration handling,
making our script more adaptable without requiring manual code changes.
Script Skeleton
We need a base class.
The script structure is similar to the directory based approach, with a new focus on reading and applying configurations.
You can find the script here:
There are some additional methods.
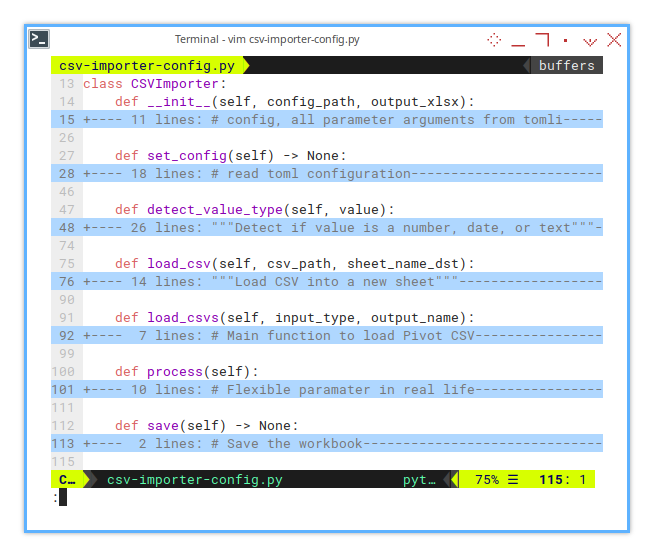
Using a structured class makes it easier to extend the script in the future.
class CSVImporter:
    def __init__(self, config_path, output_xlsx):
        ...

    def set_config(self) -> None:
        ...

    def detect_value_type(self, value):
        ...

    def load_csv(self, csv_path, sheet_name_dst):
        ...

    def load_csvs(self, input_type, output_name):
        ...

    def process(self):
        ...

    def save(self) -> None:
        ...


def main() -> None:
    ...
Initialization
Initialization follows the same principles
as the previous directory based importer,
but now we load our configuration from a TOML file,
using config.toml as the source.
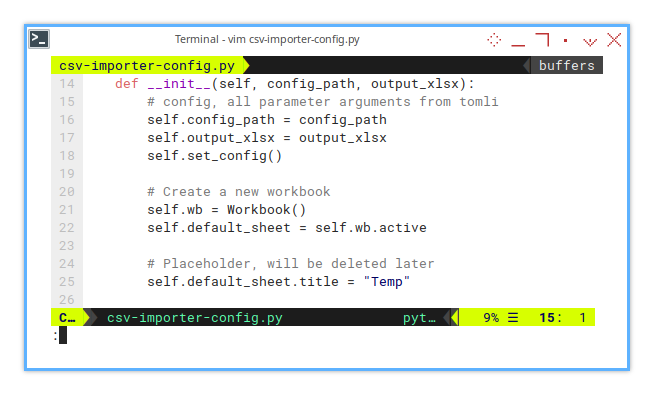
    def __init__(self, config_path, output_xlsx):
        # config, all parameter arguments from tomli
        self.config_path = config_path
        self.output_xlsx = output_xlsx
        self.set_config()

        # Create a new workbook
        self.wb = Workbook()
        self.default_sheet = self.wb.active

        # Placeholder, will be deleted later
        self.default_sheet.title = "Temp"
This setup keeps our logic clean and modular. We only need to update the TOML file to change input parameters. No more messing with the script itself. Efficient, right?
Configuration
To make our CSV importer more adaptable, we need to build a list of dictionaries that maps:
- filename (input-expand)
- sheetname (sheet-expand)
The term expand comes from my internal naming convention.
Depending on the processing stage,
I name my CSV files in various way: tabular, expand, pivot, and stat (for statistical data).
It’s my way of keeping track without losing my sanity in a sea of spreadsheets.
This list is stored in self.filenames,
mirroring the approach used in the LibreOffice Calc macro.
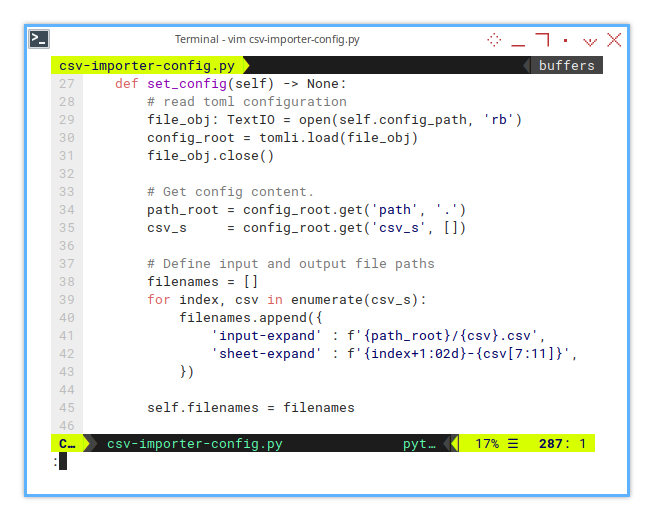
    def set_config(self) -> None:
        # read toml configuration
        file_obj: TextIO = open(self.config_path, 'rb')
        config_root = tomli.load(file_obj)
        file_obj.close()

        # Get config content.
        path_root = config_root.get('path', '.')
        csv_s     = config_root.get('csv_s', [])

        # Define input and output file paths
        filenames = []
        for index, csv in enumerate(csv_s):
            filenames.append({
                'input-expand' : f'{path_root}/{csv}.csv',
                'sheet-expand' : f'{index+1:02d}-{csv[7:11]}',
            })

        self.filenames = filenames
The worksheet names, as shown below, are simple and clean, no fancy colors (yet). Sometimes less is more, but don’t worry, we’ll spice it up later.

No color. Simple.
Loading CSV
Value detection: The glow-up our data deserves.
Here’s where things get a little smarter. In the previous method, we treated everything as a string, like that one friend who only communicates via text. This time, we’ll detect actual data types.
When loading the CSV, we check each value and convert it accordingly. But why? Because nobody wants to treat 42 as a string, unless we’re building an existential data model, where numbers are just an illusion.
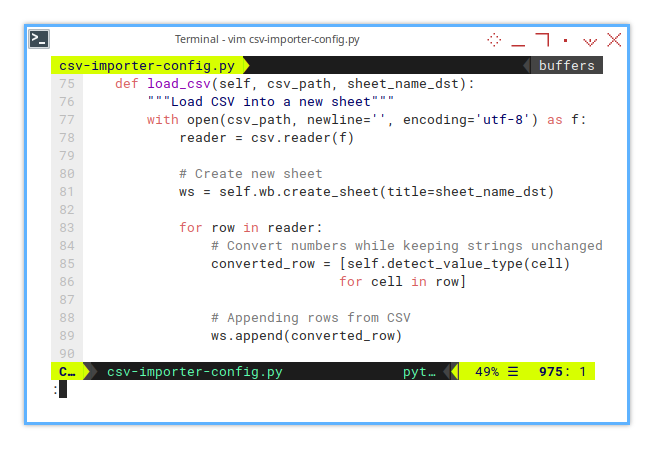
    def load_csv(self, csv_path, sheet_name_dst):
        """Load CSV into a new sheet"""
        with open(csv_path, newline='', encoding='utf-8') as f:
            reader = csv.reader(f)

            # Create new sheet
            ws = self.wb.create_sheet(title=sheet_name_dst)

            for row in reader:
                # Convert numbers while keeping strings unchanged
                converted_row = [self.detect_value_type(cell) for cell in row]

                # Appending rows from CSV
                ws.append(converted_row)
Take note of this line:
converted_row = [self.detect_value_type(cell) for cell in row]This applies our detect_value_type() method to each cell in the row,
transforming our humble CSV into a workbook that respects numbers, dates, and more.
Detecting Value Type
Empty or not empty, that is the question.
We classify values into four main categories:
- Empty
- Date and time
- Number
- String (for everything else because life is unpredictable)
Let’s start with the easiest check—empty values. If a value is blank, we return None. Excel loves its blanks, and so should we.
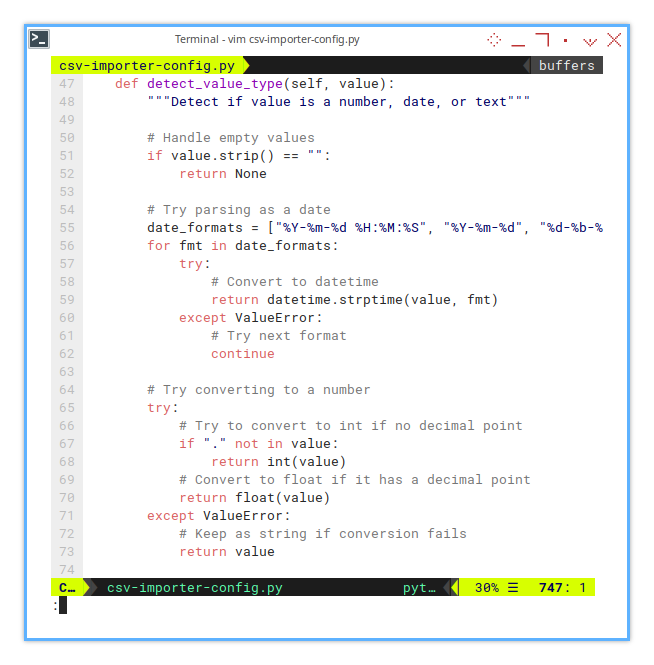
    def detect_value_type(self, value):
        """Detect if value is a number, date, or text"""

        # Handle empty values
        if value.strip() == "":
            return None
Next, we try to detect dates.
Because handling dates is like handling gremlins,
if we don’t treat them right, chaos ensues
We attempt multiple date formats (YYYY-MM-DD, DD-MMM-YYYY, etc.)
to ensure nothing sneaks past.
        # Try parsing as a date
        date_formats = ["%Y-%m-%d %H:%M:%S", "%Y-%m-%d", "%d-%b-%Y"]
        for fmt in date_formats:
            try:
                # Convert to datetime
                return datetime.strptime(value, fmt)
            except ValueError:
                # Try next format
                continue
When it comes to numbers, we distinguish between integers and floats. If a decimal point is absent, it’s an integer. If it’s present, it’s a float. And if it fails to be either—well, it’s just a string living its best life.
        # Try converting to a number
        try:
            # Try to convert to int if no decimal point
            if "." not in value:
                return int(value)
            # Convert to float if it has a decimal point
            return float(value)
        except ValueError:
            # Keep as string if conversion failsrExtra
            return value
This intelligent value detection prevents data from becoming a soup of text, ensuring numbers and dates retain their rightful forms. It’s a small touch but makes a world of difference when working with large datasets.
Process
Time to unleash the CSVs!
Here, we loop through self.filenames
and load the content into separate sheets.
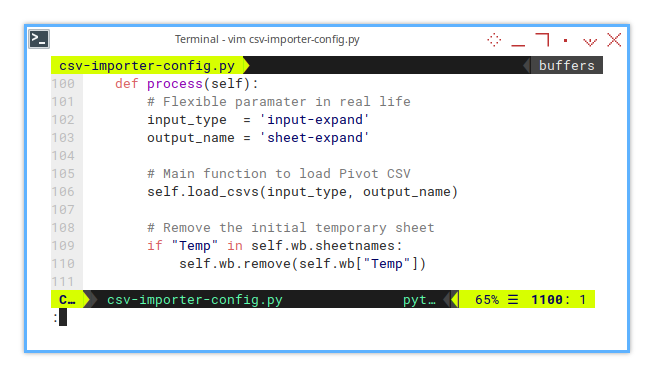
    def process(self):
        # Flexible paramater in real life
        input_type  = 'input-expand'
        output_name = 'sheet-expand'

        # Main function to load Pivot CSV
        self.load_csvs(input_type, output_name)

        # Remove the initial temporary sheet
        if "Temp" in self.wb.sheetnames:
            self.wb.remove(self.wb["Temp"])
And the actual CSV loading method:

    def load_csvs(self, input_type, output_name):
        # Main function to load Pivot CSV
        for filename in self.filenames:
            input_csv    = filename[input_type]
            output_sheet = filename[output_name]

            print(f"Loading: {input_csv}")
            self.load_csv(input_csv, output_sheet)
Saving Worksheet
What’s the point of all this magic if we don’t save it?
    def save(self) -> None:
        # Save the workbook
        self.wb.save(self.output_xlsx)
Class Instance
Config Path
The main method instantiating the class with the prepared parameters. Instead of using a plain directory, we feed in a config path, offering more customization options.
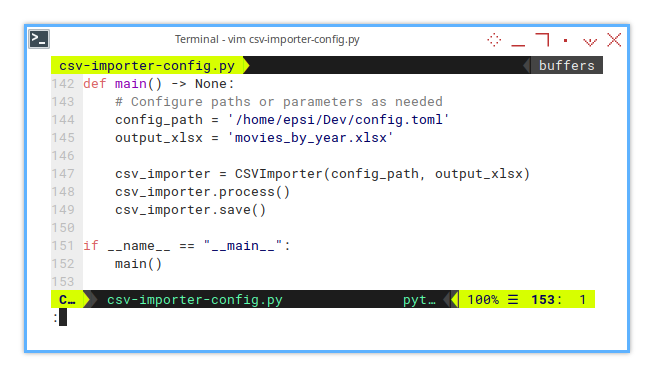
def main() -> None:
    # Configure paths or parameters as needed
    config_path = '/home/epsi/Dev/config.toml'
    output_xlsx = 'movies_by_year.xlsx'

    csv_importer = CSVImporte(config_path, output_xlsx)
    csv_importer.process()
    csv_importer.save()

if __name__ == "__main__":
    main()
Sheet Result
The output looks similar to the previous method, but now, we are in control.
I’m using this script heavily, but of course, my CSV data is not about movies.
3: Tab Colorizer
Adding a splash of color to our worksheet tabs not only looks cool. It also helps us quickly identify different sections at a glance. Here, we’ll extend our previous CSV importer by adding a new class, that applies color to worksheet tabs.
It’s a light-hearted way to break the technical tone. Even small aesthetic touches can bring a sense of order.
Import Library
First, we import the necessary color scales. This example uses Google Material Color scales but feel free to customize them to match your aesthetic.
from lib.ColorScale import (
  clBlack, blueScale, tealScale, amberScale, brownScale, greenScale, redScale)
Script Skeleton
We create a new flexible extra class named CSVImporterExtra,
by extending the previous CSVImporter class.
This lets us add new features without messing with the original logic.
As future rolling-on, you will thank you for keeping things modular.
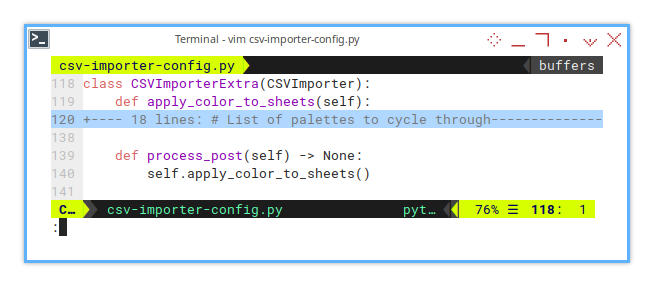
class CSVImporterExtra(CSVImporter):
    def apply_color_to_sheets(self):
        ...

    def process_post(self) -> None:
        ...

def main() -> None:
    ...
Color Scale
Here’s where the magic happens. We define a few palettes using Google Material Color scales, perfect for bringing life to those plain worksheet tabs.
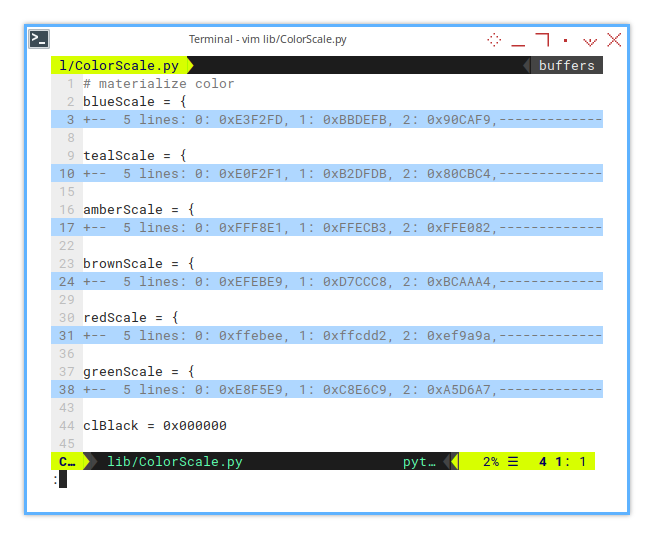
# materialize color
blueScale   = {...}
tealScale  = {...}
amberScale = {...}
brownScale = {...}
redScale   = {...}
greenScale = {...}

clBlack = 0x000000
You can adjust the color scale to suit your needs. Actually I do have alternative palletes.
If you’re feeling adventurous, go wild. Add your favorite color palette. Maybe even rainbow gradients?
Your spreadsheet, your rules.
Applying Color
Bring colors to life
You may adjust the logic to suit your needs. We’ll cycle through a list of palettes, applying a different hue to each worksheet tab. This not only adds flair, but also makes navigating large workbooks a breeze.

    def apply_color_to_sheets(self):
      # List of palettes to cycle through
      palettes = [blueScale, tealScale, amberScale, brownScale]

      # Loop through each sheet
      sheets = self.wb.worksheets

      for i in range(len(sheets)):
        sheet = sheets[i]

        # Cycle through 4 palettes
        palette_index = (i // 10) % 4
        # Cycle through 0 to 9 for each palette
        color_index = i % 10

        # Get the color from the selected palette
        tab_color = palettes[palette_index][color_index]
        # Set the tab color
        sheet.sheet_properties.tabColor = f"{tab_color:06X}"
We cycle through the color palettes, and apply a unique tab color to each worksheet. This logic supports up to 40 sheets, without repeating a color, but you can expand it to your heart’s content.
Post Processing
Why stop at just importing CSVs when we can add a finishing touch?
This process_post() method allows us to slot in extra steps,
like tab coloring,
after the main CSV import process.
    def process_post(self) -> None:
        self.apply_color_to_sheets()
In real-life spreadsheets, I manage sheet names, and assign specific colors to different groups. This allows for handling special cases with unique treatments. As requirements grow, this process will naturally expand to accommodate more conditions.
But the base class stay the same. Intact.
Class Instance
Config Path
Now we can insert process_post() method, to apply the new color.
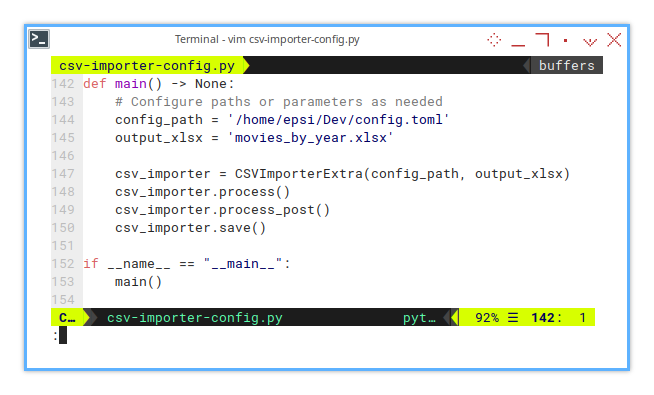
def main() -> None:
    # Configure paths or parameters as needed
    config_path = '/home/epsi/Dev/config.toml'
    output_xlsx = 'movies_by_year.xlsx'

    csv_importer = CSVImporterExtra(config_path, output_xlsx)
    csv_importer.process()
    csv_importer.process_post()
    csv_importer.save()
Ensuring the sheet tabs are vibrant and easy to navigate.
Sheet Result
After running the script, our Excel workbook will have beautifully colorized worksheet tabs.
This makes it easier to navigate through large datasets. And hey, it looks pretty slick too.
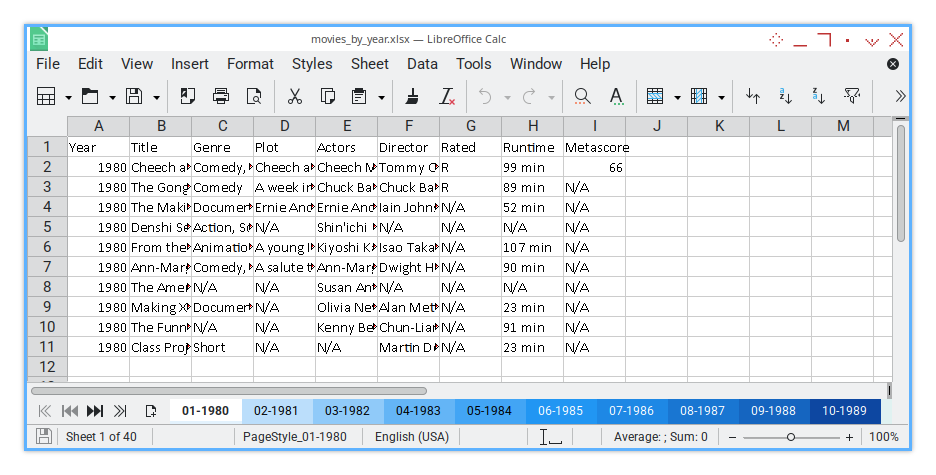
Colorized.
What is Next 🤔?
Now that we’ve automated sheet importing, let’s move on to the next step: a simple-config class for rearranging columns.
The basic flow will focus on formatting both single and multiple sheets.
Feel free to continue reading [ Formatter - Excel Config - One ].