Preface
Goal: Separating formatting code and configuration. Example class using simple configuration.
After completing the basic macro, we can now move on to implementing simple configuration, and explore how far we can refine the formatting.
This step allows us to better organize the code, by separating the configuration from the formatting logic.
Example Sheet
You can download the example ODS source here:
And the corresponding XLSX result here:
This workbook contains 40 worksheets, providing a good sample to demonstrate, the use of formatting and configuration.
04: Step Four
This will be the first time, that we introduce configuration metadata in our process.
Step Overview
In this section, we will cover the following topics:
- Initialization: Prepare Sheet
- Configuration: Field Metadata Configuration
- Helper: Column Letter to Index
- Helper: Number Formats
- Formatting Procedure: Format Columns
Macro Source
The macro source for this step can be obtained in this repository:
Class Diagram
Highlighted parts
In this step, you’ll see the introduction
of an abstract method named init_field_metadata(),
a protected helper method called column_letter_to_index(),
and a private formatting procedure set_columns_format().
The get_number_format() helper supports
the set_columns_format() procedure by providing number formatting information.
Additionally, a new method called prepare_sheet()
has been added to the descendant class,
which handles the initialization of the sheet.
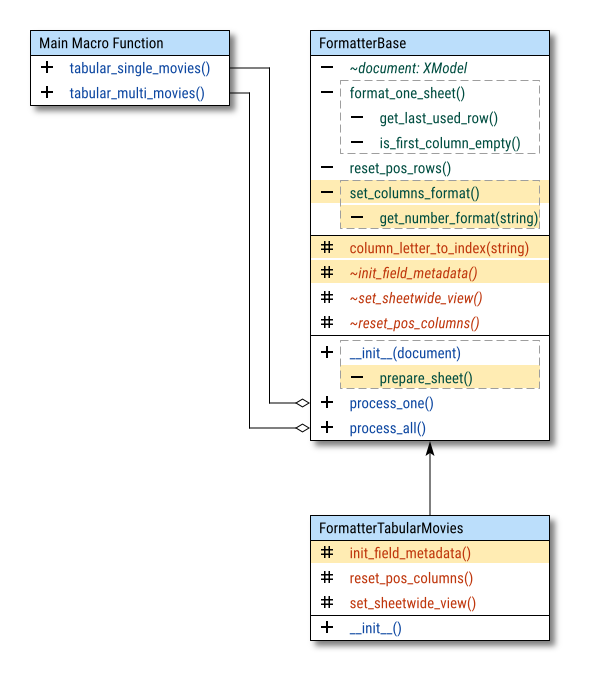
All abstract methods are protected and denoted by the sharp # symbol.
These methods do not need to be public because they are not intended to be accessed outside the class.
They cannot be private either, as they are meant to be overridden in descendant classes.
Import Statements
In this step, we introduce an additional import statement.
The com.sun.star module is the root module of the LibreOffice UNO API,
which allows access to LibreOffice’s underlying components,
such as documents, tables, spreadsheets, and formatting capabilities.
Here is the updated import block:
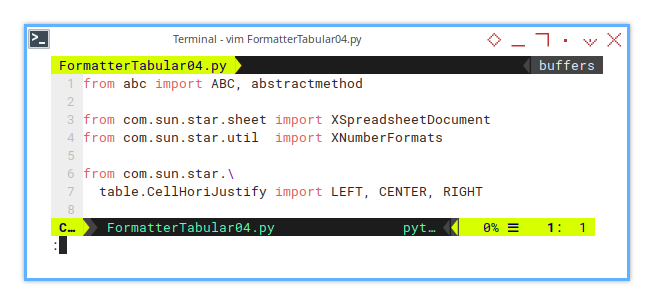
from abc import ABC, abstractmethod

from com.sun.star.\
  table.CellHoriJustify import LEFT, CENTER, RIGHT
Abstract Method
In this step, we introduce additional abstract methods to the base class.
These methods are all protected and denoted by the # sharp symbol,
indicating they must be implemented by descendant classes.
Here is the updated FormatterBase class with the new abstract method init_field_metadata:
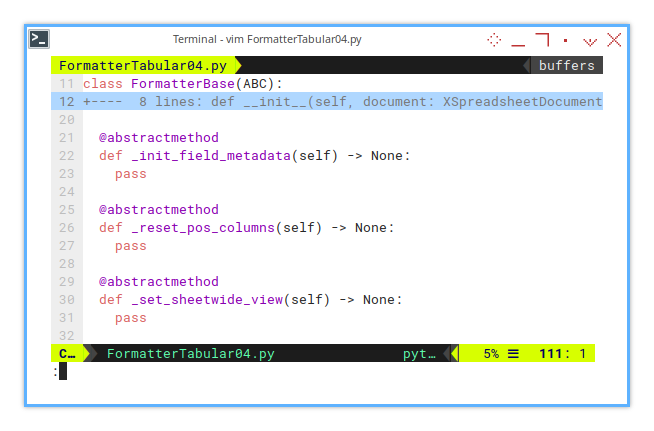
from abc import ABC, abstractmethod

class FormatterBase(ABC):
  ...

  @abstractmethod
  def _init_field_metadata(self) -> None:
    pass

  @abstractmethod
  def _reset_pos_columns(self) -> None:
    pass

  @abstractmethod
  def _set_sheetwide_view(self) -> None:
    pass
Configuration Metadata
The configuration metadata is a simple dictionary, that holds essential column details, such as the column letter, width, and alignment. This allows you to manage the layout of columns in a flexible way.
Here is the implementation of
the _init_field_metadata() method that initializes the field metadata:
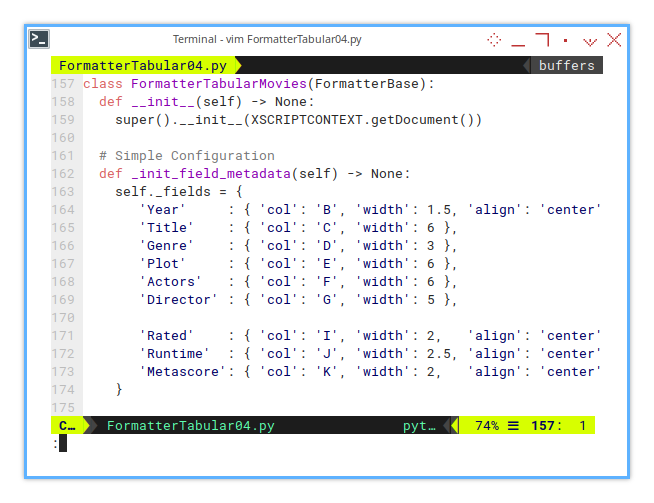
  def _init_field_metadata(self) -> None:
    self._fields = {
       'Year'     : { 'col': 'B', 'width': 1.5, 'align': 'center' },
       'Title'    : { 'col': 'C', 'width': 6 },
       'Genre'    : { 'col': 'D', 'width': 3 },
       'Plot'     : { 'col': 'E', 'width': 6 },
       'Actors'   : { 'col': 'F', 'width': 6 },
       'Director' : { 'col': 'G', 'width': 5 },

       'Rated'    : { 'col': 'I', 'width': 2,   'align': 'center' },
       'Runtime'  : { 'col': 'J', 'width': 2.5, 'align': 'center' },
       'Metascore': { 'col': 'K', 'width': 2,   'align': 'center' }
    }
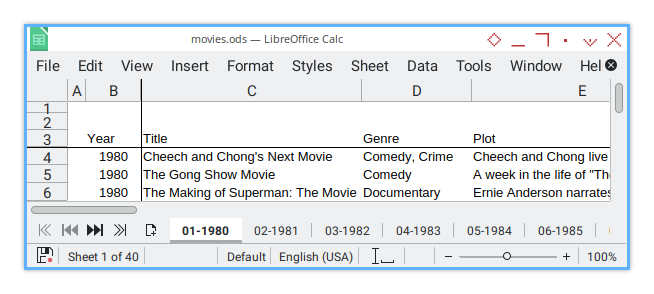
Here is the result where the field metadata, aligns with the column letters in the sheet:
This init_field_metadata() method is called during the initialization of the base class.
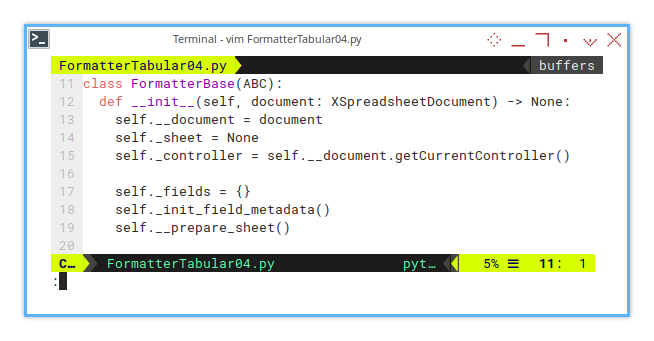
class FormatterBase(ABC):
  def __init__(self, document: XSpreadsheetDocument) -> None:
    self.__document = document
    self._sheet = None
    self._controller = self.__document.getCurrentController()

    self._fields = {}
    self._init_field_metadata()
    self.__prepare_sheet()
This step is a core part of the class, but it is flexible enough that its implementation can be customized in descendant classes.
Basic Flow
Now we can extend the basic flow by adding set_columns_format().
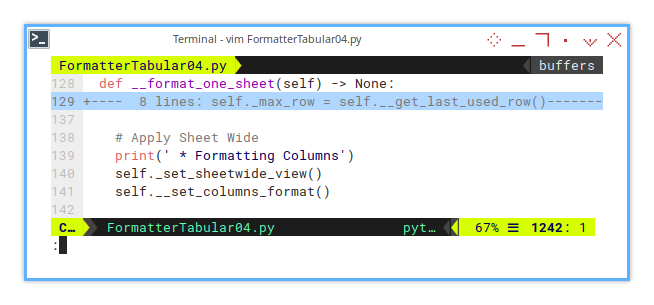
  def format_one_sheet(self) -> None:
    ...

    # Apply Sheet Wide
    print(' * Formatting Columns')
    self._set_sheetwide_view()
    self.__set_columns_format()
The __set_columns_format() is written in the base class.
Formatting: Set Columns Formats
Let’s now look at the __set_columns_format() method in the base class.
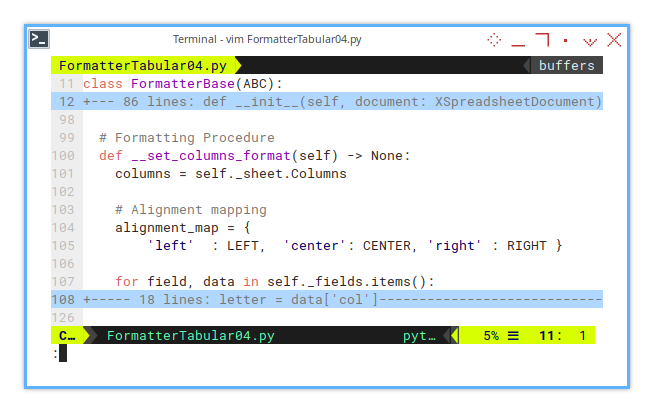
class FormatterBase(ABC):
  ...

  def __set_columns_format(self) -> None:
    columns = self._sheet.Columns

    # Alignment mapping
    alignment_map = {
        'left'  : LEFT,  'center': CENTER, 'right' : RIGHT }

    for field, data in self.fields.items():
      ...
The loop will iterate through all metadata, and for each item, it will set the following formatting properties:
- Width
- Alignment
- Number Format
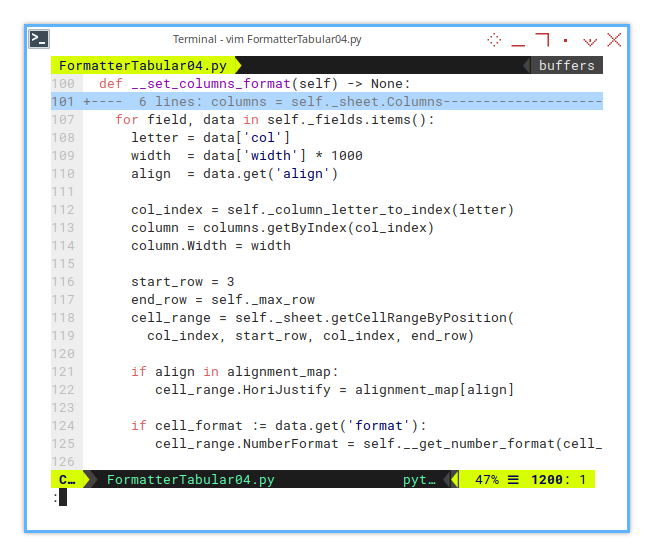
    for field, data in self._fields.items():
      letter = data['col']
      width  = data['width'] * 1000
      align  = data.get('align')

      col_index = self._column_letter_to_index(letter)
      column = columns.getByIndex(col_index)
      column.Width = width

      start_row = 3
      end_row = self._max_row
      cell_range = self._sheet.getCellRangeByPosition(
        col_index, start_row, col_index, end_row)

      if align in alignment_map:
         cell_range.HoriJustify = alignment_map[align]

      if cell_format := data.get('format'):
         cell_range.NumberFormat = self.__get_number_format(cell_format)
This method requires two helpers:
_column_letter_to_index()_get_number_format()
Helper: Column Letter to Index
The _column_letter_to_index() helper has multiple uses later,
and will be accessed from the descendant class.
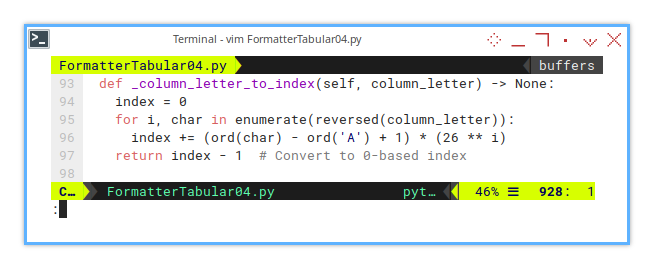
  def _column_letter_to_index(self, column_letter) -> None:
    index = 0
    for i, char in enumerate(reversed(column_letter)):
      index += (ord(char) - ord('A') + 1) * (26 ** i)
    return index - 1  # Convert to 0-based index
Helper: Get Number Format
The __get_number_format() helper is used within the __set_columns_format() method,
to retrieve the correct number format.
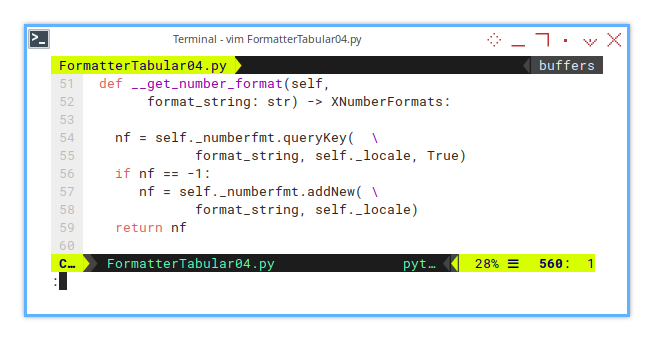
  def __get_number_format(self,
        format_string: str) -> XNumberFormats:

    nf = self._numberfmt.queryKey(  \
              format_string, self._locale, True)
    if nf == -1:
       nf = self._numberfmt.addNew( \
              format_string, self._locale)
    return nf
Here, we use two properties:
self._numberfmtself._locale
We also need to import the following from com.sun.star:
from abc import ABC, abstractmethod

from com.sun.star.sheet import XSpreadsheetDocument
from com.sun.star.util  import XNumberFormats
Initialization: Prepare Sheet
A useful trick.
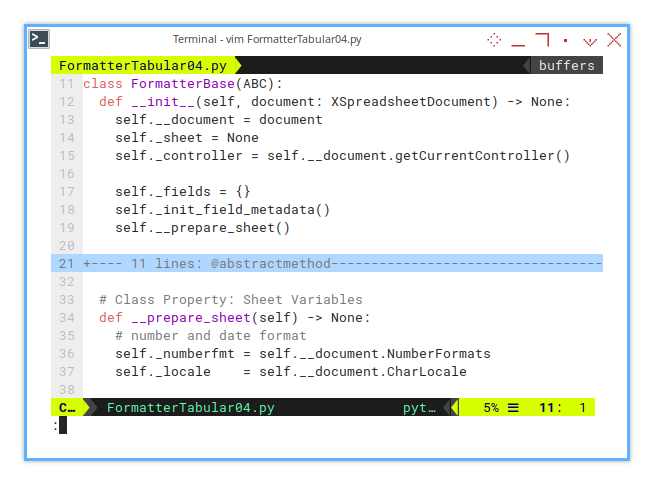
The get_number_format() helper requires
initialization of specific variables.
class FormatterBase(ABC):
  def __init__(self, document: XSpreadsheetDocument) -> None:
    self.__document = document
    self._sheet = None
    self._controller = self.__document.getCurrentController()

    self._fields = {}
    self._init_field_metadata()
    self.__prepare_sheet()
The details of this initialization are in the prepare_sheet() method.
  def __prepare_sheet(self) -> None:
    # number and date format
    self._numberfmt = self.__document.NumberFormats
    self._locale    = self.__document.CharLocale
I often use this trick in my other macros.
Sheet Result
The result output would be as shown below:
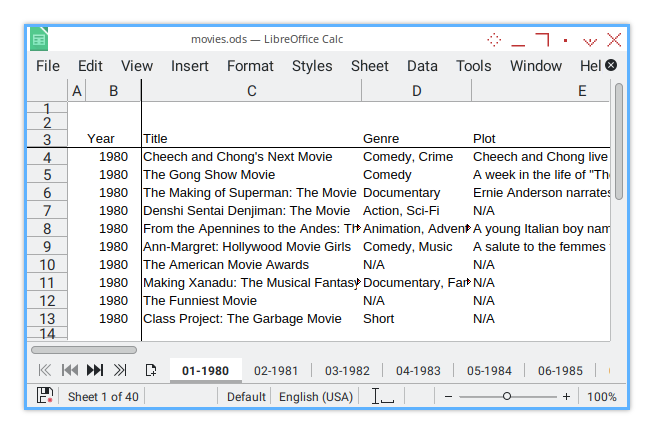
In this example, there isn’t much visual difference. However, the number format becomes more noticeable, when working with a larger dataset containing many numbers and dates.
05: Step Five
After the basic formatting, which may seem quite plain, we can now move on to adding color and borders.
Step Overview
In this section, we will cover the following topics:
- Helper: Format Cell Rectangle
- Predefined Constant: Color Scale (GMC)
- Predefined Constant: Line Format
- Formatting Procedure: Add merged title
Macro Source
The macro source can be obtained from this repository:
Class Diagram
The highlight and the new box
In this diagram, you’ll notice the abstract method add_merged_title()
and the protected helper format_cell_rectangle(),
which serves as a supporting method.
Additionally, there’s a new box that represents the color scale.
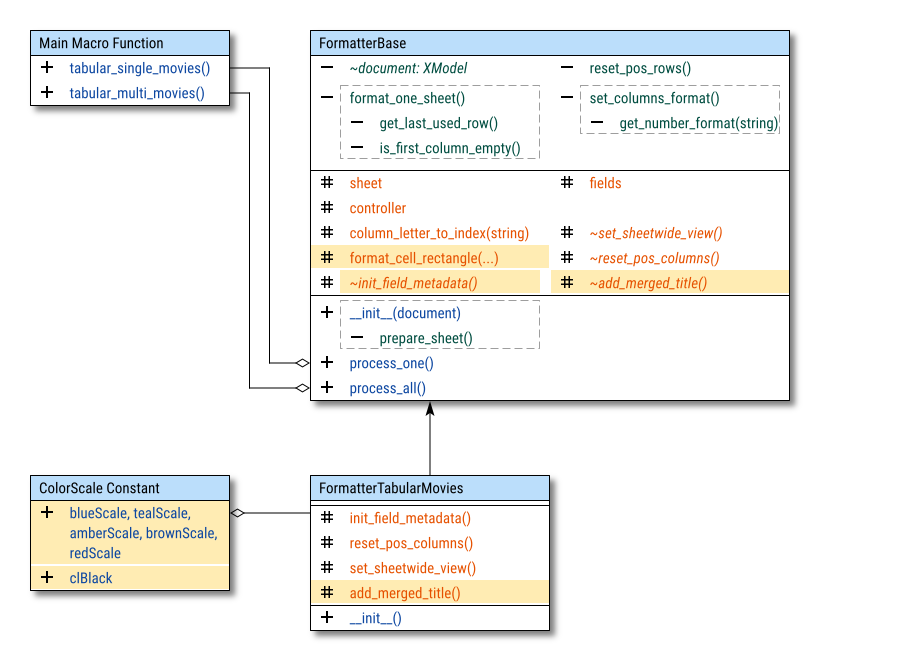
You might wonder why prepare_sheet() is also highlighted.
The reason is that it has undergone many additions,
almost resembling a new method on its own.
Import Statements
We need to add a few more import statements from com.sun.star:
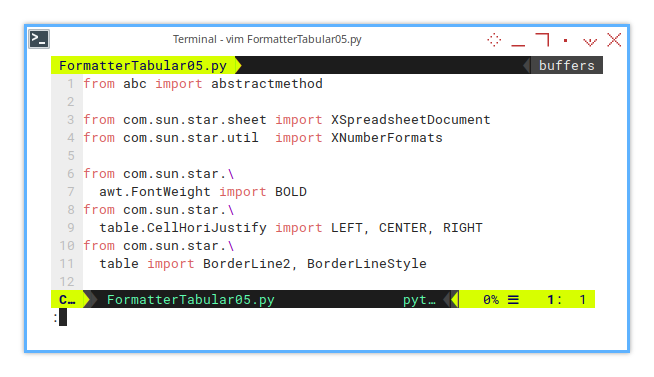
from abc import ABC, abstractmethod

from com.sun.star.sheet import XSpreadsheetDocument
from com.sun.star.util  import XNumberFormats

from com.sun.star.\
  awt.FontWeight import BOLD
from com.sun.star.\
  table.CellHoriJustify import LEFT, CENTER, RIGHT
from com.sun.star.\
  table import BorderLine2, BorderLineStyle
Constant: Color Scale
Since we’re adding some color, let’s define the color scale first. I prefer using a color scale, and my choice is the Google Material Color Scale.
For example, here’s the blue scale:
blueScale = {
  0: 0xE3F2FD, 1: 0xBBDEFB, 2: 0x90CAF9,
  3: 0x64B5F6, 4: 0x42A5F5, 5: 0x2196F3,
  6: 0x1E88E5, 7: 0x1976D2, 8: 0x1565C0,
  9: 0x0D47A1
}
Feel free to continue with the rest. You can add your own favorite color scales.
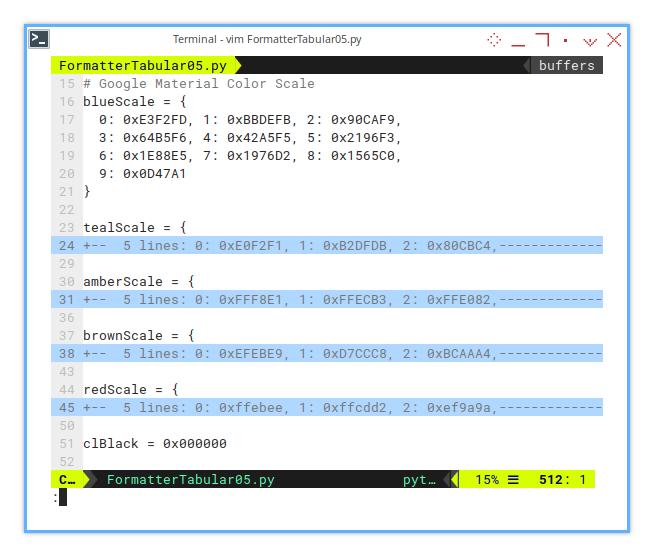
blueScale  = {...}
tealScale  = {...}
amberScale = {...}
brownScale = {...}
redScale   = {...}
And finally, let’s define the default black color:
clBlack = 0x000000Initialization: Prepare Sheet
We also need to define a border color. For example:
    lineFormatGray = BorderLine2()
    lineFormatGray.LineStyle = BorderLineStyle.SOLID
    lineFormatGray.LineWidth = 20
    lineFormatGray.Color = 0xE0E0E0 #gray300
    self.lfGray = lineFormatGray
This predefined border property can be included,
as a part of prepare_sheet().
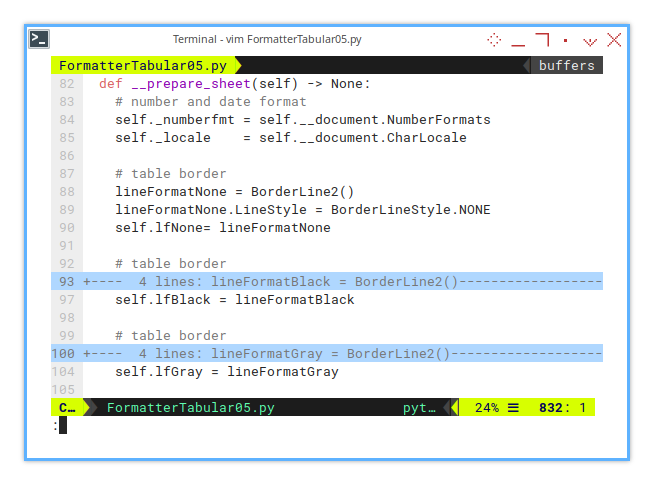
  def __prepare_sheet(self) -> None:
    # number and date format
    self._numberfmt = self.document.NumberFormats
    self._locale    = self.document.CharLocale

    ...
    self.lfNone= lineFormatNone

    ...
    self.lfBlack = lineFormatBlack

    ...
    self.lfGray = lineFormatGray
Basic Flow
Now we can extend the basic flow with add_merged_title().
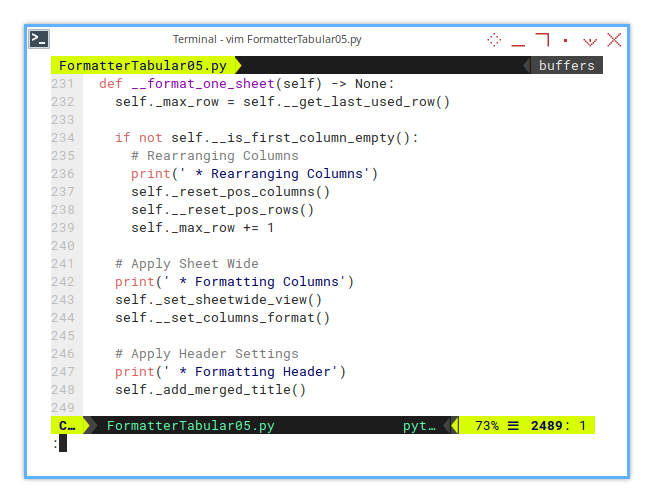
  def __format_one_sheet(self) -> None:
    ...

    # Apply Header Settings
    print(' * Formatting Header')
    self._add_merged_title()
And then having the implementation is written in descendant class.
Formatting: Add Merged Title
Now let’s look at the add_merged_title() method in the descendant class.
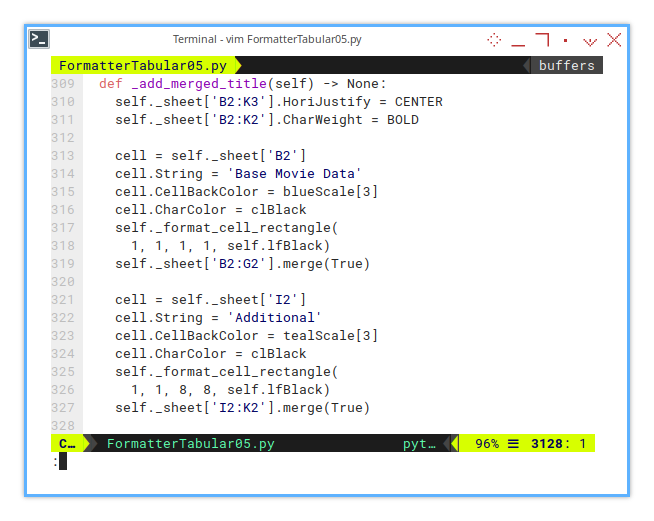
We’ll start by defining the property for the entire length of the column.
  def add_merged_title(self) -> None:
    self._sheet['B2:K3'].HoriJustify = CENTER
    self._sheet['B2:K2'].CharWeight = BOLD
The ranges are hardcoded in this method. We’ll address this later in the unified configuration, where we’ll calculate the range automatically.
Next, let’s move on to changing the properties, for the first block of columns, one by one. We’ll also move the hardcoded settings into the unified configuration later.
    cell = self._sheet['B2']
    cell.String = 'Base Movie Data'
    cell.CellBackColor = blueScale[3]
    cell.CharColor = clBlack
    self._format_cell_rectangle(
      1, 1, 1, 1, self.lfBlack)
    self._sheet['B2:G2'].merge(True)
Then, for the second block of columns, we do the same.
Also notice the use of format_cell_rectangle().
    cell = self._sheet['I2']
    cell.String = 'Additional'
    cell.CellBackColor = tealScale[3]
    cell.CharColor = clBlack
    self._format_cell_rectangle(
      1, 1, 8, 8, self.lfBlack)
    self._sheet['I2:K2'].merge(True)
That’s it for the main title of the column block.
Helper: Format Cell Rectangle
So, what’s inside the _format_cell_rectangle() method?
It automates the long process of formatting borders:
- Four Edges: top, botom, left, right.
- Four Corners: top_left, top_right, bottom_left, bottom_right.
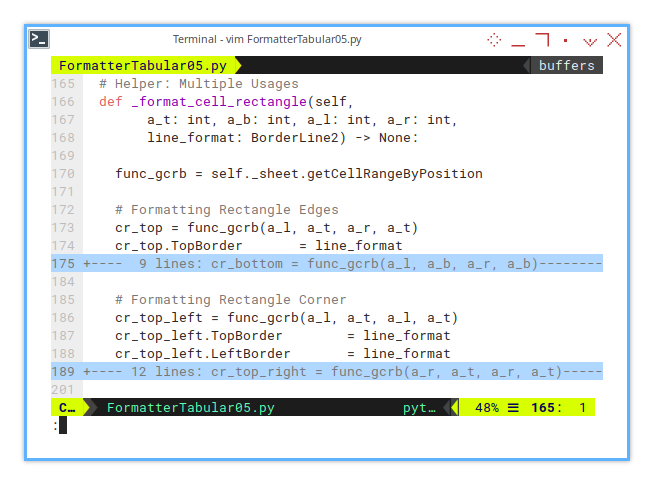
We need to define the cell range for these eight border settings, each with a different cell range. To avoid writing long, unreadable code, we create a shortcut method.
  def _format_cell_rectangle(self,
        a_t: int, a_b: int, a_l: int, a_r: int,
        line_format: BorderLine2) -> None:

    func_gcrb = self._sheet.getCellRangeByPosition
Now we can directly format the borders
for the rectangle edges: top, bottom, left, right.
    cr_top = func_gcrb(a_l, a_t, a_r, a_t)
    cr_top.TopBorder       = line_format

    cr_bottom = func_gcrb(a_l, a_b, a_r, a_b)
    cr_bottom.BottomBorder = line_format

    cr_left = func_gcrb(a_l, a_t, a_l, a_b)
    cr_left.LeftBorder     = line_format

    cr_right = func_gcrb(a_r, a_t, a_r, a_b)
    cr_right.RightBorder   = line_format
And for the rectangle corners:
top_left, top_right, bottom_left, bottom_right.
    cr_top_left = func_gcrb(a_l, a_t, a_l, a_t)
    cr_top_left.TopBorder        = line_format
    cr_top_left.LeftBorder       = line_format

    cr_top_right = func_gcrb(a_r, a_t, a_r, a_t)
    cr_top_right.TopBorder       = line_format
    cr_top_right.RightBorder     = line_format

    cr_bottom_left = func_gcrb(a_l, a_b, a_l, a_b)
    cr_bottom_left.BottomBorder  = line_format
    cr_bottom_left.LeftBorder    = line_format

    cr_bottom_right = func_gcrb(a_r, a_b, a_r, a_b)
    cr_bottom_right.BottomBorder = line_format
    cr_bottom_right.RightBorder  = line_format
That’s it for formatting the column block title.
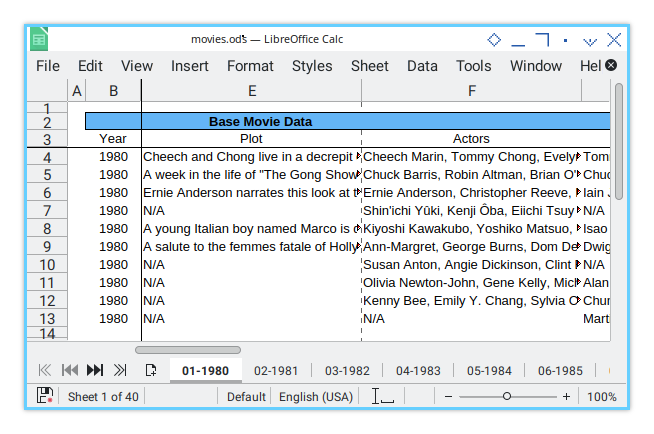
Sheet Result
The output of the result is shown below:
What is Next 🤔?
After applying the basic formatting, we can colorize the header and add borders to both the header and the data.
Consider continuing with [ Formatter - Simple Config - Three ].