Preface
Goal: Decorate the worksheet with nice looks.
With a little effort, we can turn this plain pivot table into a nice looks sheet.
Decoration: Main Macro
We are set to refine the Pivot class,
with a touch of embellishment.
Libraries
The necessary libraries now encompass style. The top part remains familiar.
import pandas as pd

from datetime import datetime, timedelta
from typing import Dict, List
from pandas import DataFrame

# Debugging purpose, just in case
from pprint import pprint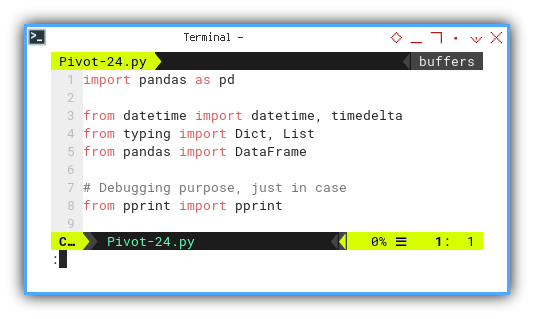
But the style required a few object from com.sun.star
from com.sun.star.\
  awt.FontWeight import BOLD
from com.sun.star.\
  table.CellHoriJustify import CENTER
from com.sun.star.\
  table import BorderLine2, BorderLineStyle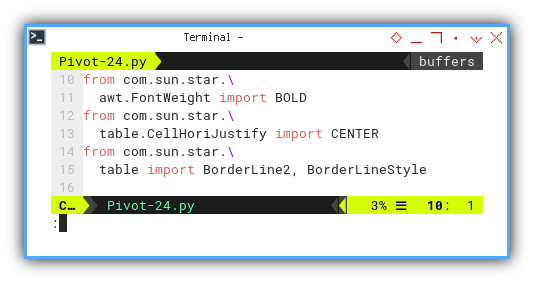
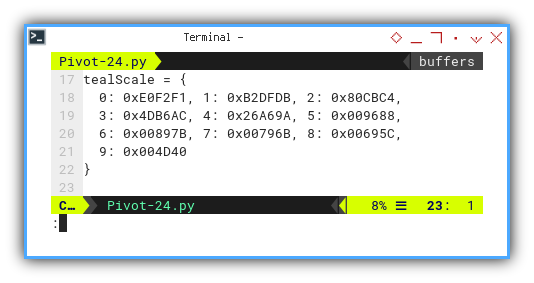
Additionally, for color, I’ve opted for Google Material Design. Naturally, you can choose to employ your own fill color preferences.
tealScale = {
  0: 0xE0F2F1, 1: 0xB2DFDB, 2: 0x80CBC4,
  3: 0x4DB6AC, 4: 0x26A69A, 5: 0x009688,
  6: 0x00897B, 7: 0x00796B, 8: 0x00695C,
  9: 0x004D40
}
With these new additions in the Calc Macro and all classes consolidated in a single file, the macro is expected to grow in length.
Macro Structure
The structure of the macro remains identical to the one outlined in the previous section:
class PivotReader:
  ...

class PivotWriter:
  ...

def main() -> None:
  ...
In fact the PivotReader is stay intact without any changes.
There are no modifications to this class.
In this part we are heavily alter the PivotWriter class.
Main Method
This is also exactly the same as previous article.
Now, let’s proceed with the implementation of the PivotWriter class.
Writer: Main Macro
Let’s tailor the newly crafted writer class to suit our needs.
Class Skeleton
Just refactoring
The class may appear more complex at first glance, but most changes are simply the result of refactoring from the previous class.
class PivotWriter:
  def __init__(self,
      sheetDestName: str,
      pivot_table: pd.DataFrame,
      categories: List[str],
      start_cell: str) -> None:
    ...

  def get_number_format(self, format_string):
    ...

  def prepare_sheet(self):
    ...

  def get_formatted_date(self, excel_date) -> None:
    ...

  def write_column_headers(self):
    ...

  def write_row_header(self,
      row_index: int, date: int) -> None:
    ...

  def write_row_content(self,
      row_index: int, row) -> None:
    ...

  def write_rows(self) -> None:
    ...

  def process(self) -> None:
    ...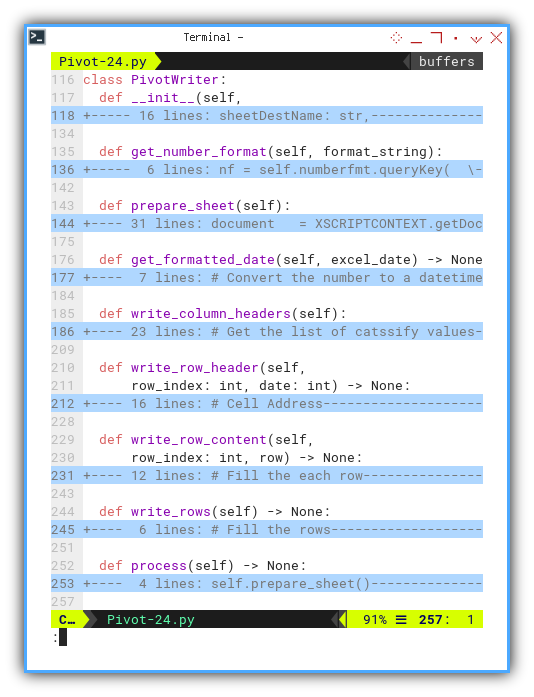
I’ve also introduced a get_number_format helper function,
streamlining the complex numbering format sequence.
Initialization
This remains identical to the setup in the previous article.
Format Numbering Key
LibreOffice’s formatting numbering relies on an internal index key. This is achieved through the following lines:
    nf = self.numberfmt.queryKey(  \
              format_string, self.locale, True)
    if nf == -1:
       nf = self.numberfmt.addNew( \
              format_string, self.locale)
    return nf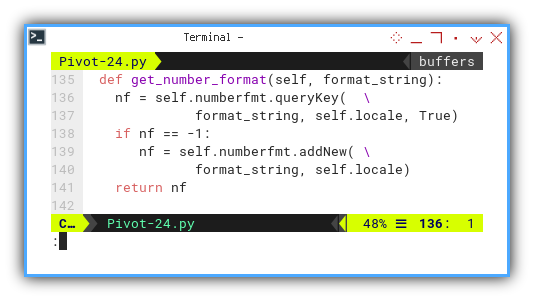
The process may seem a bit convoluted. Rather than straightforwardly setting the number format with a simple string, we need to first check the key. And after using it for a while, the logic starts to make sense.
Prepare Sheet
The method closely resembles the one in the previous article with two notable differences:
-
Initial Position
-
Alter number format.
-
A few additional lines related to table borders.
The initial position is now part of the preparation, as the starting cell address will be utilized in various methods. Storing it as an initial property proves more efficient.
    # Initial Position
    self.addr = self.sheet_dst[self.start_cell].CellAddress
we employ our newly created get_number_format() method.
    # number and date format
    self.numberfmt = document.NumberFormats
    self.locale    = document.CharLocale

    date_format = 'DD-MMM-YY;@'
    self.dateFormat = \
      self.get_number_format(date_format)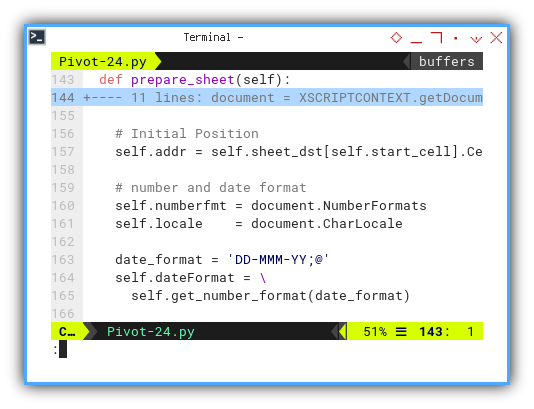
The table border is defined as follows:
    # table border
    lineFormat = BorderLine2()
    lineFormat.LineStyle = BorderLineStyle.SOLID
    lineFormat.LineWidth = 20
    lineFormat.Color = tealScale[9]
    self.lineFormat = lineFormat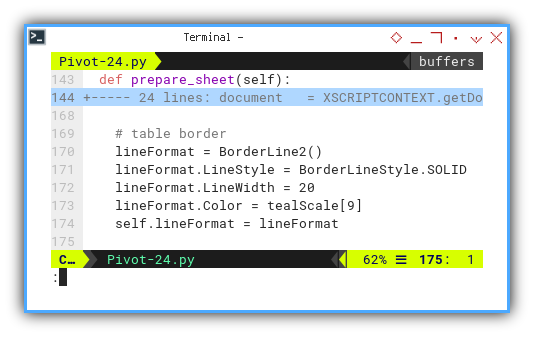
It’s fairly self-explanatory, and later visualization will provide further clarity.
Date in Terminal
Occasionally, we may want to preview results in the terminal, necessitating date conversion.
  def get_formatted_date(self, excel_date) -> None:
    # Convert the number to a datetime object
    # Excel's epoch is two days off from the standard epoch
    excel_epoch = datetime(1899, 12, 30)
    date_obj = excel_epoch + timedelta(days=excel_date)

    # Format the datetime object as 'dd/mm/yyyy'
    return date_obj.strftime('%d/%m/%Y')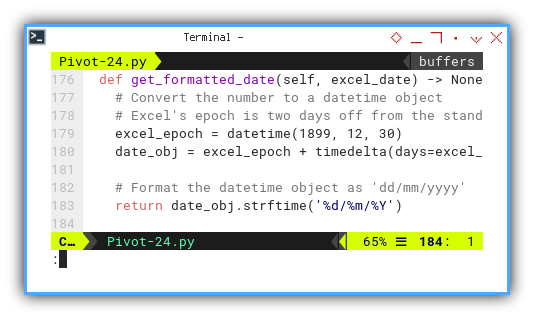
Process Flow
The reason behind creating write_rows() is
that the code will evolve, becoming more complex.
This early refactoring ensures
better preparation for future growth.
  def process(self) -> None:
    self.prepare_sheet()

    self.write_column_headers()
    self.write_rows()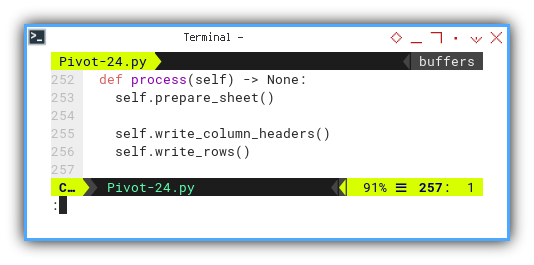
The flow of write_rows() resembles the following:
  def write_rows(self) -> None:
    # Fill the rows
    row_index = 0
    for date, row in self.pivot_table.iterrows():
      row_index += 1
      self.write_row_header(row_index, date)
      self.write_row_content(row_index, row)
This structured approach enhances clarity in the flow.
Filling Content
The actual cell writing takes place in this section.
Column Headers
Let’s commence with the values of the column headers.
This time, we introduce an additional Date header on the left.
  def write_column_headers(self):
    # Get the list of catssify values
    lookup_cats = ['Date'] + self.categories

    # Fill the cells horizontally
    for col, cat in enumerate(lookup_cats, start=0):
      col_pos = self.addr.Column + col
      col_row = self.addr.Row

      cell = self.sheet_dst. \
        getCellByPosition(col_pos, col_row)

      cell.String = cat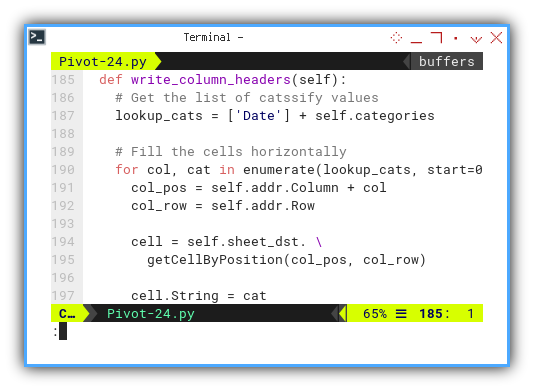
Subsequently, we can modify the cell properties, including font, fill color, and also column width.
      cell.String = cat
      cell.CharWeight = BOLD
      cell.BottomBorder = self.lineFormat

      if col_pos % 2:
        cell.CellBackColor = tealScale[1]
      else:
        cell.CellBackColor = tealScale[0]

      column = self.sheet_dst. \
        getColumns().getByIndex(col_pos)
      column.Width = 3000
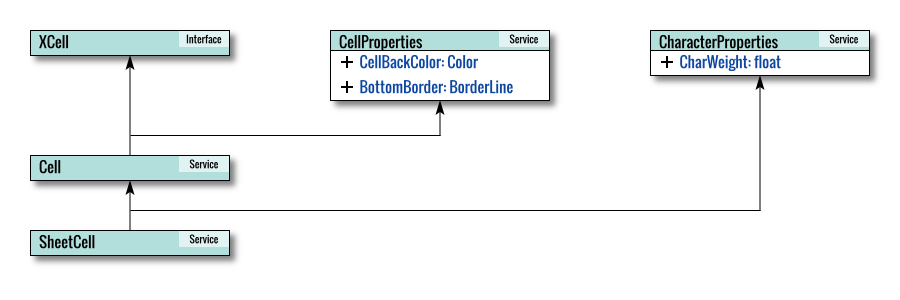
Internal Diagram
To provide insight into the internal workings of the LibreOffice API, let’s visualize the relevant services and interfaces.
Row Headers
The Date Index
Now, we iterate through each row, initiating the process by writing the date value as the row header. This includes specifying the date format for each date header.
For a sheet with numerous rows, the macro process might take a considerable amount of time. We need a way to see if the script is still working. To monitor progress, we can check the terminal.
  def write_row_header(self,
      row_index: int, date: int) -> None:

    # Cell Address
    col_pos = self.addr.Column
    row_pos = self.addr.Row + row_index

    formatted_date = self.get_formatted_date(date)
    print(f"  Date : {formatted_date}")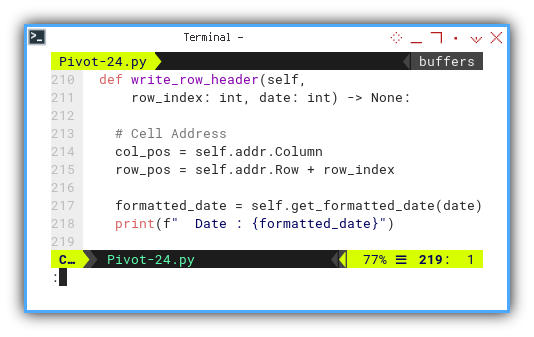
And view the result as below:
  Date : 19/02/2017
  Date : 20/02/2017
  Date : 21/02/2017
  Date : 22/02/2017
  Date : 23/02/2017
  Date : 24/02/2017
  Date : 25/02/2017
  Date : 26/02/2017
  Date : 27/02/2017
  Date : 28/02/2017
  ...
  Date : 01/04/2017
  Date : 02/04/2017
  Date : 03/04/2017
  Date : 04/04/2017
  Date : 05/04/2017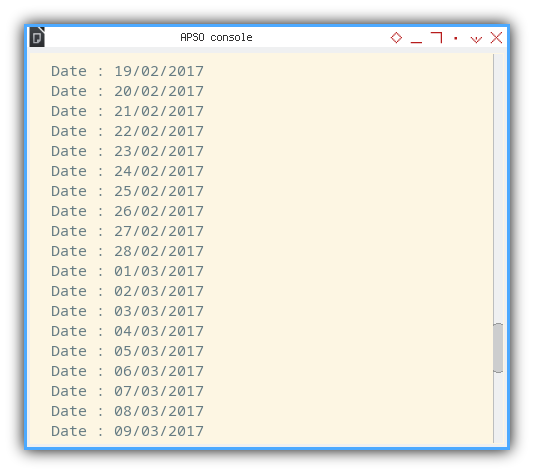
and also applies decoration.
    cell = self.sheet_dst. \
      getCellByPosition(col_pos, row_pos)
    cell.Value = date

    cell.NumberFormat = self.dateFormat
    cell.HoriJustify = CENTER # or just 2
    cell.RightBorder = self.lineFormat
    cell.CellBackColor = tealScale[0]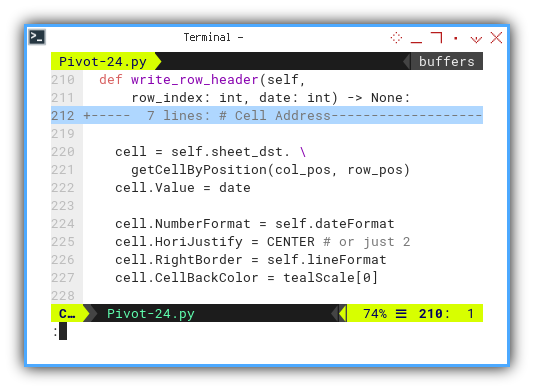
Now, observe how the predefined self.lineFormat is
applied to this cell.RightBorder in the sheet.
Content
Access dataframe using:
row[('Number', cat)]
Within each row iteration, we also loop over each content.
First we address the cell location.
  def write_row_content(self,
      row_index: int, row) -> None:

    # Fill the each row
    row_pos = self.addr.Row + row_index
    for col, cat in enumerate(self.categories, start=1):
      col_pos = self.addr.Column + col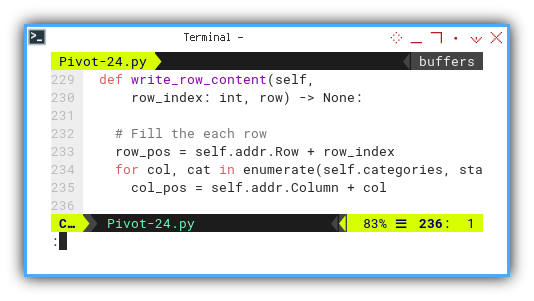
Then again the macro writes to the cell, and also adds decoration.
      cell = self.sheet_dst. \
        getCellByPosition(col_pos, row_pos)

      if count := int(row[('Number', cat)]):
        cell.Value = count
        cell.HoriJustify = CENTER # or just 2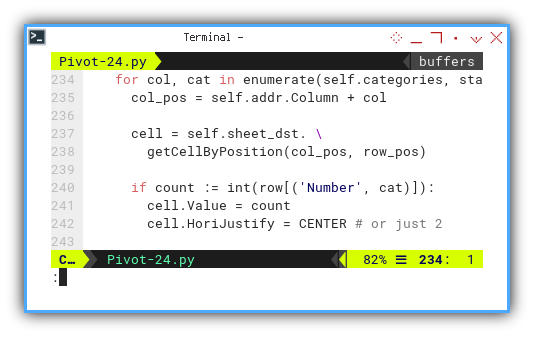
We retrieve the dataframe using row[('Number', cat).
The Rows Flow
As mentioned earlier, this is the flow of the rows’ writing. relying on iteration over the dataframe’s rows.
  def write_rows(self) -> None:
    # Fill the rows
    row_index = 0
    for date, row in self.pivot_table.iterrows():
      row_index += 1
      self.write_row_header(row_index, date)
      self.write_row_content(row_index, row)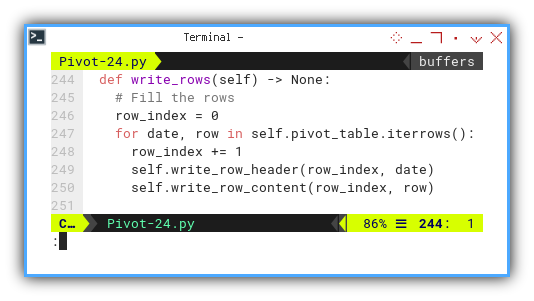
Alternatively, you can simplify the flow
of the process method as shown below:
  def process(self) -> None:
    self.prepare_sheet()

    self.write_column_headers()

    # Fill the rows
    row_index = 0
    for date, row in self.pivot_table.iterrows():
      row_index += 1
      self.write_row_header(row_index, date)
      self.write_row_content(row_index, row)
The decision is entirely yours
Result Preview
The plain pivot table result is displayed in the below screenshot:

What Comes Next 🤔?
In the next section, we will incorporate total columns and rows, completing the pivot table.
Consider continuing to read [ Pivot - Calc Macro - Total ].