Preface
Goal: Separating formatting code and configuration. Example class using unified configuration.
We’re merging the simple configuration into a unified setup. Why? Because while rearranging spreadsheet columns may not be, as glamorous as rearranging deck chairs on the Titanic, at least this won’t sink your project.
I can already predict future me groaning at the inevitable refactor, but that’s tomorrow’s problem. Today, we rebuild! (Actually I’m at my desk, refactoring).
We’ll start with this unified-config class, applying abstract methods and hooks. Not really fresh, but based on previous simple-config class.
This Little Thing
Look, I’m not claiming to have revolutionized macro scripting. This isn’t the wheel, penicillin, or even sliced bread. But if this tiny macro helps anyone out there rearrange data faster, that’s enough for me.
Some people climb mountains. I color tab sheets. To each their own.
If this makes your workday 0.0001% easier, then mission accomplished. And if it doesn’t… well, at least you got some new spreadsheet colors out of it.
Thanks for reading this far. You’re a trooper.
Why Unified Config?
Automation: finish task dozens time faster.
Yes, this macro completing tasks dozens of times faster (or at least fast enough to get back to coffee sooner). But we still need to tidy a bit.
The goal remains the same, but we’re dialing it up.
- Push further, make the code static.
- Push further, make the configuration flexible.
Because no one likes changing code for every single project. Let’s automate the boring parts, so switching projects feels less like rewriting history.
From personal experience, this setup speeds up tasks by ridiculous amounts. Like dozens of times faster, compared with manual formatting. Then you can add other automation as well, such as data processing, pivot calculation, making summary, and you can imagine how it goes. I can’t promise a raise, but hey… You’ll look extremely busy while your computer does all the work.
Example Sheet
You can download the example ODS source here:
And the example XLSX result here:
This workbook contains 40 worksheets.
Why 40? Because I have commitment issues, when it comes to keeping things simple.
Class Diagram
To add some visual flair, here’s the class diagram. It’s not exactly UML standard, but close enough for government work.
The diagram was crafted in Inkscape, spread across multiple pages (because apparently, I enjoy suffering).
We’ll start small and gradually build the full picture, like assembling IKEA furniture but with fewer missing screws.
Example Sheet (Yes, Another One)
Let’s pick a different year this time. Variety is the spice of spreadsheets.
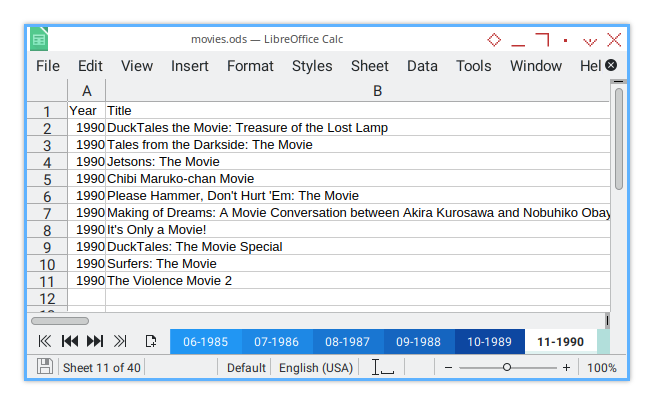
To keep things fresh, this sheet already has tab colors in a lovely gradient. It’s practically art.
About
This unified configuration exists thanks to copious refactoring. Every writer knows good writing requires rewriting. Apparently, the same rule applies to code.
This version? It’s the after picture. More organized, less chaotic. Let’s hope it stays that way.
Welcome to the refactored zone. Let’s dive in!
01: Step One
We’re making a few tweaks right from the start. Let’s get hands-on with reflective diagrams and code implementations below.
Remember, the diagram isn’t some grand master plan for later. It’s more like the doodles I made while trying to solve the problem. Back and forth process, between code and its reflection.
Step Overview
Topics covered in this section:
- Class: FormatterBase,FormatterCommon, FormatterTabularData, FormatterTabularMovies
- Abstract Method
- Configuration: Merge Metadata
Other familiar topics similar to the simple configuration:
- Basic Flow: Multiple sheet
- Formatting Procedure: Insert column gap
Macro Source
The macro source can be found here:
Class Diagram
We start with a simple diagram to understand the moving parts.
Visibility takes priority here over attributes/operations. Each class has three regions: private, protected and public.
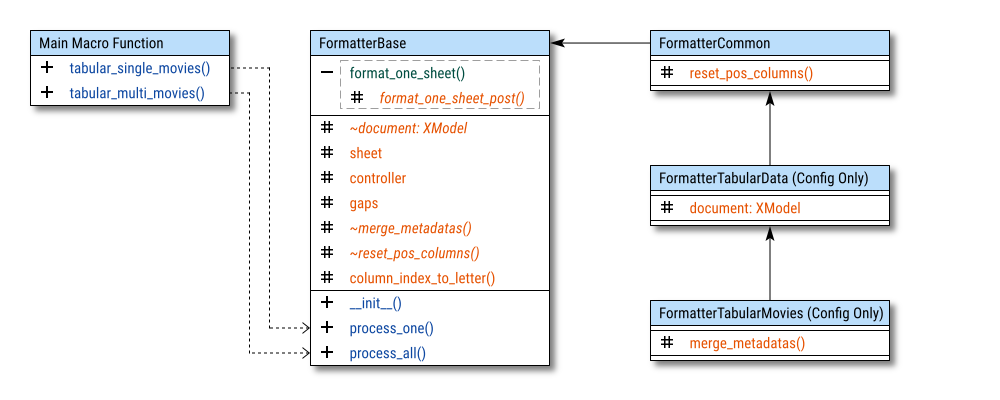
The diagram consists of three sections:
-
Macro Call: Represents the class used by the macro.
-
Static Code Parts:
- Formatter Base: Basic flow, abstract definitions, and helpers.
- Formatter Common: Actual formatting logic, implementing the abstract methods.
-
Configurable Parts:
- Formatter Tabular Data: A collection of column block configurations.
- Formatter Tabular Movies: Merges the blocks to create specific report formats.
Many projects share similar column layouts, but vary slightly in reporting needs. By using column blocks, we can adapt the configuration for different reports, without touching the core code.
Column of Blocks
Embracing Variants
For example, this project uses the following column blocks:
- First Blocks: Year, Title, Genre, Plot, Actors, Director
- Second Blocks: Rated, Runtime, Metascore
Some reports might need just fisrt block, others might need both. By arranging columns into configurable blocks, report creation becomes much more flexible.
In real-world spreadsheets, columns will vary. But within the same project, patterns emerge. For longer reports, we can have five or six blocks, with each block having multiple variants.
The last class merges these blocks, adapting them for different reports. This allows for multiple report types. And all within just one macro configuration.
It’s like LEGO, but for spreadsheets.
Abstract Method
Defined, but without any implementation.
To introduce abstract methods,
we use the ABC library.
It’s like calling in reinforcements for enforcing structure.
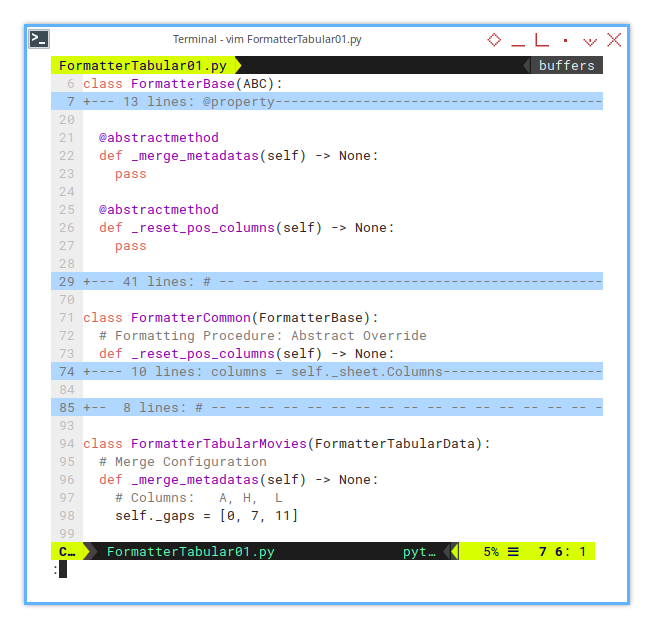
The methods are defined but left gloriously empty, waiting for subclasses to fill in the gaps.
class FormatterBase(ABC):
  ...

  @abstractmethod
  def _merge_metadatas(self) -> None:
    pass

  @abstractmethod
  def _reset_pos_columns(self) -> None:
    pass
Property
In the base class, the document is set as, an abstract property with protected visibility. It’s fancy, but functional.
from abc import ABC, abstractmethod
from com.sun.star.sheet import XSpreadsheetDocument

class FormatterBase(ABC):
  @property
  @abstractmethod
  def _document(self) -> XSpreadsheetDocument:
    pass
XSCRIPTCONTEXT
Initialization Matters
The XSCRIPTCONTEXT only exists in the main macro script.
If you split classes across multiple files, this becomes crucial.
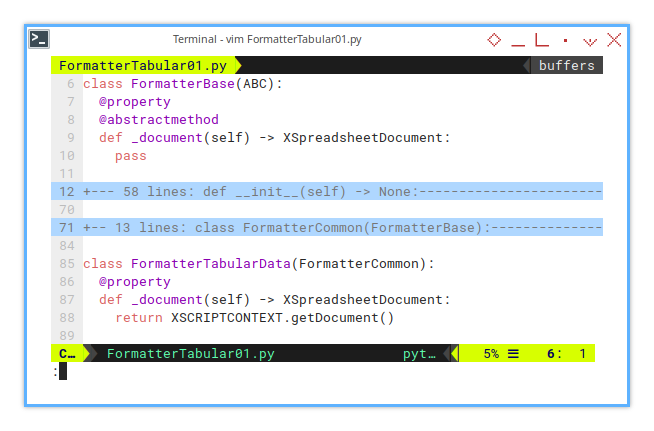
We’re fetching it using a property getter, no more awkward initialization parameters.
class FormatterTabularData(FormatterCommon):
  @property
  def _document(self) -> XSpreadsheetDocument:
    return XSCRIPTCONTEXT.getDocument()
We just need the document object.
The rest is history.
Initialization
Here’s the full initialization process, laid out clearly.
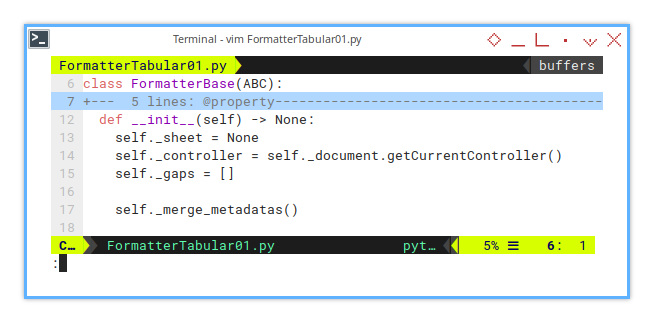
from abc import ABC, abstractmethod
from com.sun.star.sheet import XSpreadsheetDocument

class FormatterBase(ABC):
  def __init__(self) -> None:
    self._sheet = None
    self._controller = self._document.getCurrentController()
    self._gaps = []

    self._merge_metadatas()
Document in Diagram.
Visibility specifiers are applied to both methods and instance variables. Here’s the breakdown:
_for protected__for private
In the class diagram, these translate into the following notations:
- «private»: -
- «protected»: #
- «public»: +
- «abstract»: ~ italic
- «hook»: italic
Expect to see a generous sprinkle of _ and __ throughout the classes.
They’re not just decorative; they serve a purpose.
Like seasoning for code—just enough makes everything better.
Macro Call
Representing Classes in Macro
Let me save you from flipping back and forth between sections. This is how class representation in macros works (again). Familiar? Yes. Repetitive? Also yes.
Macros can only call functions, so we instantiate the class inside a function. Simple. We handle two types of processes here. single sheet and multiple sheets.
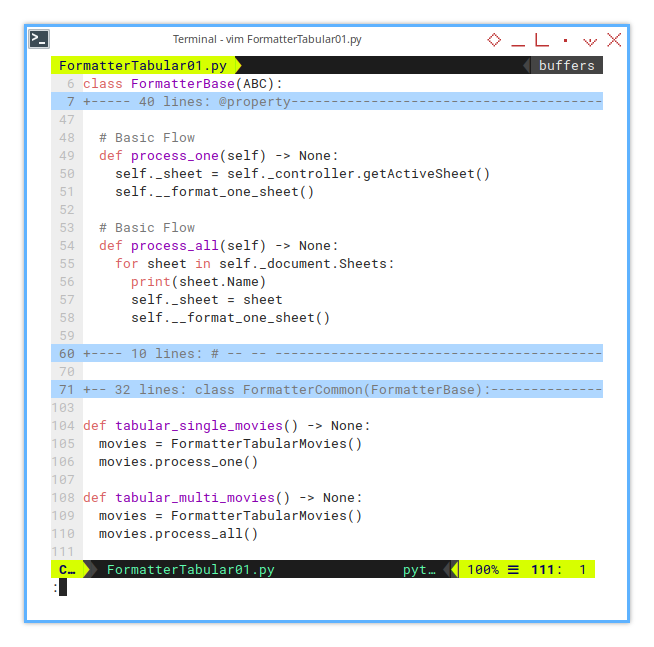
Processing a single active sheet looks like this:
def tabular_single_movies() -> None:
  movies = FormatterTabularMovies()
  movies.process_one()
Processing all sheets in the workbook? Same class, different method:
def tabular_multi_movies() -> None:
  movies = FormatterTabularMovies()
  movies.process_all()
Still looks straightforward, right? That’s because it is. No dramatic twists, just reliable, predictable macro behavior.
If it ain’t broke, we’re not fixing it.
Formatter Base Class
Basic Flow
Similar to the previous setup, but with a slight twist with hook. And just to save you some scrolling, or even swith article pages, let me repeat the key part here.
All the essential flows live here.
The star of the show is format_one_sheet().
This method has an additional hook named format_one_sheet_post().
allowing subclass customization without disturbing the base class.
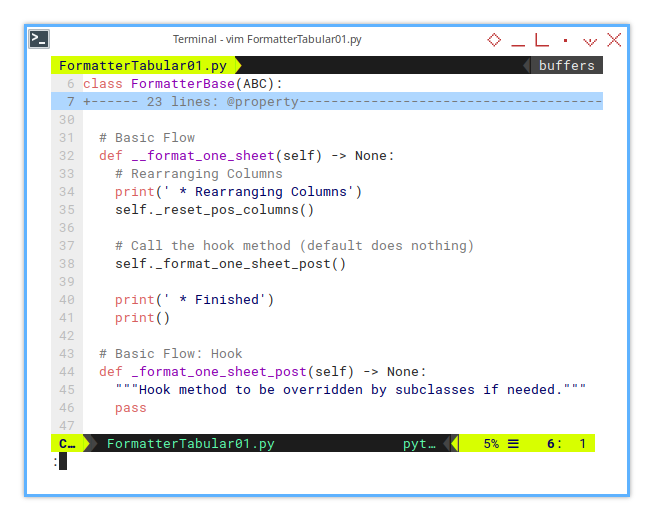
At the moment, format_one_sheet() has one job: reset column positions.
  def __format_one_sheet(self) -> None:
    # Rearranging Columns
    print(' * Rearranging Columns')
    self._reset_pos_columns()

    # Call the hook method (default does nothing)
    self._format_one_sheet_post()

    print(' * Finished')
    print()
This format_one_sheet() method is triggered by either of the following:
process_one()process_all()
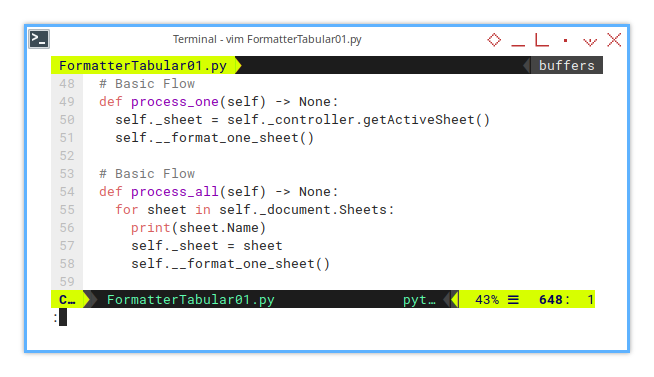
process_one() handles the active sheet:
  def process_one(self) -> None:
    self._sheet = self._controller.getActiveSheet()
    self.__format_one_sheet()
process_all() iterates through all sheets in the workbook:
  def process_all(self) -> None:
    for sheet in self._document.Sheets:
      print(sheet.Name)
      self._sheet = sheet
      self.__format_one_sheet()
Every step is printed for easy tracing in the APSO Console. For workbooks with 40 sheets, you’ll see them all listed as they are processed.
Hook
Flexibility Without Obligation.
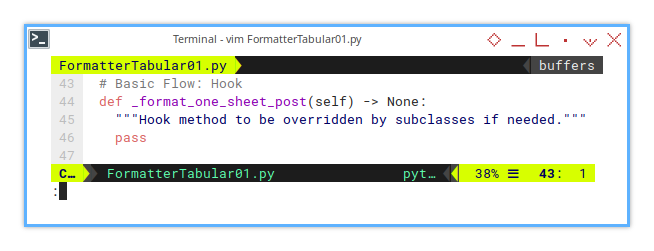
Hooks behave like abstract methods but with less pressure. There’s no requirement to implement them. If no subclass overrides the hook, it quietly steps aside.
  def _format_one_sheet_post(self) -> None:
    """Hook method to be overridden by subclasses if needed."""
    pass
Later, we’ll see how to put this hook to good use.
Helper: Column Index To Letter
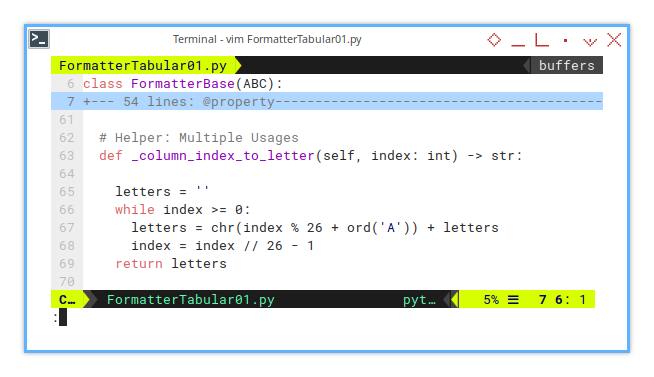
The column_index_to_letter() method will,
play a key role in various parts of the code.
It’s designed to be accessed by descendant classes,
converting 0-based column indices into Excel-style column letters.
  def _column_index_to_letter(self, index: int) -> str:
    letters = ''
    while index >= 0:
      letters = chr(index % 26 + ord('A')) + letters
      index = index // 26 - 1
    return letters
Think of it as the translator between Python’s love for zero, and Excel’s obsession with letters.
Configuration: Gaps
Instead of scattering hardcoded gaps throughout the logic, I’ve extracted them into a configuration.
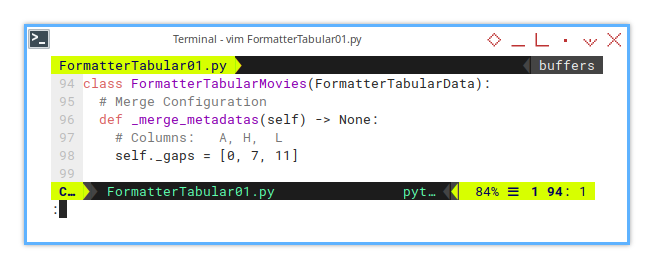
This way, the gap placements become part of the spreadsheet’s global settings, managed through the merge configuration.
class FormatterTabularMovies(FormatterTabularData):
  def _merge_metadatas(self) -> None:
    # Columns:   A, H,  L
    self._gaps = [0, 7, 11]
Formatting: Arranging column
Resetting Columns
So, what’s actually happening during column resetting?
- A 0.5 cm gap is inserted before all columns (at column A).
- Another 0.5 cm gap acts as a divider between column blocks (at column H).
- Finally, a 0.5 cm gap is added after all columns (at column L).
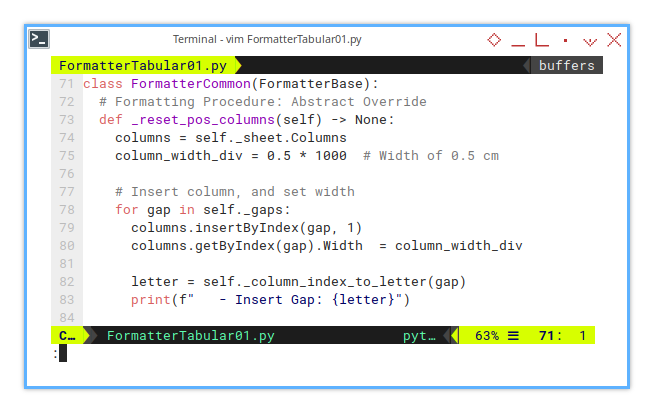
The gap positions? Pulled straight from the configuration.
class FormatterCommon(FormatterBase):
  # Formatting Procedure: Abstract Override
  def _reset_pos_columns(self) -> None:
    columns = self._sheet.Columns
    column_width_div = 0.5 * 1000  # Width of 0.5 cm

    # Insert column, and set width
    for gap in self._gaps:
      columns.insertByIndex(gap, 1)
      columns.getByIndex(gap).Width  = column_width_div

      letter = self._column_index_to_letter(gap)
      print(f"   - Insert Gap: {letter}")
It’s pretty straightforward, no magic tricks here. The code practically explains itself.
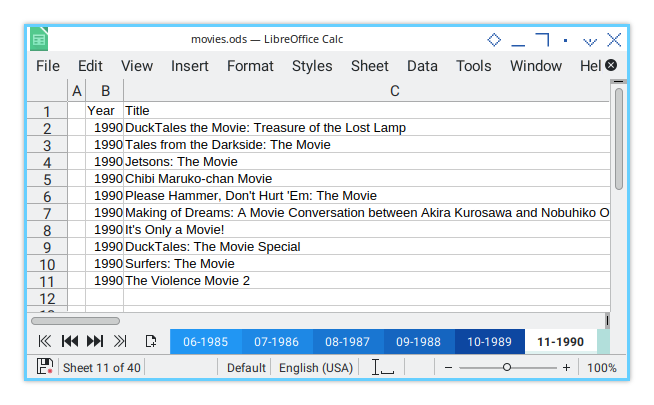
Now we can have a peek at the result and the process log.
Sheet Result
Here’s what the output looks like after the first step:
Console Logging
After running the previous code, I realized the logs needed a little more… personality.
Real-world applications often demand some debugging, and I like to know exactly what’s happening under the hood. So, expect more messages along the way.
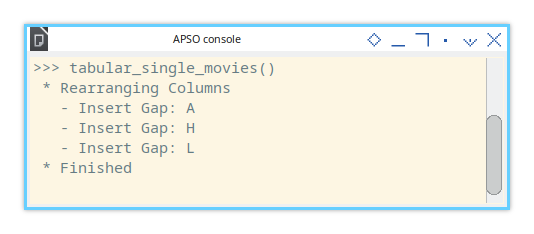
In this step, inserting columns, especially for sheets with a huge number of rows, can take some time. I added progress indicators to show, that the script is still alive and working hard.
>>> tabular_single_movies()
 * Rearranging Columns
   - Insert Gap: A
   - Insert Gap: H
   - Insert Gap: L
 * Finished

>>>
Now that the basic formatting is in place, it’s time to dive into the next steps. One by one.
02: Step Two
Now that the columns are set, let’s move on to the rows.
Step Overview
The approach to unified configuration, mirrors the simple configuration process. Here’s what we’ll cover:
- Helper: Last Row
- Helper: Prevent Reinsert Column
- Formatting Procedure: Insert row gap, set row height
Macro Source
The source for this step is available in the repository:
Class Diagram
What’s new this time?
We’re introducing _reset_pos_rows(),
including both its abstract definition and implementation.
In the diagram, this abstract method is marked with a # symbol.
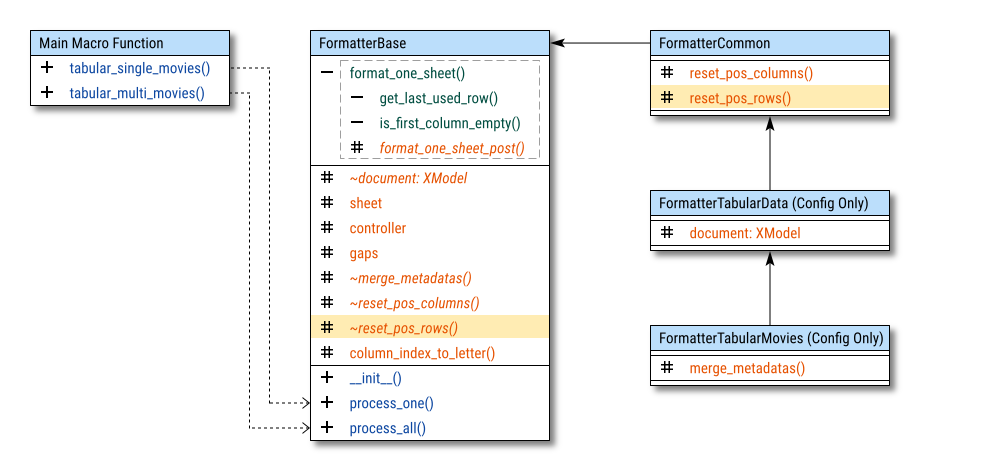
As always, I’ve highlighted the new additions, whether constants, properties, or methods, so you can easily track the updates.
Abstract Method
This step only adds one new abstract method: _reset_pos_rows().
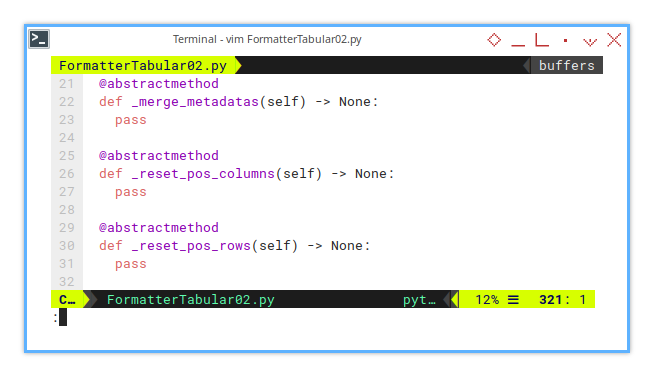
  @abstractmethod
  def _merge_metadatas(self) -> None:
    pass

  @abstractmethod
  def _reset_pos_columns(self) -> None:
    pass

  @abstractmethod
  def _reset_pos_rows(self) -> None:
    pass
With this in place, we can smoothly integrate row formatting into the existing flow.
Basic Flow
This approach is similar to the previous simple configuration, but with an added hook.
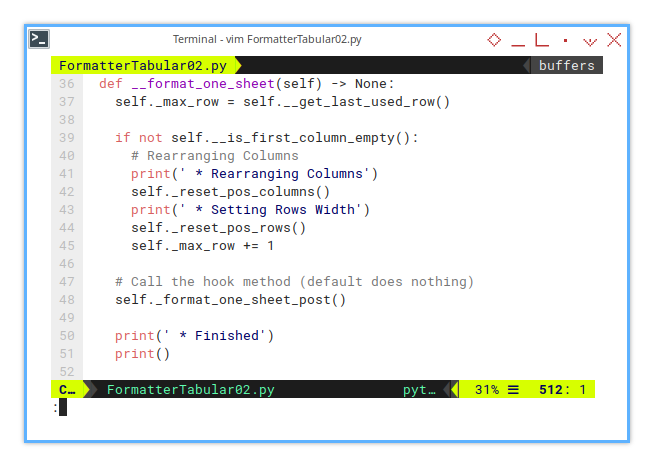
Instead of just rearranging columns, you can now set gaps for rows and apply formatting to them.
  def __format_one_sheet(self) -> None:
    self._max_row = self.__get_last_used_row()

    if not self.__is_first_column_empty():
      # Rearranging Columns
      print(' * Rearranging Columns')
      self._reset_pos_columns()
      print(' * Setting Rows Width')
      self._reset_pos_rows()
      self._max_row += 1

    # Call the hook method (default does nothing)
    self._format_one_sheet_post()

    print(' * Finished')
    print()
Helper: Prevent Column Rearrangement
This utilizes the is_first_column_empty() method.
The implementation is identical to the previous example,
so there’s nothing new here.
Formatting: Row Position
Class: FormatterCommon
Now, all formatting procedures are centralized
within the FormatterCommon class.
Each method has a uniform visibility specifier set to protected,
making it easier to maintain.
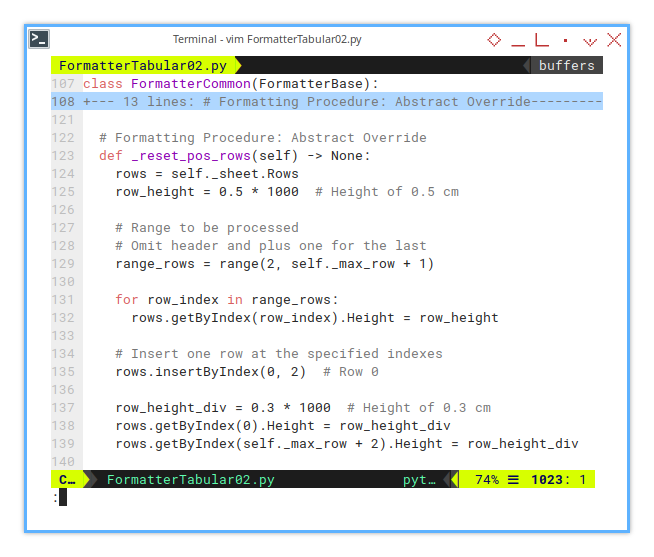
class FormatterCommon(FormatterBase):
  ...

  def _reset_pos_rows(self) -> None:
    rows = self._sheet.Rows
    row_height = 0.5 * 1000  # Height of 0.5 cm

    ...
The content remains unchanged from the previous example, but the class organization ensures that the logic is more maintainable.
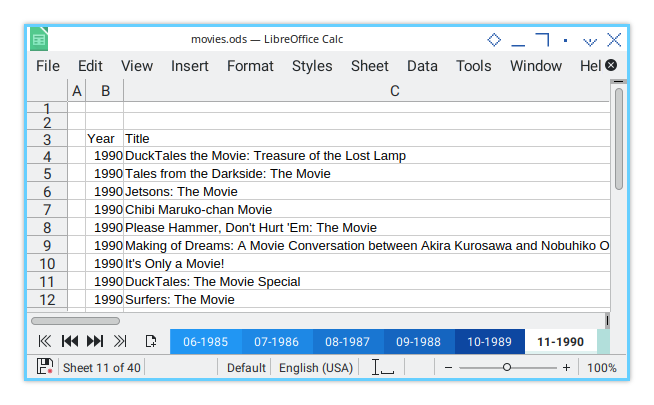
Sheet Result
The resulting output will look like the following:
Console Logging.
For this step, the output for multiple sheets, can be shown as follows:
>>> tabular_multi_movies()
...

11-1990
 * Rearranging Columns
   - Insert Gap: A
   - Insert Gap: H
   - Insert Gap: L
 * Setting Rows Width
 * Finished

...
>>>
03: Step Three
In this step, we go beyond cell-level adjustments, and introduce settings for the entire sheet. This includes freezing columns and rows, as well as managing gridlines.
While gridlines can be helpful during data entry, they create unnecessary clutter in reports. Let’s group all these sheet-wide configurations into a script.
Step Overview
In this section, we will cover the following topics, for unified configuration:
- Helper: Get Relative Column Letter
- Formatting Procedure: Format Columns (multiple block of columns)
Additionally, topics from the simple configuration will be revisited:
- Formatting Procedure: Show grid, Freeze.
Macro Source
You can find the macro source in this repository:
Class Diagram
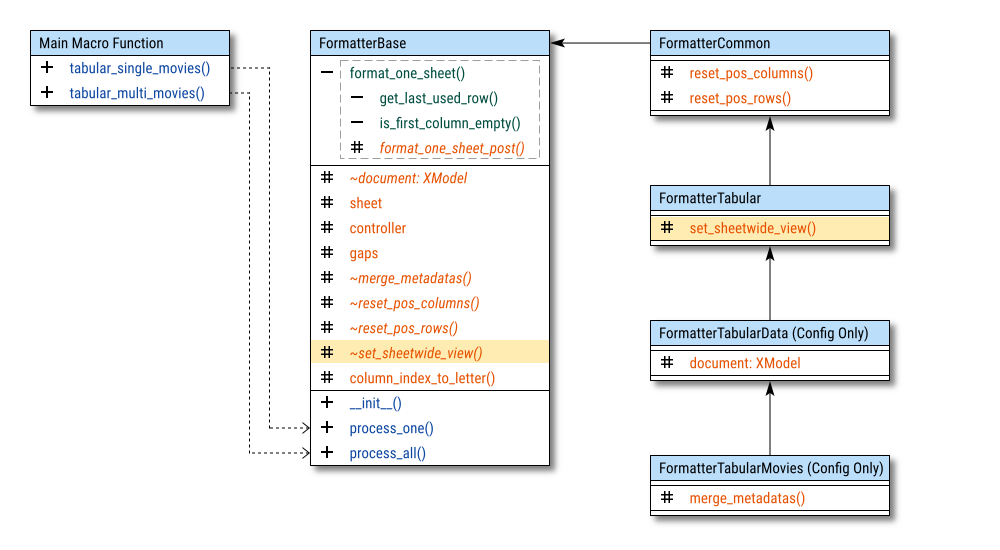
What’s new?
The only new method is the _set_sheetwide_view() method,
which is highlighted in the class diagram below.
Abstract Method
Just write the abstract.
The abstract method is defined as follows.
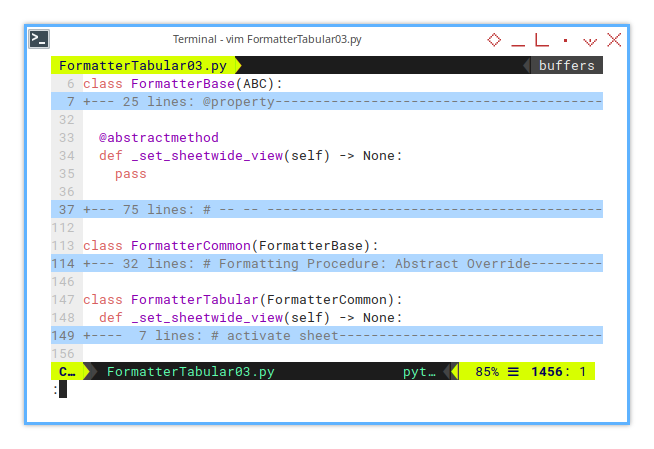
  @abstractmethod
  def _set_sheetwide_view(self) -> None:
    pass
Which we will implement later.
Basic Flow
Now, we can immediately use the abstract method in the same class:
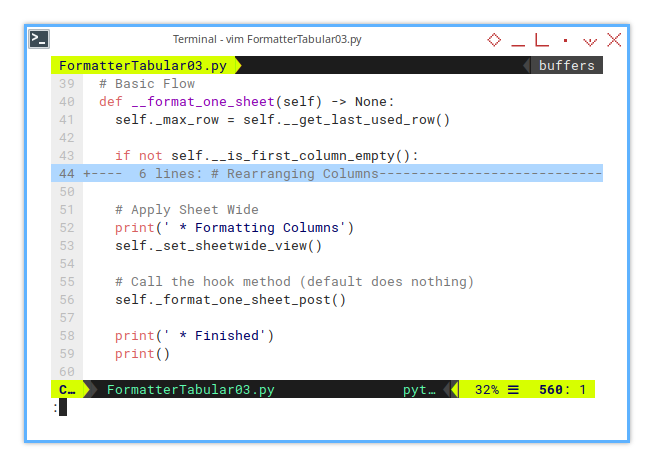
  def __format_one_sheet(self) -> None:
    self._max_row = self.__get_last_used_row()

    if not self.__is_first_column_empty():
      ...

    # Apply Sheet Wide
    print(' * Formatting Columns')
    self._set_sheetwide_view()

    # Call the hook method (default does nothing)
    self._format_one_sheet_post()

    print(' * Finished')
    print()
Formatting: Sheetwide View
Class: FormatterTabular
This section is an exception.
The implementation is stored in a descendant class named FormatterTabular.
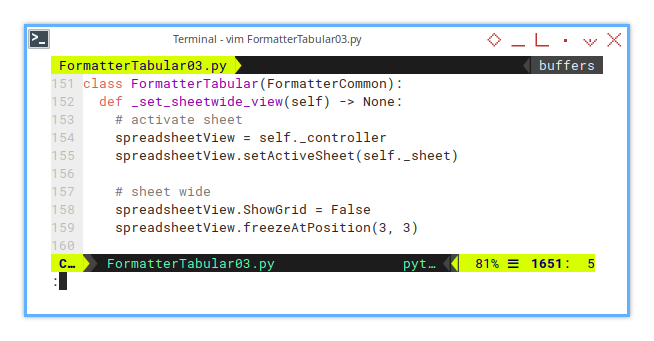
class FormatterTabular(FormatterCommon):
  def _set_sheetwide_view(self) -> None:
    # activate sheet
    spreadsheetView = self._controller
    spreadsheetView.setActiveSheet(self._sheet)

    # sheet wide
    spreadsheetView.ShowGrid = False
spreadsheetView.freezeAtPosition(3, 3)But wait..
Why not place the freeze position in the configuration,
and implement the method in FormatterCommon?
The answer is: Of course, you can. In fact, it would likely be better that way. The only reason for doing it this way in the example is, to demonstrate that sometimes we might alter settings through non-configuration methods.
We’ll see an example of this approach later when we discuss openpyxl.
Sheet Result
The output will look like the following:
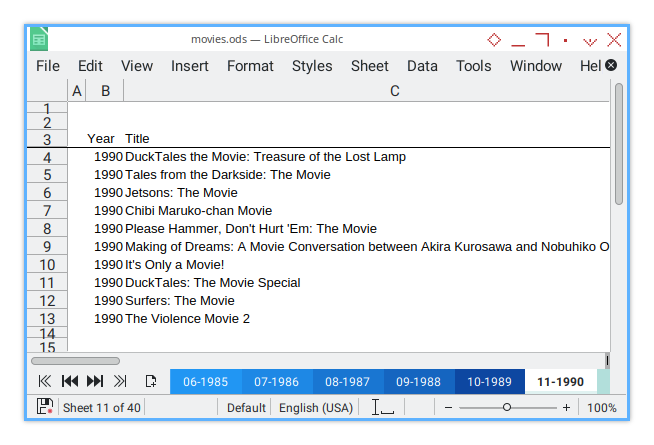
Console Logging
For this step, the console output can be shown as follows:
>>> tabular_single_movies()
 * Rearranging Columns
   - Insert Gap: A
   - Insert Gap: H
   - Insert Gap: L
 * Setting Rows Width
 * Formatting Columns
 * Finished
What is Next 🤔?
Now that we’ve covered the basics of the macro, we can move on to utilizing the unified configuration, and explore the full potential of formatting. We will transition all the formatting procedures, from the simple configuration to the unified one.
Consider continuing with [ Formatter - Unified Config - Two ].