Preface
Goal: Dynamically showing live data in terminal user interface using Python Rich Library from textualize.
6: Static Table
Serving The Data on Rich’s Table
Instead of panel, we can use tabel renderable object.
Python Source Code
It was my habit to include source code in every step.
Class: Skeleton
class LayoutExample:
  def make_layout(self):
  def format_table(self, dataTable):
  def get_left_table(self)  -> Table:
  def get_right_table(self) -> Table:
  def update_layout(self):
  def main(self):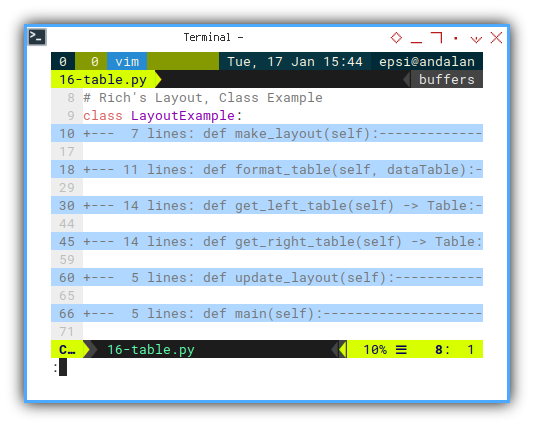
Required Package
We should include our data model, in import statement.
import month_15

from rich.console import Console
from rich.layout import Layout
from rich.padding import Padding
from rich.table import Table
Class Instance
Consider refresh our memory about our last article. Calling this class is simple.
example = LayoutExample()
example.main()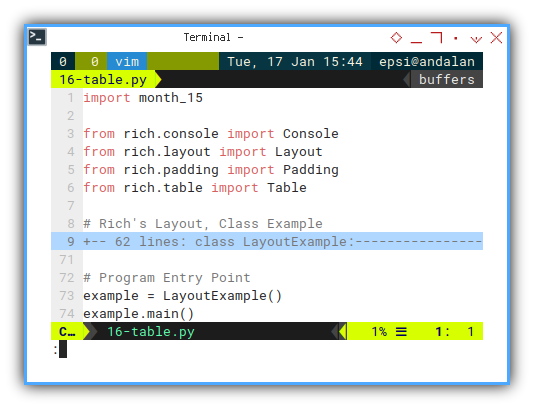
Constructor: Initialization
Still, no need.
Renderable: Making Layout
This is also verbatim copy of previous class in previous article.
  def make_layout(self):
    # Define the layout
    self.layout = Layout(name="root")

    self.layout.split_row(
      Layout(name="left"),
      Layout(name="right"))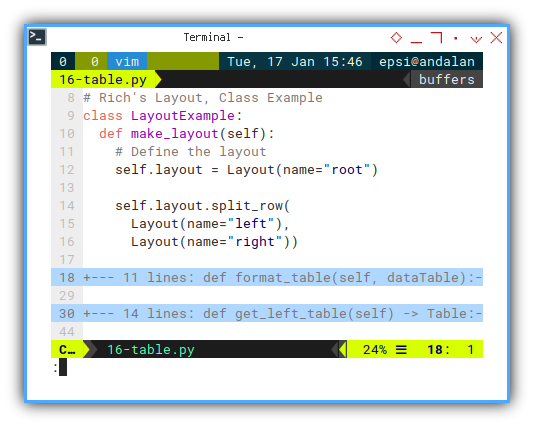
Main Method
Verbatim copy of previous one. Just to refresh our memory.
  def main(self):
    self.make_layout()
    self.update_layout()
    console = Console()
    console.print(self.layout)
Layout Update
Consider make an experiment here.
Instead of using Panel,
how about using Padding, as renderable.
  def update_layout(self):
    self.layout["left"].update(
      Padding(self.get_left_table(), (1, 2)))
    self.layout["right"].update(
      Padding(self.get_right_table(), (1, 2)))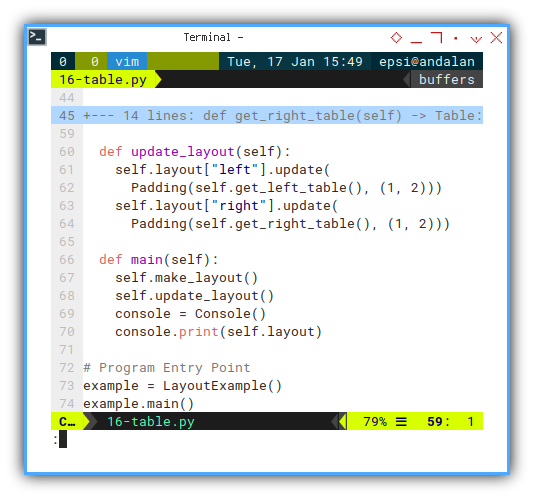
Data Handling
Using our MonthData class.
Data handling is simple as below:
    month_data = month_15.MonthData(1700)
    rows = month_data.get_strings()
Left Table
Preparing table for header is as below
  def get_left_table(self) -> Table:
    dataTable = Table(
      "Month", "Budget", "Actual", "Gap",
      title="Left Table", expand=True)

    ...

    return dataTable
And for the data handling we can write as
    month_data = month_15.MonthData(1300)
    rows = month_data.get_strings()

    for row in rows.values():
      dataTable.add_row(*row)
I also format the table to make it pretty:
self.format_table(dataTable)We finally get our complete method as this one:
  def get_left_table(self) -> Table:
    dataTable = Table(
      "Month", "Budget", "Actual", "Gap",
      title="Left Table", expand=True)

    self.format_table(dataTable)

    month_data = month_15.MonthData(1300)
    rows = month_data.get_strings()

    for row in rows.values():
      dataTable.add_row(*row)

    return dataTable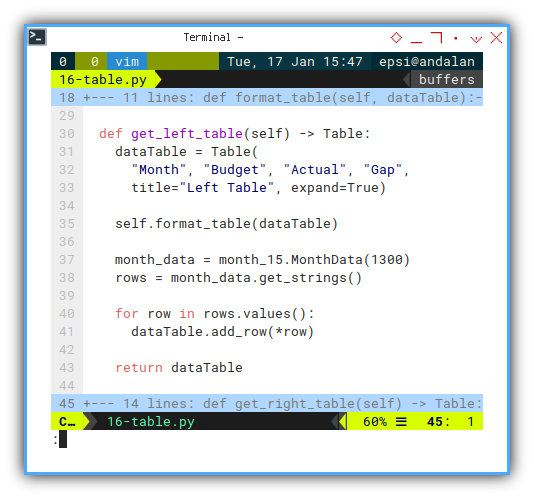
Helper: Table Formatting
This method is new. Just a prettier stuff.
  def format_table(self, dataTable):
    c = dataTable.columns

    c[1].header_style = "bold blue"
    c[2].header_style = "bold green"
    c[3].header_style = "bold yellow"

    c[0].style = "bold"
    c[1].style = "blue"
    c[2].style = "green"
c[3].style = "yellow" 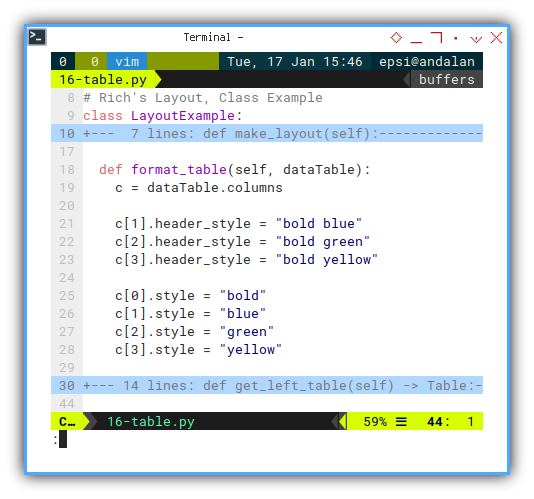
Right Table
The same applied to right panel. We are using the same class. But with different instance. Thus different random data.
  def get_right_table(self) -> Table:
    dataTable = Table(
      "Month", "Budget", "Actual", "Gap",
      title="Left Table", expand=True)

    self.format_table(dataTable)

    month_data = month_15.MonthData(1700)
    rows = month_data.get_strings()

    for row in rows.values():
      dataTable.add_row(*row)

    return dataTable
Note that in real life application, each panel might have different content.
TUI in CLI
Terminal User Interface in Shell
We see no border, as we utse Padding instead of Panel.
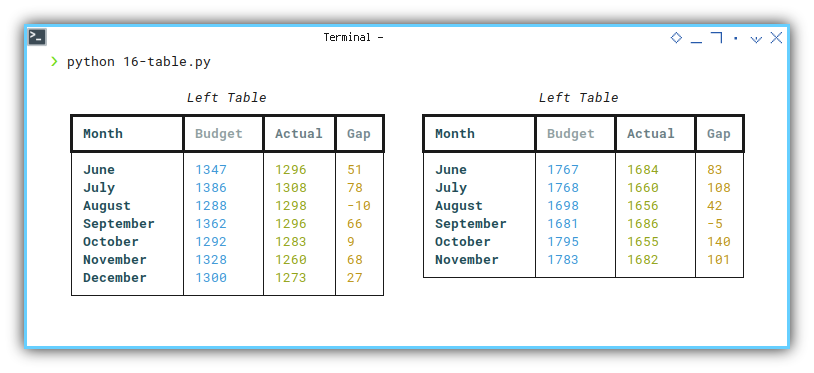
The color might be different in different terminal. This usually dark mode in windows. But you can change colorscheme.
7: Live Rows
Python Source Code
Again, source code are available in every step. It is getting longer.
Class: Skeleton
The overview of our classes is as below:
class LayoutExample:
  def __init__(self):

  def make_layout(self):
  def format_table(self, dataTable):

  def get_left_panel(self) -> Panel:
  def get_right_panel(self) -> Panel:
  def update_layout(self):

  def main(self):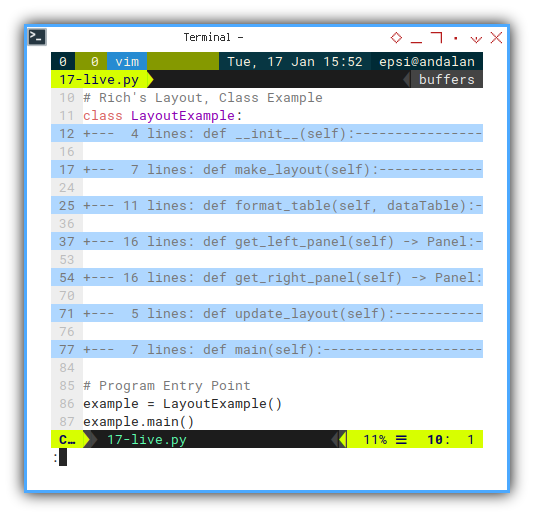
I won’t bother with class visibility. As long as it runs, it is fine for me.
Required Package
A long package import to go
import month_15
import time

from rich.console import Console
from rich.layout import Layout
from rich.panel import Panel
from rich.table import Table
from rich.live import Live
Constructor: Initialization
We’d better initialize the data feed here, so we can use them later in any method.
  def __init__(self):
    # init month data
    self.month_data_left  = month_15.MonthData(1300)
    self.month_data_right = month_15.MonthData(1700)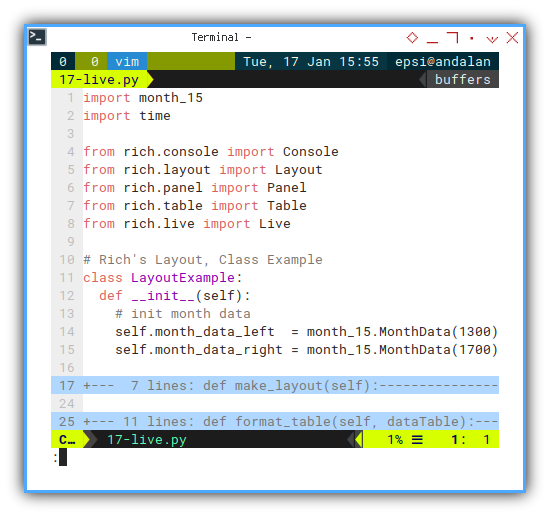
Renderable: Left Panel
Consider going back to renerable Panel, instead of Padding.
Add expand to get full width advantage.
The rest is the same. Nothing special here.
  def get_left_panel(self) -> Panel:
    dataTable = Table(
      "Month", "Budget", "Actual", "Gap",
      title="Left Table", expand=True)

    self.format_table(dataTable)

    self.month_data_left.update()
    rows = self.month_data_left.get_strings()
    for row in rows.values():
      dataTable.add_row(*row)

    panel = Panel(
      dataTable, title="Left Panel",
      subtitle="Left [yellow]Thank you")
    return panel
Renderable: Right Panel
Just copy paste form left panel, and change some properties.
  def get_right_panel(self) -> Panel:
    dataTable = Table(
      "Month", "Budget", "Actual", "Gap",
      title="Right Table", expand=True)

    self.format_table(dataTable)

    self.month_data_right.update()
    rows = self.month_data_right.get_strings()
    for row in rows.values():
      dataTable.add_row(*row)

    panel = Panel(
      dataTable, title="Right Panel",
      subtitle="Right [blue]Thank you")
    return panel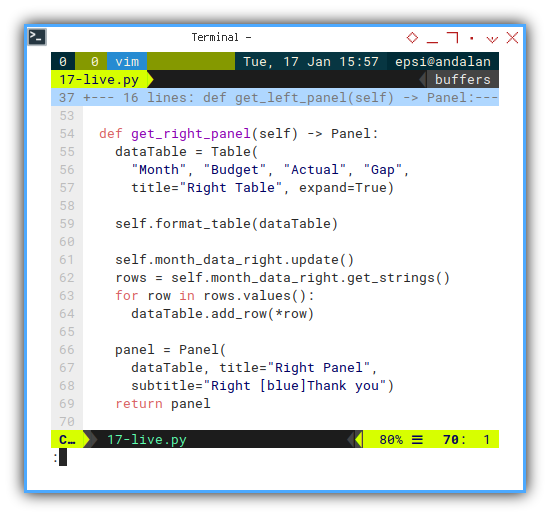
Layout: Update
The update layout is remain the same.
  def update_layout(self):
    self.layout["left"].update(
      self.get_left_panel())
    self.layout["right"].update(
      self.get_right_panel())
Main Method: Live
Big difference! Beware of this part.
We are not just wrapped the update layout inside an infinite loop.
But also put inside the scope of Live.
  def main(self):
    self.make_layout()

    with Live(self.layout, transient=True):
       while True:
         self.update_layout()
         time.sleep(1)
As we see, we update both panel every one second.
Live Scope
The with scope is important.
If you manage within a more complex class,
you can save the live variable as:
with Live(layout) as live:
  example = ExampleClass(live, layout, ...)
Save the parameter as property,
such as self.live and self.layout.
And call later in ExampleClass as below:
    with self.live:
      self.layout.update(Panel(...))
Luckily, our example in here is simple. No need to add this complexity this time.
Class Instance
example = LayoutExample()
example.main()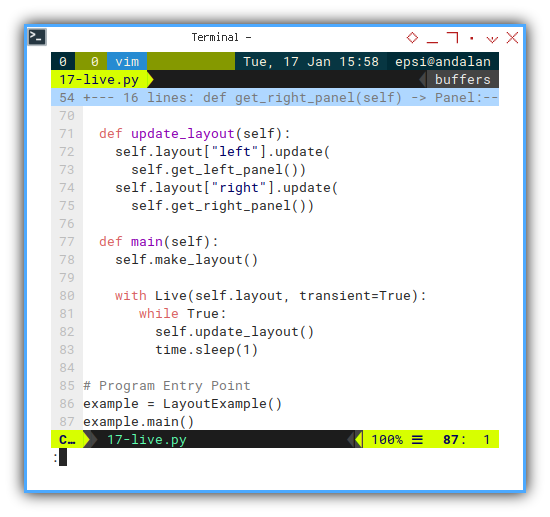
TUI in CLI
Terminal User Interface in Shell
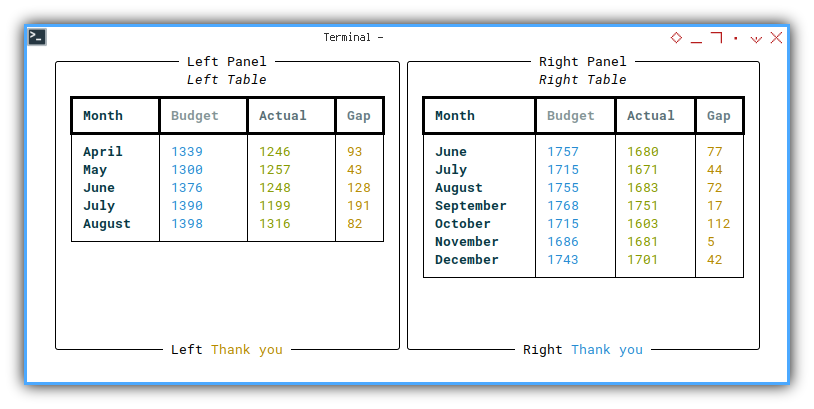
Looks better with moving data. But we can go further, by updating each panel, with different deleay time.
8: Asynchronous Live
Python Source Code
The source code is getting longer, and longer.
Class: Skeleton
Don’t be initimidated by a bunch of method. Most contains verbatim copy of previous code.
class LayoutExample:
  def __init__(self):

  def make_layout(self):
  def format_table(self, dataTable):

  def get_left_panel(self) -> Panel:
  def get_right_panel(self) -> Panel:

  async def do_left(self):
  async def do_right(self):

  async def main(self):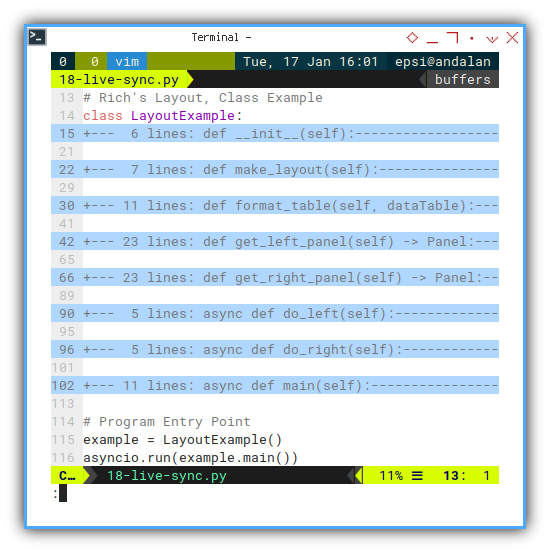
Required Package
AsyncIO for concurrency
Self explanation.
import month_15
import asyncio
import datetime;

from random import randint

from rich.console import Console
from rich.layout import Layout
from rich.panel import Panel
from rich.table import Table
from rich.live import Live
Constructor: Initialization
More random data, so you don’t get bored, with the same data over and over again.
  def __init__(self):
    # init month data
    self.month_data_left  = \
      month_15.MonthData(1000 + randint(0, 1000))
    self.month_data_right = \
      month_15.MonthData(1000 + randint(0, 1000))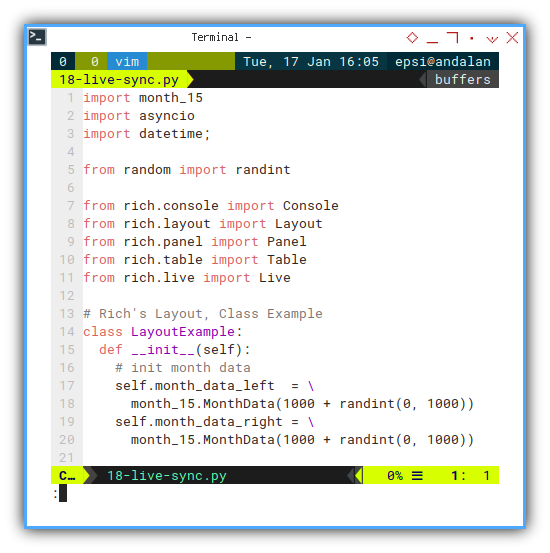
Nested Table
How do I add text over the table?
You can also create renderable text by using table:
message = Table.grid(padding=1, expand=True)
message.add_column(no_wrap=True)
cts = datetime.datetime.now()
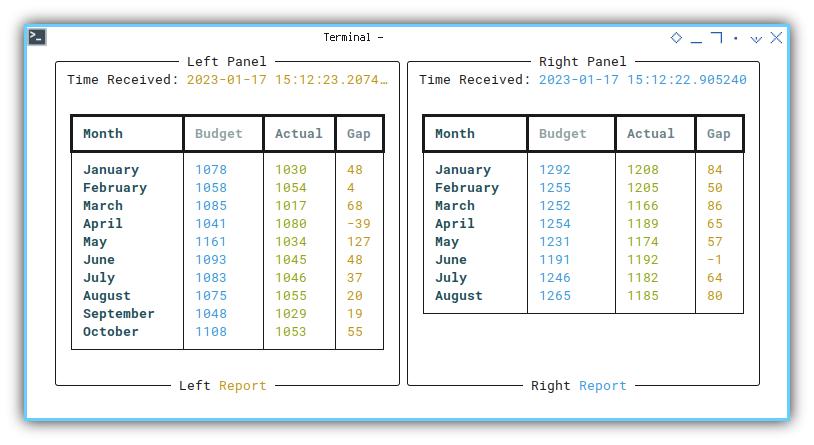
message.add_row(
"Time Received: [yellow]" + str(cts))And you can also insert table inside the next row.
message.add_row(dataTable)Renderable: Left Panel
The complete method for left panel can be shown as below code:
  def get_left_panel(self) -> Panel:
    dataTable = Table(
      "Month", "Budget", "Actual", "Gap",
      expand=True)

    self.format_table(dataTable)

    self.month_data_left.update()
    rows = self.month_data_left.get_strings()
    for row in rows.values():
      dataTable.add_row(*row)

    message = Table.grid(padding=1, expand=True)
    message.add_column(no_wrap=True)
    cts = datetime.datetime.now()
    message.add_row(
      "Time Received: [yellow]" + str(cts))
    message.add_row(dataTable)

    panel = Panel(
      message, title="Left Panel",
      subtitle="Left [yellow]Report")
    return panel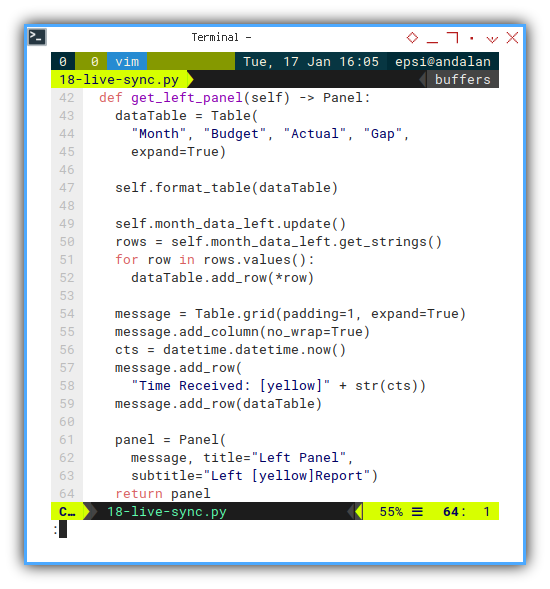
Renderable: Right Panel
The same applied with right panel. Just copy paste form left panel, and change some properties.
def get_right_panel(self) -> Panel:
    dataTable = Table(
      "Month", "Budget", "Actual", "Gap",
      expand=True)

    self.format_table(dataTable)

    self.month_data_right.update()
    rows = self.month_data_right.get_strings()
    for row in rows.values():
      dataTable.add_row(*row)

    message = Table.grid(padding=1, expand=True)
    message.add_column(no_wrap=True)
    cts = datetime.datetime.now()
    message.add_row(
      "Time Received: [blue]" + str(cts))
    message.add_row(dataTable)

    panel = Panel(
      message, title="Right Panel",
      subtitle="Right [blue]Report")
    return panel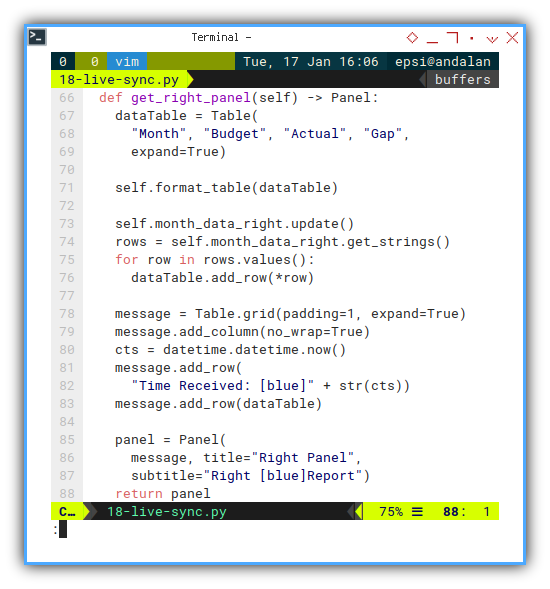
Async Main Method: Live
Again! Beware of this part.
We need to use await for cuncurrent task.
In order to use await, we need to add async keyword.
In order to run two concurrent task,
we need to use asyncio.create_task,
and await for each task.
  async def main(self):
    self.make_layout()

    with Live(self.layout, transient=True):
      task_left = asyncio.create_task(
        self.do_left())
      task_right = asyncio.create_task(
        self.do_right())

      await(task_left)
      await(task_right)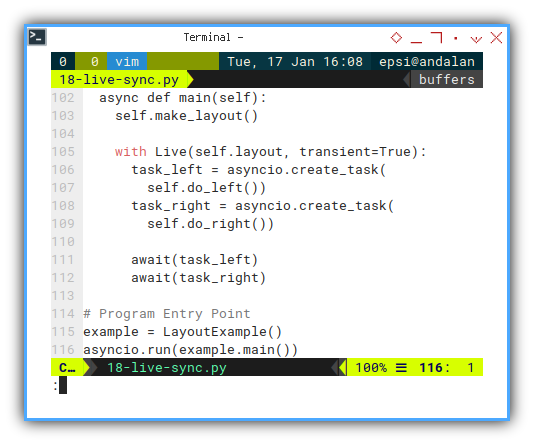
Layout: Update
The concurrent process itself can be written, as infinite loop, in which loop has a delay. This delay in this example, intentionally made to give other process, a chance to be executed by scheduler.
  async def do_left(self):
    while True:
      self.layout["left"].update(
        self.get_left_panel())
      await asyncio.sleep(5)

  async def do_right(self):
    while True:
      self.layout["right"].update(
        self.get_right_panel())
      await asyncio.sleep(3)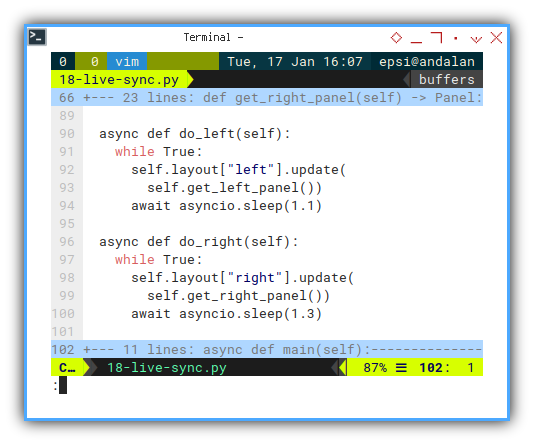
Not that you can add the delay differently than above. For example as below:
await asyncio.wait_for(asyncio.sleep(0.4), timeout=1)This will update you screen very fast.
Class Instance
Since we use concurrent task with asyncio,
we should call in program entry point with below notation:
example = LayoutExample()
asyncio.run(example.main())
TUI in CLI
Terminal User Interface in Shell
Rich layout always have fullscreen. Take the maximum length and width of the terminal. And also be updated, for every terminal size changes.
This looks better in video.
What is Next 🤔?
Combine with other library
One real life simple example that I can provide is, showing watchfiles in its own panel.
Consider continue reading [ Python - Rich - Single Watchfiles ].