Preface
Goal: Realtime data plot using Pandas.
This enhanced part contain miscellanous enhancement, that we can do to our previous code.
4: Asynchronous Publisher
Modern approach for event driven programming.
Official Documentation
You should consider to read the official documentation,
before using asyncio_mqtt.
Python Source Code
You can just read the source as an overview.
Package Requirement
AsyncIO MQTT
Since we have already use asyncio,
why don’t we also use friendly syntax asyncio-mqtt?
import asyncio_mqtt sas aiomqtt
import asyncio
import random

from time import sleep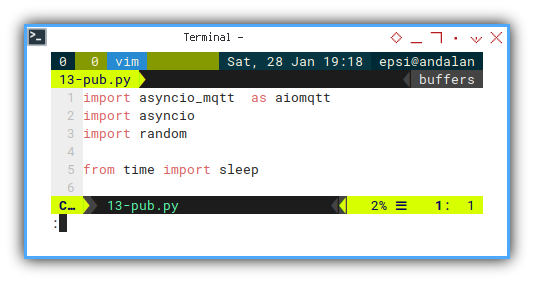
Skeleton
Very similar with skeleton in previous article,
except the main menu using asynchronous.
class mqPublisher:
  def __init__(self):
  def update_num(self):
  async def main(self):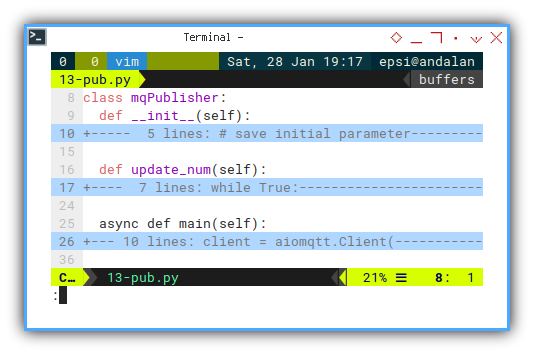
Constructor
The same as constructor in previous article.
Updating Values
The same as method in previous article.
Main Method
Using aiomqtt is straightforward.
Very similar to common practice in asyncio app.
Using await for asynchronous task.
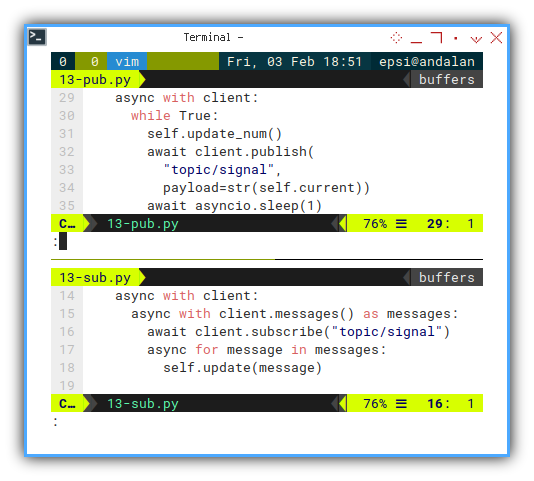
  async def main(self):
    client = aiomqtt.Client(
      hostname="localhost", port=1883)

    async with client:
      while True:
        self.update_num()

        await client.publish(
          "topic/signal",
          payload=str(self.current))

        await asyncio.sleep(1)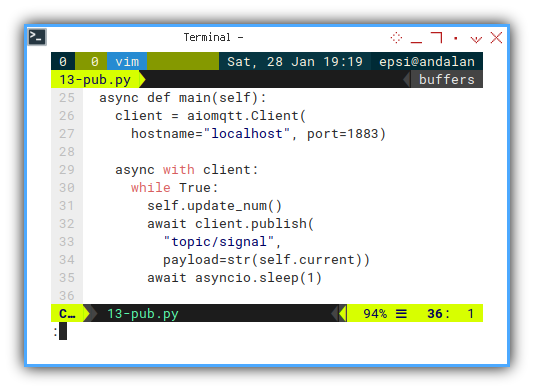
Execute: Run
And also, common syntax for asyncio application.
mqPub = mqPublisher()
asyncio.run(mqPub.main())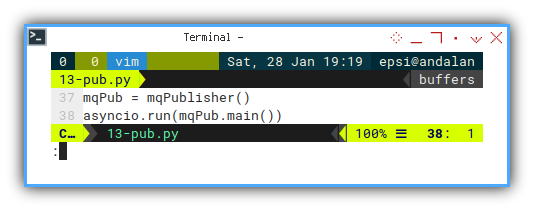
5: Asynchronous Subscriber
Python Source Code
You can just read the source as an overview.
Package Requirement
AsyncIO MQTT
Again, we use asyncio_mqtt.
import asyncio_mqtt as aiomqtt
import asyncio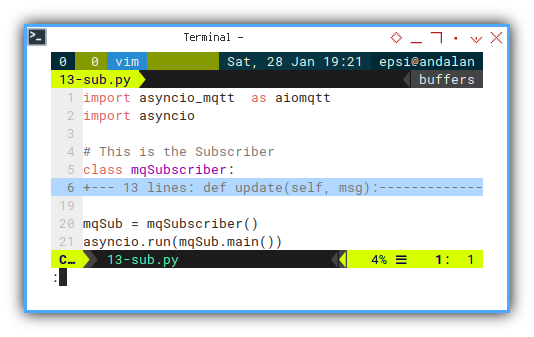
Skeleton
Only this two methods. So simple.
class mqSubscriber:
  def update(self, msg):
  async def main(self):
Constructor
Not required this time. But we are going to have complex code ahead.
Update
All we need to do is just, dump the received package to console.
  def update(self, msg):
    float_num = float(msg.payload)
    print("%.2f" % float_num)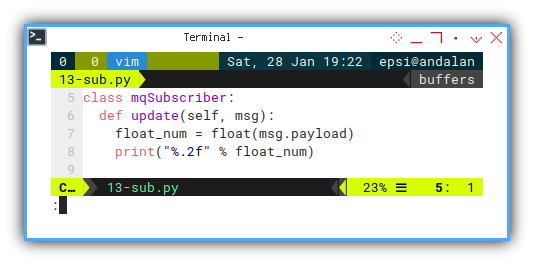
Main Method
I adapt from official documentation.
  async def main(self):
    client = aiomqtt.Client(
      hostname="localhost", port=1883)

    async with client:
      async with client.messages() as messages:
        await client.subscribe("topic/signal")

        async for message in messages:
          self.update(message)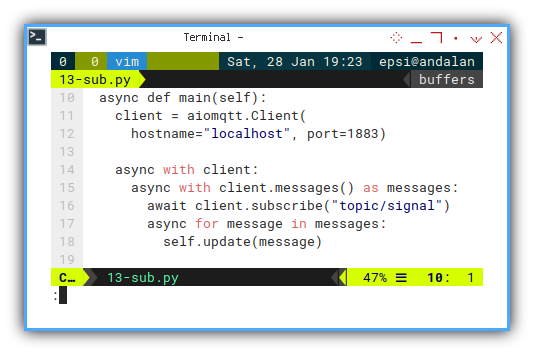
Execute: Run
As usual asyncio:
mqSub = mqSubscriber()
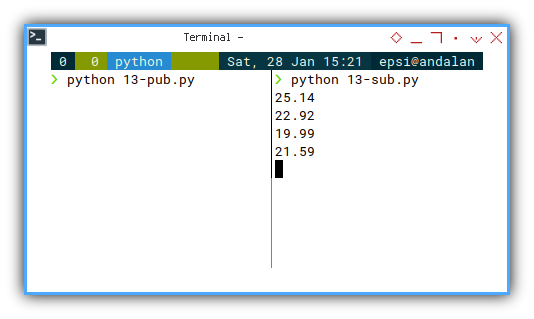
asyncio.run(mqSub.main())Dual Output in CLI
You can see the result here. Both publisher and subscriber running together in harmony.
Comparing Topic
Between The Publisher and The Subscriber, Flow the Topic.
Again, you can examine, how the topic flow, using async library.
6: Preparing Dataframe
Combine MQTT and Pandas for Further Use
What we do here is gather different code, in this article series.
We need to be well prepared, before we jump into complex case, the realtime moving time series plot.
Python Source Code
You can just read the source as an overview.
Package Requirement
Pandas for Dataframe
import asyncio_mqtt as aiomqtt
import asyncio
import pandas as pd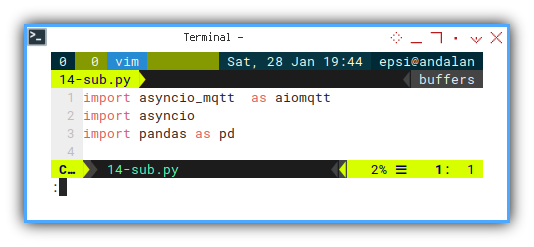
Skeleton
Still simple
No unnecessary fuss.
class mqSubscriber:
  def __init__(self):
  def print_new_pair(self, new_pair):
  def update(self, msg):
  async def main(self):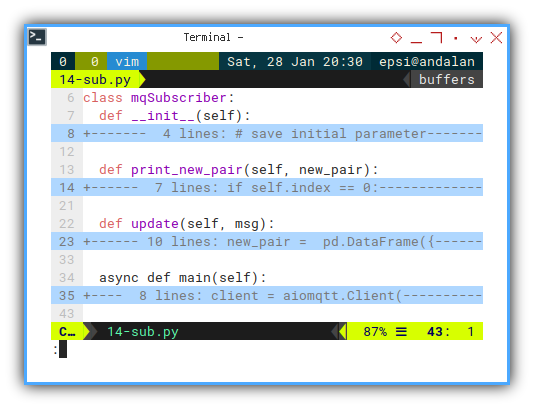
Constructor
We can optionally, prepare empty series. It is best practice to put empty structure.
We pack list of data series with the same length in dataframe.
class mqSubscriber:
  def __init__(self):
    # save initial parameter
    self.index = 0
    self.timeframe = pd.DataFrame({
      "time": [], "temp": []  })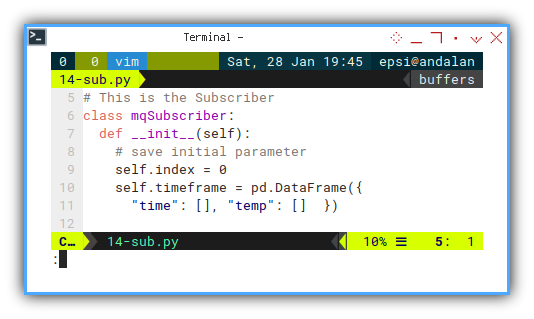
We have already discuss this in previous panda article.
Update
This is also the same as our previous panda article.
For each new number, we pack into pair. And then append each pair into the dataframe.
  def update(self, msg):
    new_pair =  pd.DataFrame({
      "time": pd.Timestamp.now(),
      "temp": float(msg.payload)
    }, index=[self.index])

    self.print_new_pair(new_pair)

    self.index += 1
    self.timeframe = pd.concat(
      [self.timeframe, new_pair])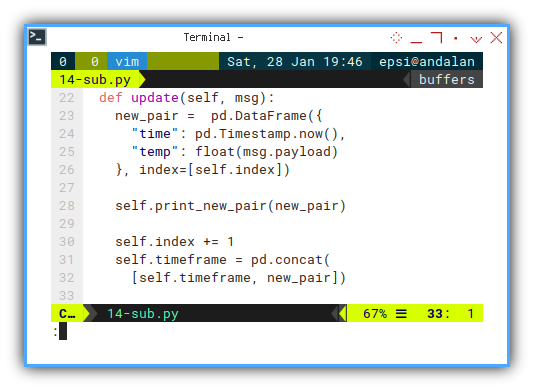
Print Progress
This is also the same as our previous panda plot article.
  def print_new_pair(self, new_pair):
    if self.index == 0:
      new_str = new_pair.to_string(
        index=False)
    else:
      new_str = new_pair.to_string(
        index=False, header=False)
    print(new_str, end="\r", flush=True)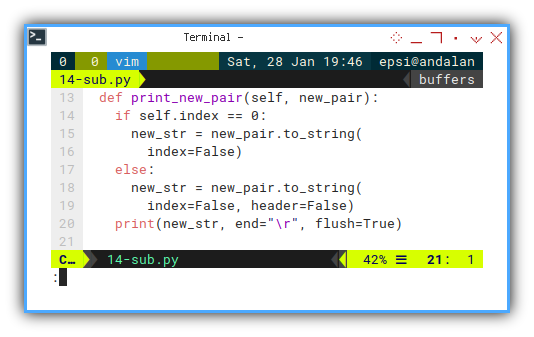
Main Method
This is the same as previous asyncio mqtt int this article.
  async def main(self):
    client = aiomqtt.Client(
      hostname="localhost", port=1883)

    async with client:
      async with client.messages() as messages:
        await client.subscribe("topic/signal")
        async for message in messages:
          self.update(message)
Execute: Run
Finally we can run the combined code.
mqSub = mqSubscriber()

try:
  asyncio.run(mqSub.main())
except KeyboardInterrupt:
  print('Goodbye!')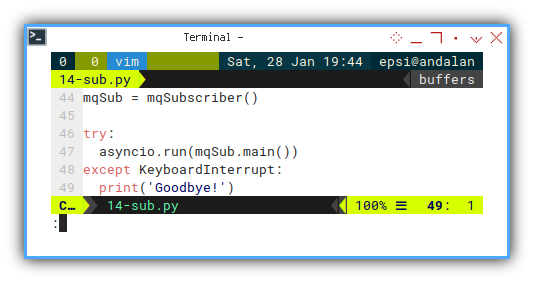
Dual Output in CLI
This video below, would make it easy for you to picture the script result.
What is Next 🤔?
We are done with data. We are already well prepared. We need to jump, into realtime moving time series plotting. We should start with simple realtime plotting.
Consider continue reading [ Python - MQTT - Simple Realtime Plot ].